3 Recording a PART

3.1Selecting the RECORD TRACK

To record on a part, press the RECORD button. The RECORD LED will light. The track to be recorded always defaults to the lowest numbered empty track. For an empty part, track 1 will be selected. If a part has all eight tracks used, no track will be selected, and the RECORD LED will not light.

Every time a track is recorded onto, the next empty track will automatically be selected the next time RECORD is pressed. If a track other than the selected one is desired, pressing another track select button while holding down the RECORD button will select the new track to be recorded on. Like on a tape recorder, if a track with something on it is recorded over, the old information is erased.

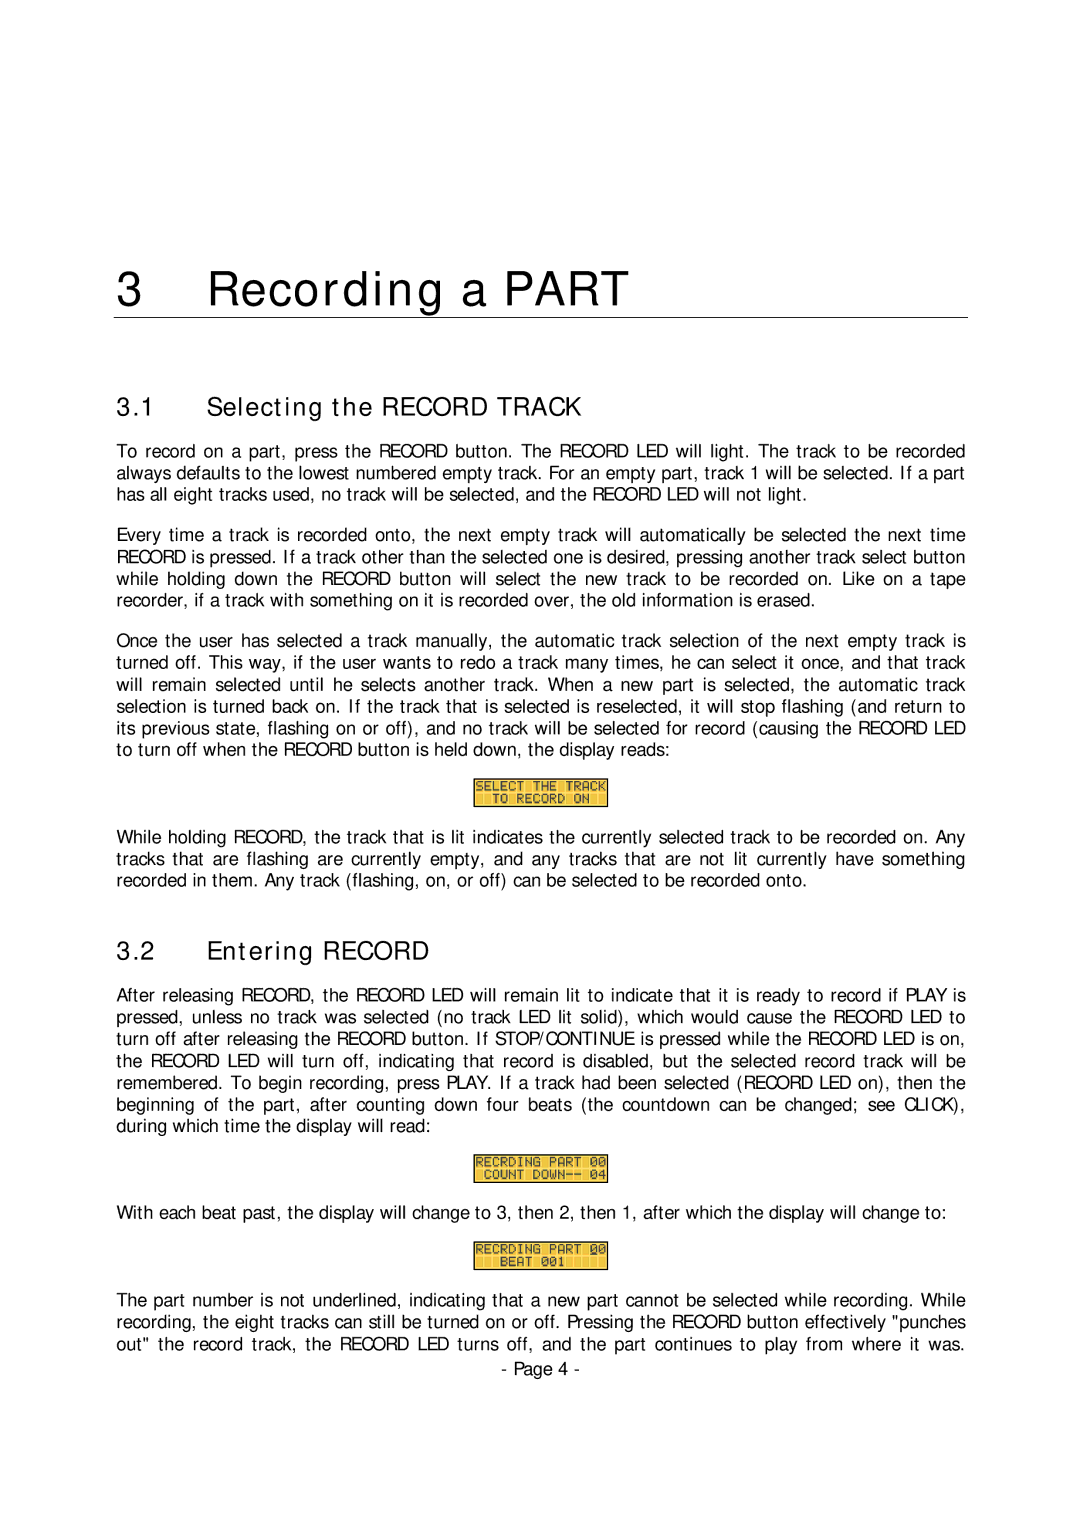
Once the user has selected a track manually, the automatic track selection of the next empty track is turned off. This way, if the user wants to redo a track many times, he can select it once, and that track will remain selected until he selects another track. When a new part is selected, the automatic track selection is turned back on. If the track that is selected is reselected, it will stop flashing (and return to its previous state, flashing on or off), and no track will be selected for record (causing the RECORD LED to turn off when the RECORD button is held down, the display reads:

While holding RECORD, the track that is lit indicates the currently selected track to be recorded on. Any tracks that are flashing are currently empty, and any tracks that are not lit currently have something recorded in them. Any track (flashing, on, or off) can be selected to be recorded onto.

3.2Entering RECORD

After releasing RECORD, the RECORD LED will remain lit to indicate that it is ready to record if PLAY is pressed, unless no track was selected (no track LED lit solid), which would cause the RECORD LED to turn off after releasing the RECORD button. If STOP/CONTINUE is pressed while the RECORD LED is on, the RECORD LED will turn off, indicating that record is disabled, but the selected record track will be remembered. To begin recording, press PLAY. If a track had been selected (RECORD LED on), then the beginning of the part, after counting down four beats (the countdown can be changed; see CLICK), during which time the display will read:

With each beat past, the display will change to 3, then 2, then 1, after which the display will change to:

The part number is not underlined, indicating that a new part cannot be selected while recording. While recording, the eight tracks can still be turned on or off. Pressing the RECORD button effectively "punches out" the record track, the RECORD LED turns off, and the part continues to play from where it was.

- Page 4 -

Page 8
Image 8
Alesis MMT-8 manual Recording a Part, Selecting the Record Track, Entering Record

MMT-8 specifications

The Alesis MMT-8 is a powerful MIDI sequencer that made waves in the late 1980s and continues to be a favored tool for musicians and producers seeking a reliable means to create and control MIDI sequences. Known for its user-friendly interface and robust feature set, the MMT-8 allows users to compose, edit, and play back complex musical arrangements with relative ease.

One of the standout features of the MMT-8 is its 8-track sequencing capability, enabling musicians to sequence multiple MIDI instruments simultaneously. Each track can hold up to 99 phrases, allowing for a high degree of musical flexibility. The MMT-8 supports up to 16 MIDI channels, making it an ideal choice for composing intricate arrangements that involve a variety of sound sources.

The unit boasts a straightforward, intuitive interface that is designed to streamline the workflow. With a dedicated LCD screen and an array of buttons, users can navigate through the various functions with ease. The MMT-8 features real-time and step-time recording modes, providing options for different styles of input, whether one prefers to perform live or program sequences note-by-note.

In terms of sound manipulation, the MMT-8 includes advanced editing capabilities such as quantization, transposition, and velocity adjustments. These features allow musicians to refine their compositions and achieve a polished sound. Additionally, the sequencer supports note durations, triplets, and tuplets, which gives users even more control over timing and rhythm.

Another notable technology of the MMT-8 is its ability to sync with other MIDI devices. It supports MIDI Clock and Song Position Pointer, ensuring tight synchronization when being used in conjunction with other gear. Users can also take advantage of its extensive MIDI data transmission capabilities, which enable seamless interaction between the MMT-8 and external synthesizers, drum machines, and sound modules.

The Alesis MMT-8 has a built-in memory that allows for expansive storage capabilities, with the option to save and recall sequences easily. Users can store up to 40,000 notes and can manage multiple projects without worrying about running out of space. Additionally, the sequencer has a battery backup feature to safeguard data integrity.

In summary, the Alesis MMT-8 is a classic MIDI sequencer that combines powerful features, user-friendly interface, and solid reliability. Its 8-track sequencing capabilities, real-time and step-time recording options, and advanced editing functions make it a valuable tool for both novice and professional musicians looking to expand their creative horizons. Whether for studio work or live performances, the MMT-8 continues to be a respected choice in the landscape of MIDI sequencing technology.