Installation
Electrical Connection
Remove the cover plate at the back of the machine. Using copper conductors only, connect the power cable to the connectors. Refer to the instructions listed on the machine’s decal on how to connect the machine.
After electrical installation is complete, run the machine through a test cycle and check for clockwise basket rotation during the extract step. If rotation is not clockwise, disconnect the power from the machine and have a qualified electrician reverse any 2 motor leads at the AC drive terminal block.
Remote Liquid Supply Connection
Chemical Injection Supply System
WARNING
Dangerous Chemicals. May damage eyes and skin. Wear eye and hand protection when handling chemicals; always avoid direct contact with raw chemicals. Read the manufacturer’s directions for accidental contact before handling chemicals. Ensure an
W363
Undiluted chemical dripping can damage the machine. Therefore, all chemical supply dispenser pumps should be mounted below the washer’s injection point. All dispenser tubing should also run below the injection point. Loops do not prevent drips if these instructions are not followed. Failure to follow these instructions could damage the machine and void the warranty.
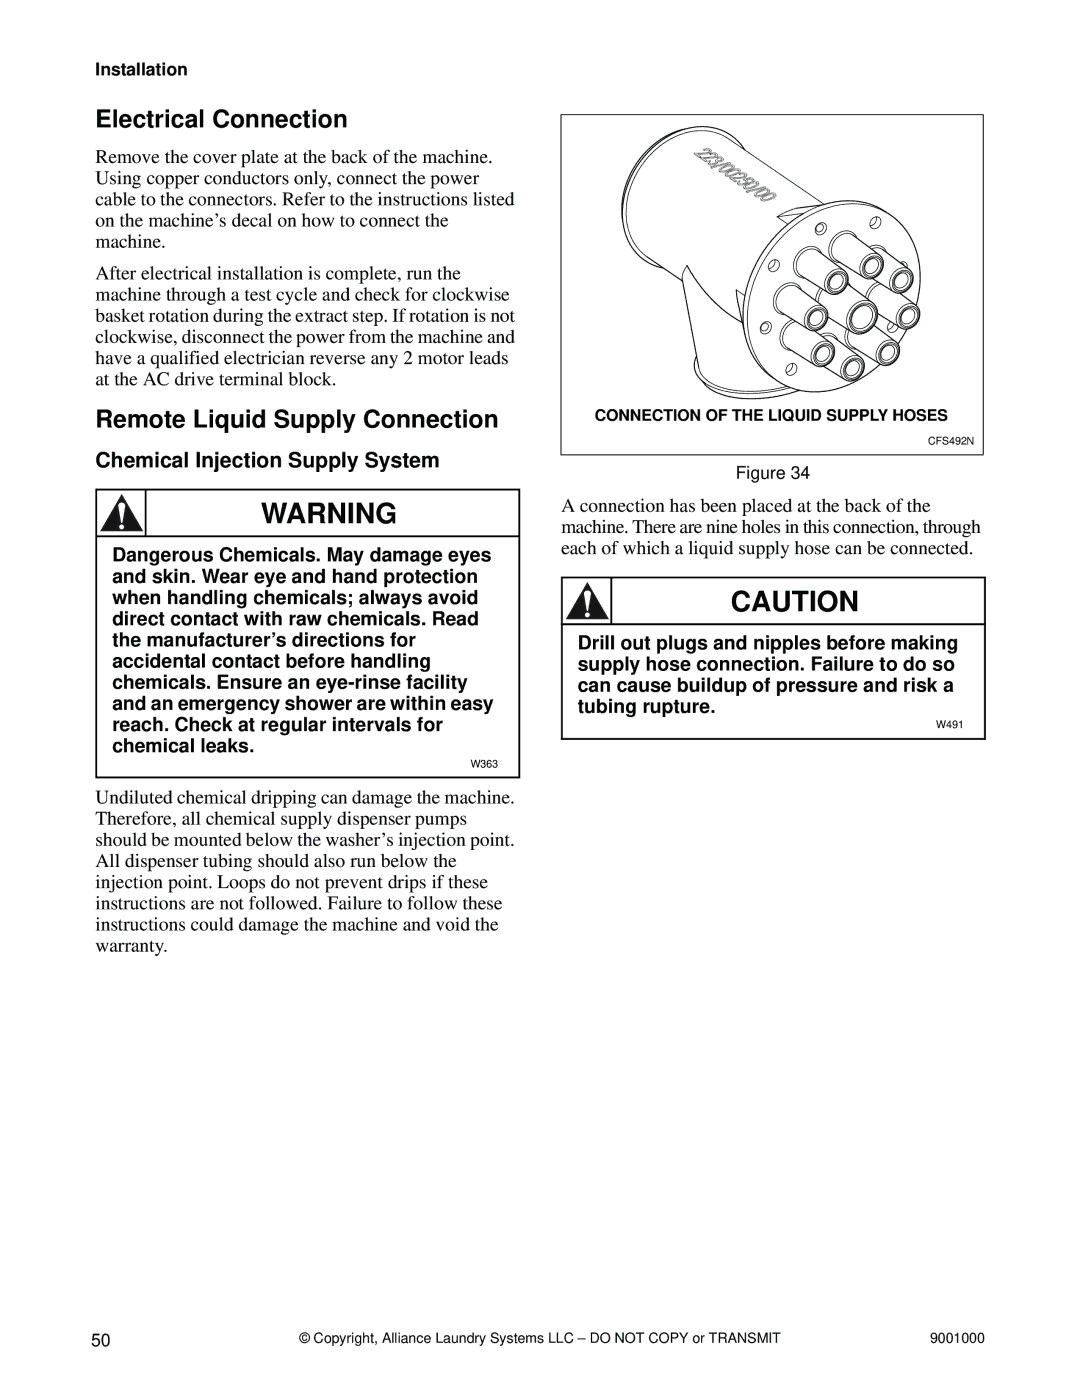
CONNECTION OF THE LIQUID SUPPLY HOSES |
CFS492N |
Figure 34
A connection has been placed at the back of the machine. There are nine holes in this connection, through each of which a liquid supply hose can be connected.
CAUTION
Drill out plugs and nipples before making supply hose connection. Failure to do so can cause buildup of pressure and risk a tubing rupture.
W491
50 | © Copyright, Alliance Laundry Systems LLC – DO NOT COPY or TRANSMIT | 9001000 |
