2.To Adjust Water Column Pressure (natural gas only, L.P. gas must be regulated at source):
a.Remove the slotted vent cap on the top of the valve.
b.Turn the slotted adjustment screw located on the top of the valve next to the terminals. Turn clockwise (CW) to increase manifold pressure and counterclockwise (CCW) to decrease.
NOTE: If correct W.C. pressure cannot be achieved, problems may be due to an undersized gas supply line, a faulty or underrated gas meter, etc.
To Convert from Natural Gas to L.P. Gas
NOTE: ALL dryers are sold as natural gas, unless otherwise specified at the time the dryer order was placed. For L.P. gas the dryer must be converted as follows.
1.Refer to “Replace Gas Valve” and follow Step #1 through Step #6.
2.Remove the four (4) screws which secure the top cap assembly. This assembly contains the regulator adjustment screw and the terminal connections.
3.Replace the top cap assembly with the L.P. version.
4.Unscrew main burner orifices and replace with L.P. orifices.
NOTE: Use extreme care when removing and replacing orifices. These orifices are made of brass and are easily damaged.
5. Reverse the procedure for reinstalling valve assembly to the dryer.
WARNING: Test ALL connections for leaks by brushing on a soapy water solution.
WARNING: NEVER TEST FOR LEAKS WITH A FLAME!!!
NOTE: There is no regulator provided in an L.P. dryer. The column pressure must be regulated at the source (L.P. tank) or an external regulator must be added to each dryer.
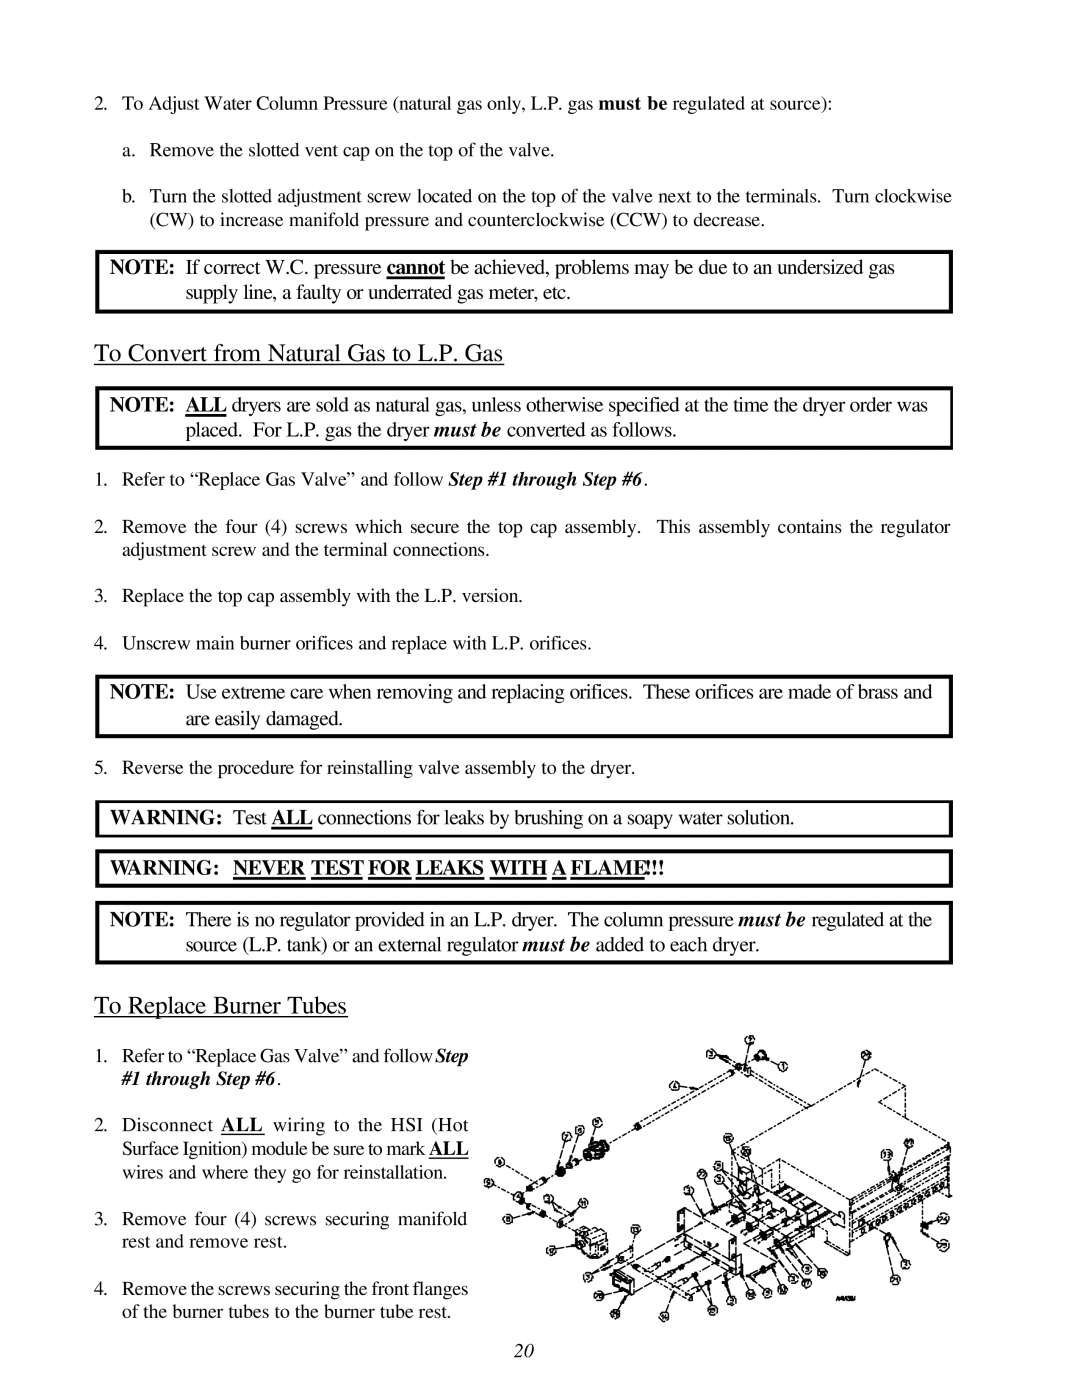
To Replace Burner Tubes
1. Refer to “Replace Gas Valve” and follow Step #1 through Step #6.
2. Disconnect ALL wiring to the HSI (Hot Surface Ignition) module be sure to mark ALL wires and where they go for reinstallation.
3. Remove four (4) screws securing manifold rest and remove rest.
4. Remove the screws securing the front flanges of the burner tubes to the burner tube rest.
20