4.0 Installation
4.5 Manual operation
If you do not wish to use the UPS’s
4.5.1 Plug loads into UPS
Plug all equipment to be protected by backup power into the outlets on the rear of the UPS. Make sure that all of the devices you plug into the UPS’s outlets are turned on.
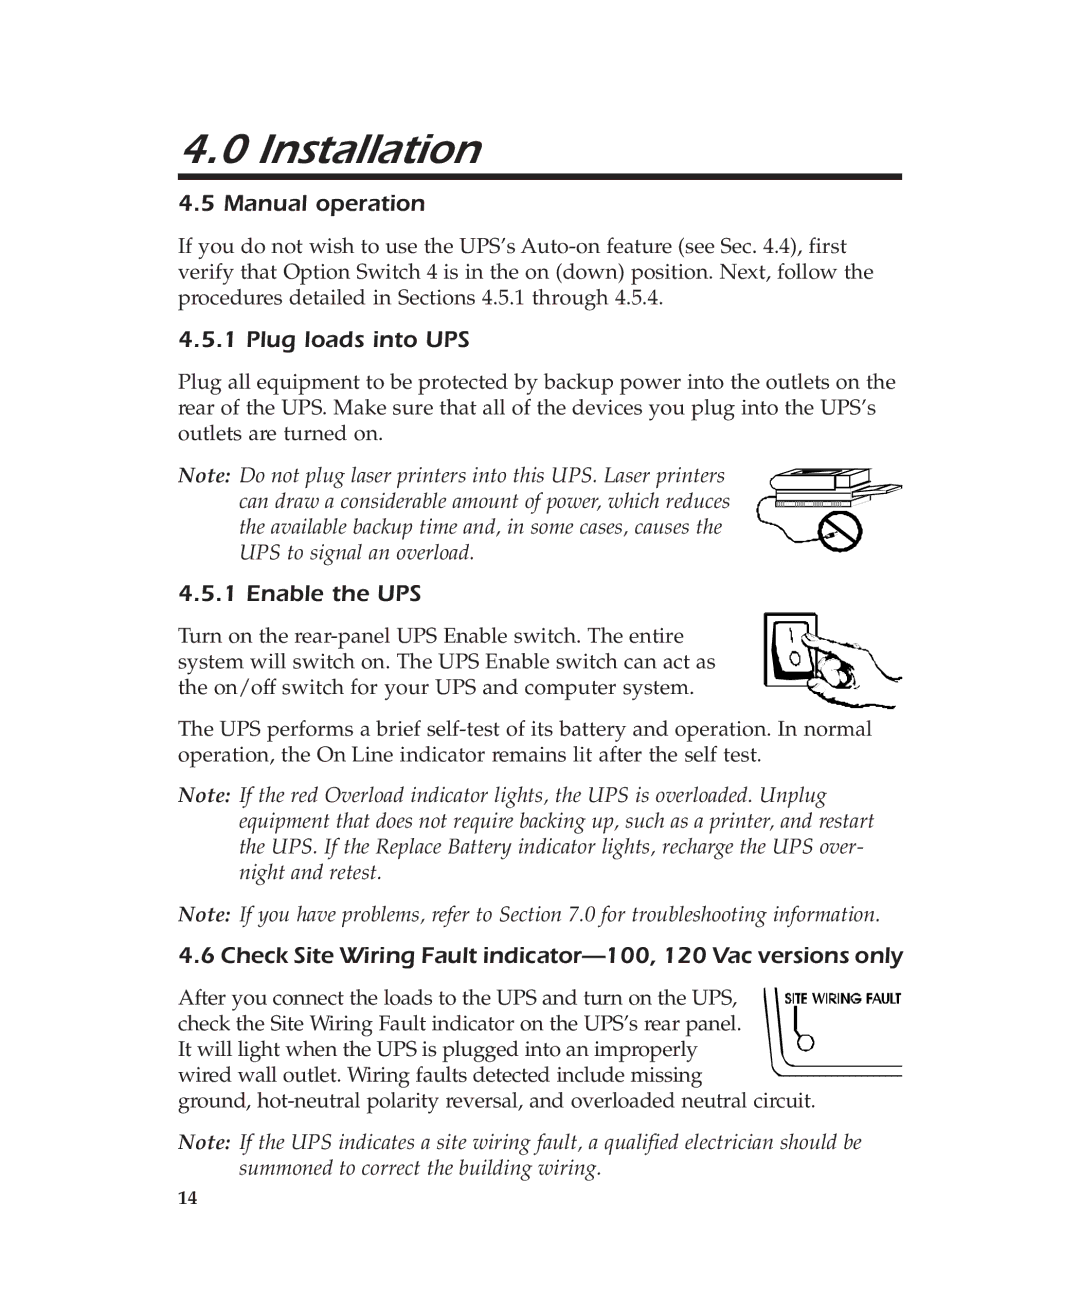
Note: Do not plug laser printers into this UPS. Laser printers can draw a considerable amount of power, which reduces the available backup time and, in some cases, causes the UPS to signal an overload.
4.5.1 Enable the UPS
Turn on the
The UPS performs a brief
Note: If the red Overload indicator lights, the UPS is overloaded. Unplug equipment that does not require backing up, such as a printer, and restart the UPS. If the Replace Battery indicator lights, recharge the UPS over- night and retest.
Note: If you have problems, refer to Section 7.0 for troubleshooting information.
4.6 Check Site Wiring Fault
After you connect the loads to the UPS and turn on the UPS, check the Site Wiring Fault indicator on the UPS’s rear panel.
It will light when the UPS is plugged into an improperly wired wall outlet. Wiring faults detected include missing
ground,
Note: If the UPS indicates a site wiring fault, a qualified electrician should be summoned to correct the building wiring.
14