8 Updating your Gmini Operating System (OS) software
Archos regularly makes software updates (correction of bugs) and upgrades (additional functions and features) for its products. These are free of charge and downloadable from the Archos website. Simply go to our website www.archos.com, and in the Software section, locate your Gmini product and download the GMINI200.AOS file to your computer. Make sure you keep a safe copy of this file in case you need it again.
8.1.1 Downloading the .AOS file
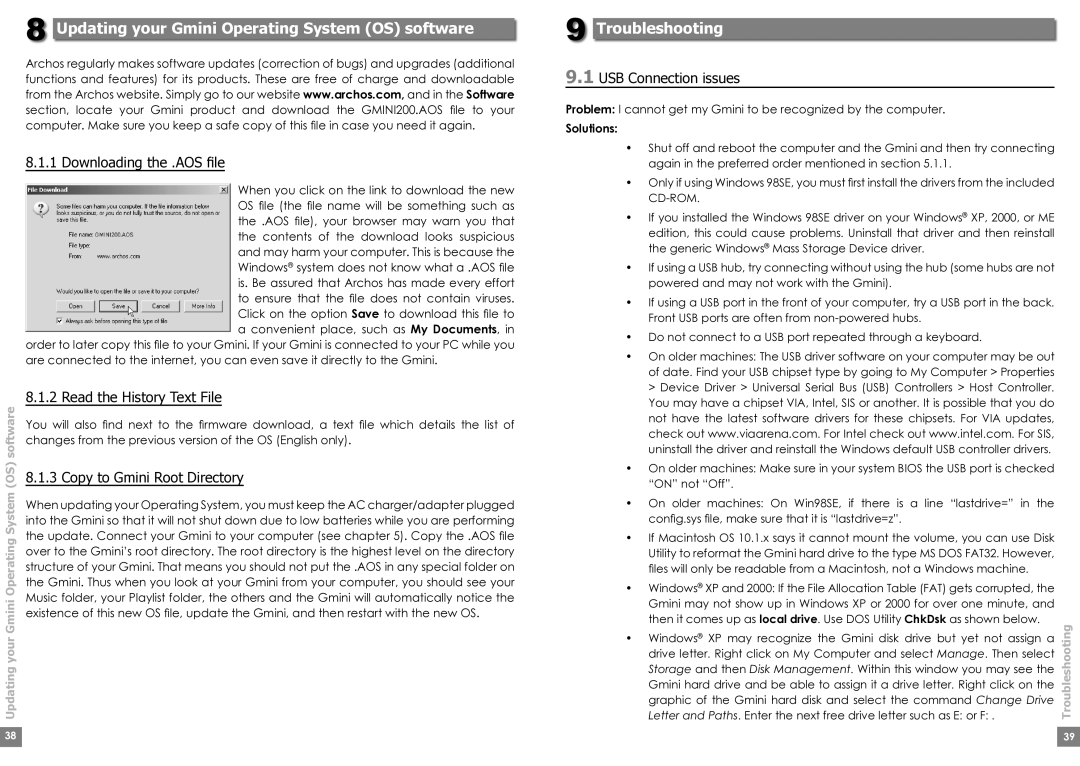
When you click on the link to download the new OS file (the file name will be something such as the .AOS file), your browser may warn you that the contents of the download looks suspicious and may harm your computer. This is because the Windows® system does not know what a .AOS file is. Be assured that Archos has made every effort to ensure that the file does not contain viruses. Click on the option Save to download this file to a convenient place, such as My Documents, in
order to later copy this file to your Gmini. If your Gmini is connected to your PC while you are connected to the internet, you can even save it directly to the Gmini.
8.1.2 Read the History Text File
software | You will also find next to the firmware download, a text file which details the list of | |
| ||
| changes from the previous version of the OS (English only). | |
(OS) | 8.1.3 Copy to Gmini Root Directory | |
System | When updating your Operating System, you must keep the AC charger/adapter plugged | |
| ||
| into the Gmini so that it will not shut down due to low batteries while you are performing | |
Operating | the update. Connect your Gmini to your computer (see chapter 5). Copy the .AOS file | |
over to the Gmini’s root directory. The root directory is the highest level on the directory | ||
| ||
| structure of your Gmini. That means you should not put the .AOS in any special folder on | |
| the Gmini. Thus when you look at your Gmini from your computer, you should see your | |
GminiyourUpdating | Music folder, your Playlist folder, the others and the Gmini will automatically notice the | |
existence of this new OS file, update the Gmini, and then restart with the new OS. | ||
|
9 Troubleshooting
9.1USB Connection issues
Problem: I cannot get my Gmini to be recognized by the computer.
Solutions:
• Shut off and reboot the computer and the Gmini and then try connecting
again in the preferred order mentioned in section 5.1.1. |
|
• Only if using Windows 98SE, you must first install the drivers from the included |
|
|
|
• If you installed the Windows 98SE driver on your Windows® XP, 2000, or ME |
|
edition, this could cause problems. Uninstall that driver and then reinstall |
|
the generic Windows® Mass Storage Device driver. |
|
• If using a USB hub, try connecting without using the hub (some hubs are not |
|
powered and may not work with the Gmini). |
|
• If using a USB port in the front of your computer, try a USB port in the back. |
|
Front USB ports are often from |
|
• Do not connect to a USB port repeated through a keyboard. |
|
• On older machines: The USB driver software on your computer may be out |
|
of date. Find your USB chipset type by going to My Computer > Properties |
|
> Device Driver > Universal Serial Bus (USB) Controllers > Host Controller. |
|
You may have a chipset VIA, Intel, SIS or another. It is possible that you do |
|
not have the latest software drivers for these chipsets. For VIA updates, |
|
check out www.viaarena.com. For Intel check out www.intel.com. For SIS, |
|
uninstall the driver and reinstall the Windows default USB controller drivers. |
|
• On older machines: Make sure in your system BIOS the USB port is checked |
|
“ON” not “Off”. |
|
• On older machines: On Win98SE, if there is a line “lastdrive=” in the |
|
config.sys file, make sure that it is “lastdrive=z”. |
|
• If Macintosh OS 10.1.x says it cannot mount the volume, you can use Disk |
|
Utility to reformat the Gmini hard drive to the type MS DOS FAT32. However, |
|
files will only be readable from a Macintosh, not a Windows machine. |
|
• Windows® XP and 2000: If the File Allocation Table (FAT) gets corrupted, the |
|
Gmini may not show up in Windows XP or 2000 for over one minute, and |
|
then it comes up as local drive. Use DOS Utility ChkDsk as shown below. | Troubleshooting |
Letter and Paths. Enter the next free drive letter such as E: or F: . | |
• Windows® XP may recognize the Gmini disk drive but yet not assign a |
|
drive letter. Right click on My Computer and select Manage. Then select |
|
Storage and then Disk Management. Within this window you may see the |
|
Gmini hard drive and be able to assign it a drive letter. Right click on the |
|
graphic of the Gmini hard disk and select the command Change Drive |
|
38 |
| 39 |
|
|
|