3. HARDWARE SETUP

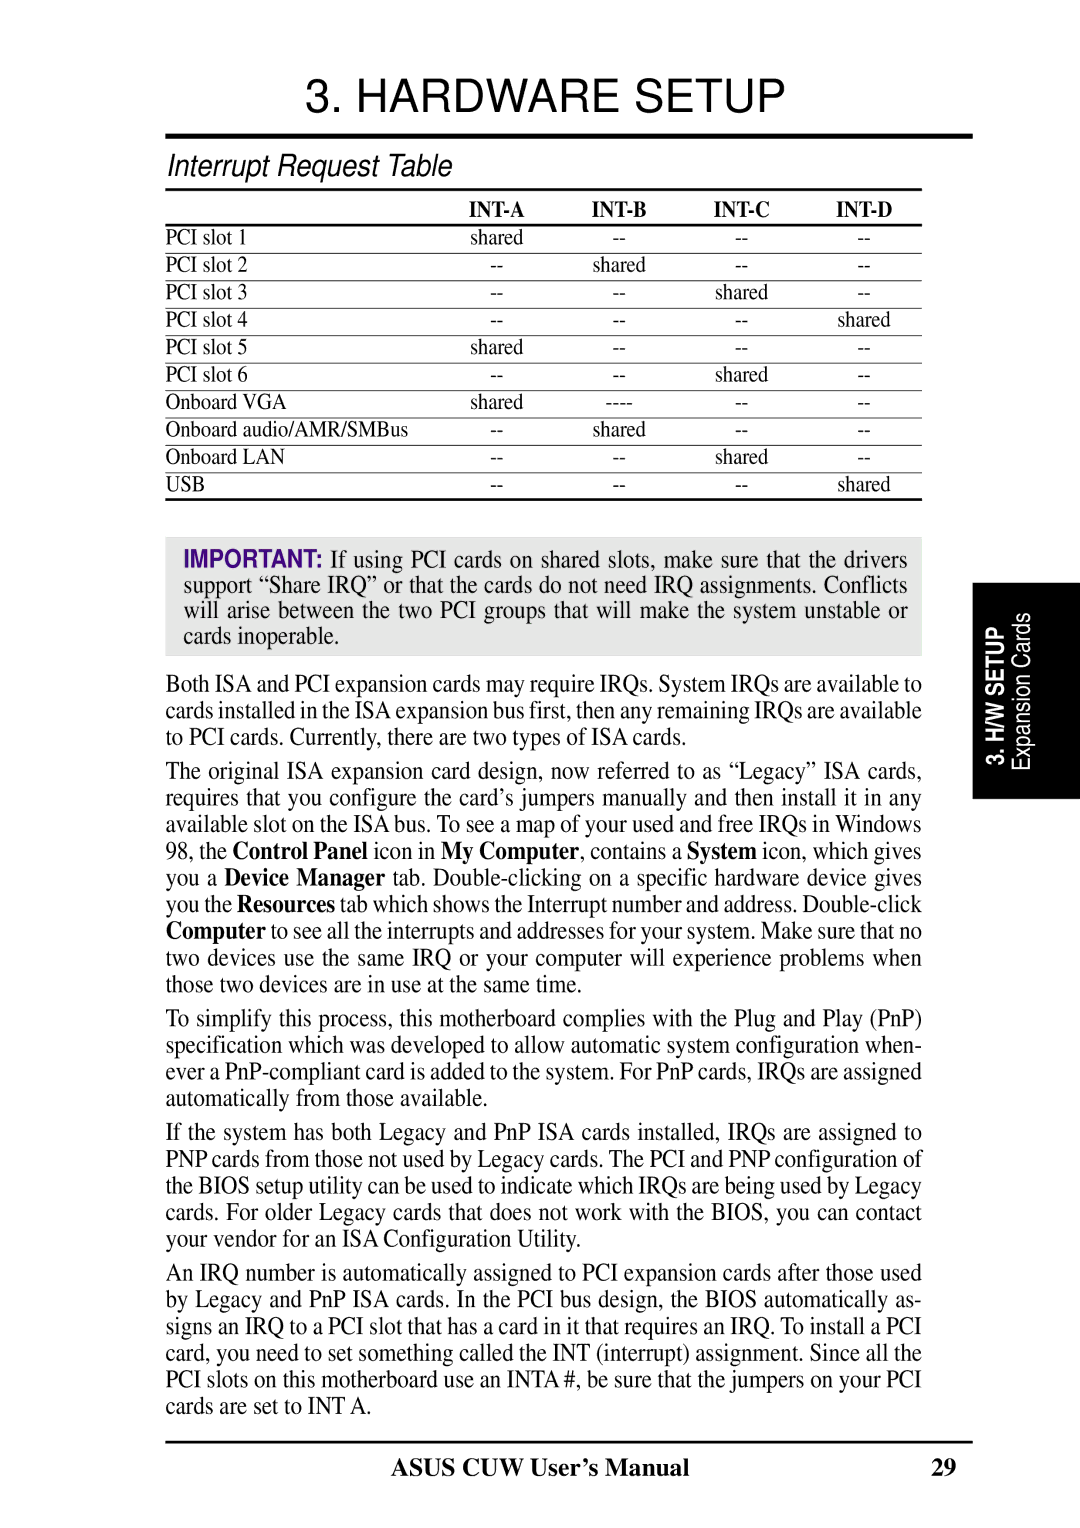
Interrupt Request Table


INT-A

INT-B

INT-C

INT-D

PCI slot 1

shared

--

--

--

PCI slot 2

--

shared

--

--

PCI slot 3

--

--

shared

--

PCI slot 4

--

--

--

shared

PCI slot 5

shared

--

--

--

PCI slot 6

--

--

shared

--

Onboard VGA

shared

----

--

--

Onboard audio/AMR/SMBus

--

shared

--

--

Onboard LAN

--

--

shared

--

USB

--

--

--

shared

IMPORTANT: If using PCI cards on shared slots, make sure that the drivers support “Share IRQ” or that the cards do not need IRQ assignments. Conflicts will arise between the two PCI groups that will make the system unstable or cards inoperable.

Both ISA and PCI expansion cards may require IRQs. System IRQs are available to cards installed in the ISA expansion bus first, then any remaining IRQs are available to PCI cards. Currently, there are two types of ISA cards.

The original ISA expansion card design, now referred to as “Legacy” ISA cards, requires that you configure the card’s jumpers manually and then install it in any available slot on the ISA bus. To see a map of your used and free IRQs in Windows 98, the Control Panel icon in My Computer, contains a System icon, which gives you a Device Manager tab. Double-clicking on a specific hardware device gives you the Resources tab which shows the Interrupt number and address. Double-click Computer to see all the interrupts and addresses for your system. Make sure that no two devices use the same IRQ or your computer will experience problems when those two devices are in use at the same time.

To simplify this process, this motherboard complies with the Plug and Play (PnP) specification which was developed to allow automatic system configuration when- ever a PnP-compliant card is added to the system. For PnP cards, IRQs are assigned automatically from those available.

If the system has both Legacy and PnP ISA cards installed, IRQs are assigned to PNP cards from those not used by Legacy cards. The PCI and PNP configuration of the BIOS setup utility can be used to indicate which IRQs are being used by Legacy cards. For older Legacy cards that does not work with the BIOS, you can contact your vendor for an ISA Configuration Utility.

An IRQ number is automatically assigned to PCI expansion cards after those used by Legacy and PnP ISA cards. In the PCI bus design, the BIOS automatically as- signs an IRQ to a PCI slot that has a card in it that requires an IRQ. To install a PCI card, you need to set something called the INT (interrupt) assignment. Since all the PCI slots on this motherboard use an INTA #, be sure that the jumpers on your PCI cards are set to INT A.

.3 SETUPH/W

Expansion Cards

ASUS CUW User’s Manual

29

Page 29
Image 29
Asus 810 user manual Interrupt Request Table, Int-B

810 specifications

The Asus 810 is a powerful and versatile desktop computer designed to meet the diverse needs of users, including gamers, professionals, and casual users. This advanced machine offers exceptional performance, cutting-edge features, and a stylish design that make it a compelling choice in the modern computing landscape.

One of the standout features of the Asus 810 is its robust hardware configuration. Equipped with the latest processors, such as Intel’s Core i7 or AMD Ryzen series, users can experience lightning-fast speeds and seamless multitasking capabilities. The device supports substantial memory options, often allowing for up to 32GB of RAM or more, enabling efficient handling of resource-intensive applications and demanding tasks.

The graphics performance of the Asus 810 is equally impressive, with options for dedicated NVIDIA GeForce or AMD Radeon graphics cards. Gamers and graphic designers will appreciate the smooth frame rates and stunning visuals, making it a perfect fit for gaming, video editing, and 3D rendering.

Storage is another significant aspect of the Asus 810. It typically offers a combination of Solid State Drives (SSD) and Hard Disk Drives (HDD), allowing users to enjoy the rapid loading times of SSDs while having ample storage for large files and applications on HDDs. This hybrid setup strikes a balance between speed and capacity, ideal for users with varying storage needs.

Connectivity is a strong suit of the Asus 810, featuring multiple USB ports, HDMI outputs, and audio jacks to accommodate a wide array of peripherals. The inclusion of Wi-Fi 6 technology ensures high-speed internet access, while Bluetooth capability allows for seamless integration with wireless devices.

The design of the Asus 810 is both elegant and functional, often featuring a compact chassis that fits well in any workspace. This is coupled with efficient cooling systems to maintain optimal performance during intense computing sessions, reducing the risk of overheating.

In summary, the Asus 810 is a powerful desktop PC that caters to the needs of a diverse user base. With its impressive performance, versatility, and stylish design, this machine is well-suited for everything from gaming and multimedia editing to everyday tasks. Whether for personal use or professional environments, the Asus 810 stands as a reliable and efficient computing solution.