Chapter 3 Getting Started
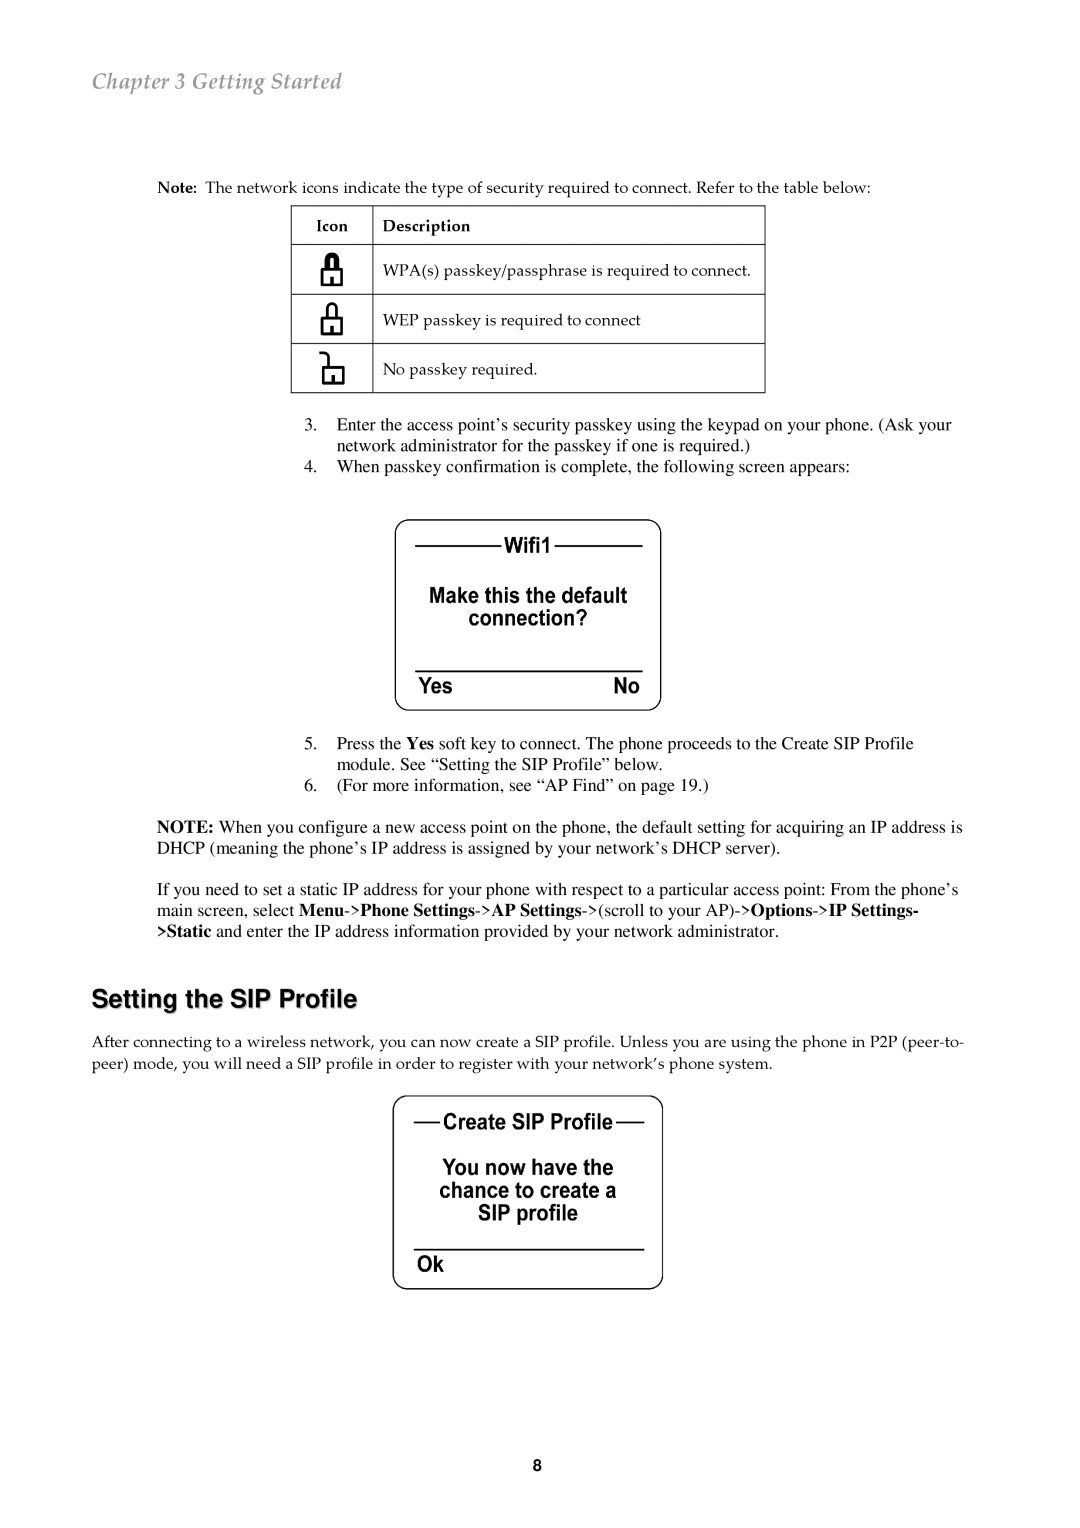
Note: The network icons indicate the type of security required to connect. Refer to the table below:
Icon Description
WPA(s) passkey/passphrase is required to connect.
WEP passkey is required to connect
No passkey required.
3.Enter the access point’s security passkey using the keypad on your phone. (Ask your network administrator for the passkey if one is required.)
4.When passkey confirmation is complete, the following screen appears:
5.Press the Yes soft key to connect. The phone proceeds to the Create SIP Profile module. See “Setting the SIP Profile” below.
6.(For more information, see “AP Find” on page 19.)
NOTE: When you configure a new access point on the phone, the default setting for acquiring an IP address is DHCP (meaning the phone’s IP address is assigned by your network’s DHCP server).
If you need to set a static IP address for your phone with respect to a particular access point: From the phone’s main screen, select
Setting the SIP Profile
After connecting to a wireless network, you can now create a SIP profile. Unless you are using the phone in P2P
8
