Using Personal Group Lists
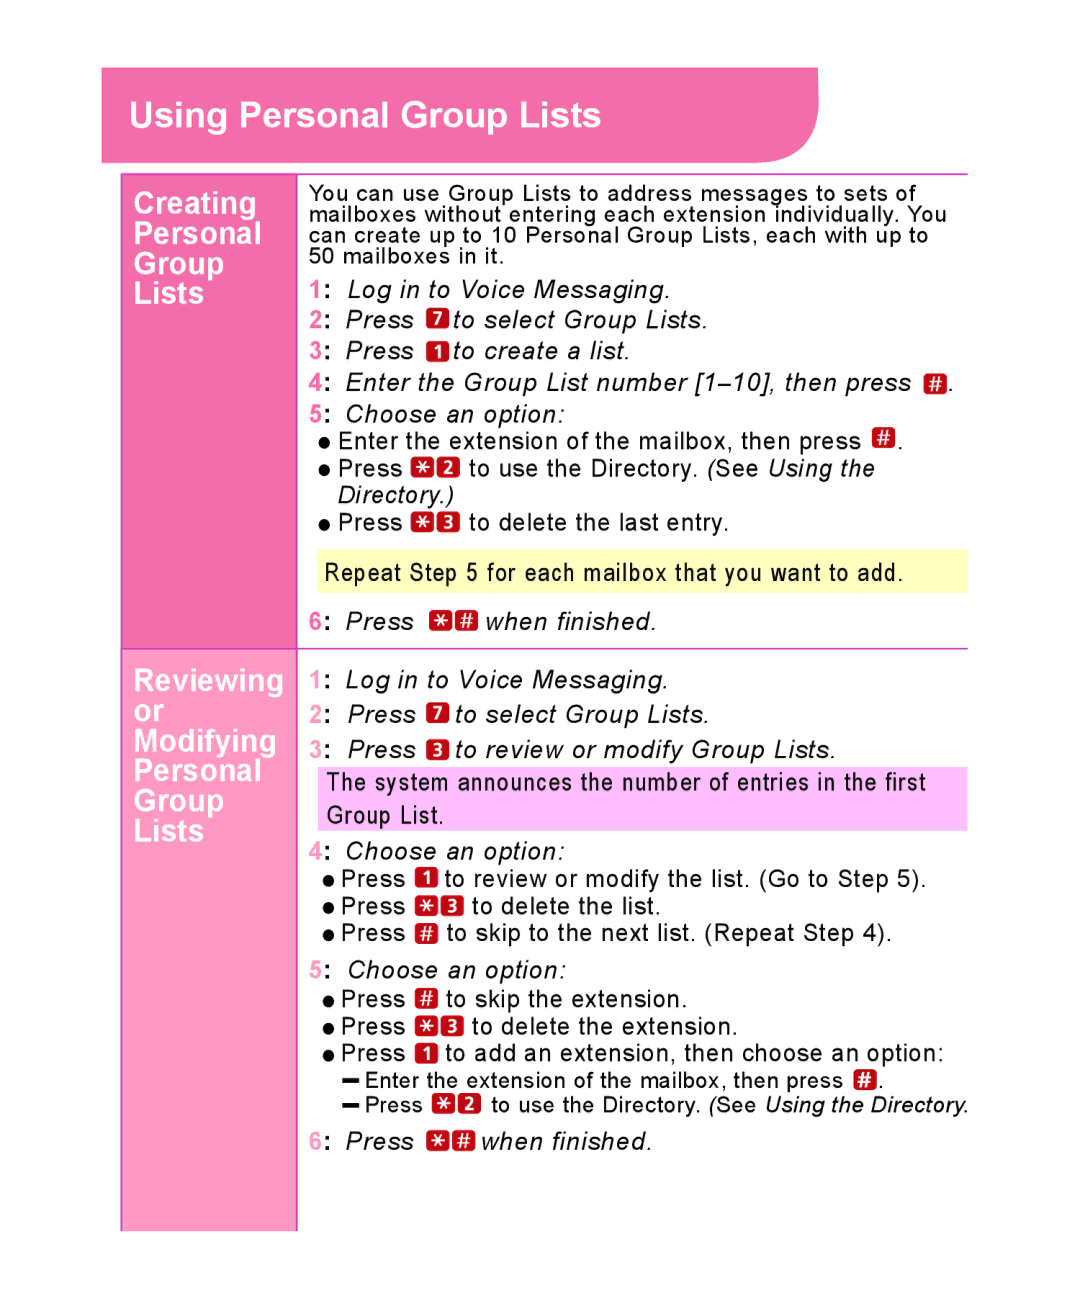
Creating | You can use Group Lists to address messages to sets of | |
mailboxes without entering each extension individually. You | ||
Personal | can create up to 10 Personal Group Lists, each with up to | |
Group | 50 mailboxes in it. | |
Lists | 1: Log in to Voice Messaging. | |
| 2: Press | to select Group Lists. |
| 3: Press | to create a list. |
| 4: Enter the Group List number | |
| 5: Choose an option: | |
| Enter the extension of the mailbox, then press . | |
| Press | to use the Directory. (See Using the |
| Directory.) | |
| Press | to delete the last entry. |
| Repeat Step 5 for each mailbox that you want to add. | |
| 6: Press | when finished. |
|
| |
Reviewing | 1: Log in to Voice Messaging. | |
or | 2: Press | to select Group Lists. |
Modifying | 3: Press | to review or modify Group Lists. |
Personal | The system announces the number of entries in the first | |
Group | Group List. |
|
Lists | 4: Choose an option: | |
| Press | to review or modify the list. (Go to Step 5). |
| Press | to delete the list. |
| Press | to skip to the next list. (Repeat Step 4). |
| 5: Choose an option: | |
| Press | to skip the extension. |
| Press | to delete the extension. |
| Press | to add an extension, then choose an option: |
| Enter the extension of the mailbox, then press . | |
| Press | to use the Directory. (See Using the Directory. |
6: Press ![]()
![]() when finished.
when finished.
