Using the Belkin Wireless Network Utility
Using the Profiles Manager View
Using profiles is a convenient way to quickly and easily connect to networks if you travel between multiple wireless networks. For example, your primary wireless network may be at home, but you also use a wireless network at work. Each of these networks likely has different settings. For instance, the network at your workplace uses encryption, but the wireless network at home does not. Also, each of these networks has a different name (or SSID). Trying to keep track of these differences is made easier with the profile manager. Every time you successfully connect to a network, the profile manager will remember that network’s settings for use at a later time. This means that after the first time you connect your computer to the network at your workplace, you won’t have to
Creating and Using a Profile
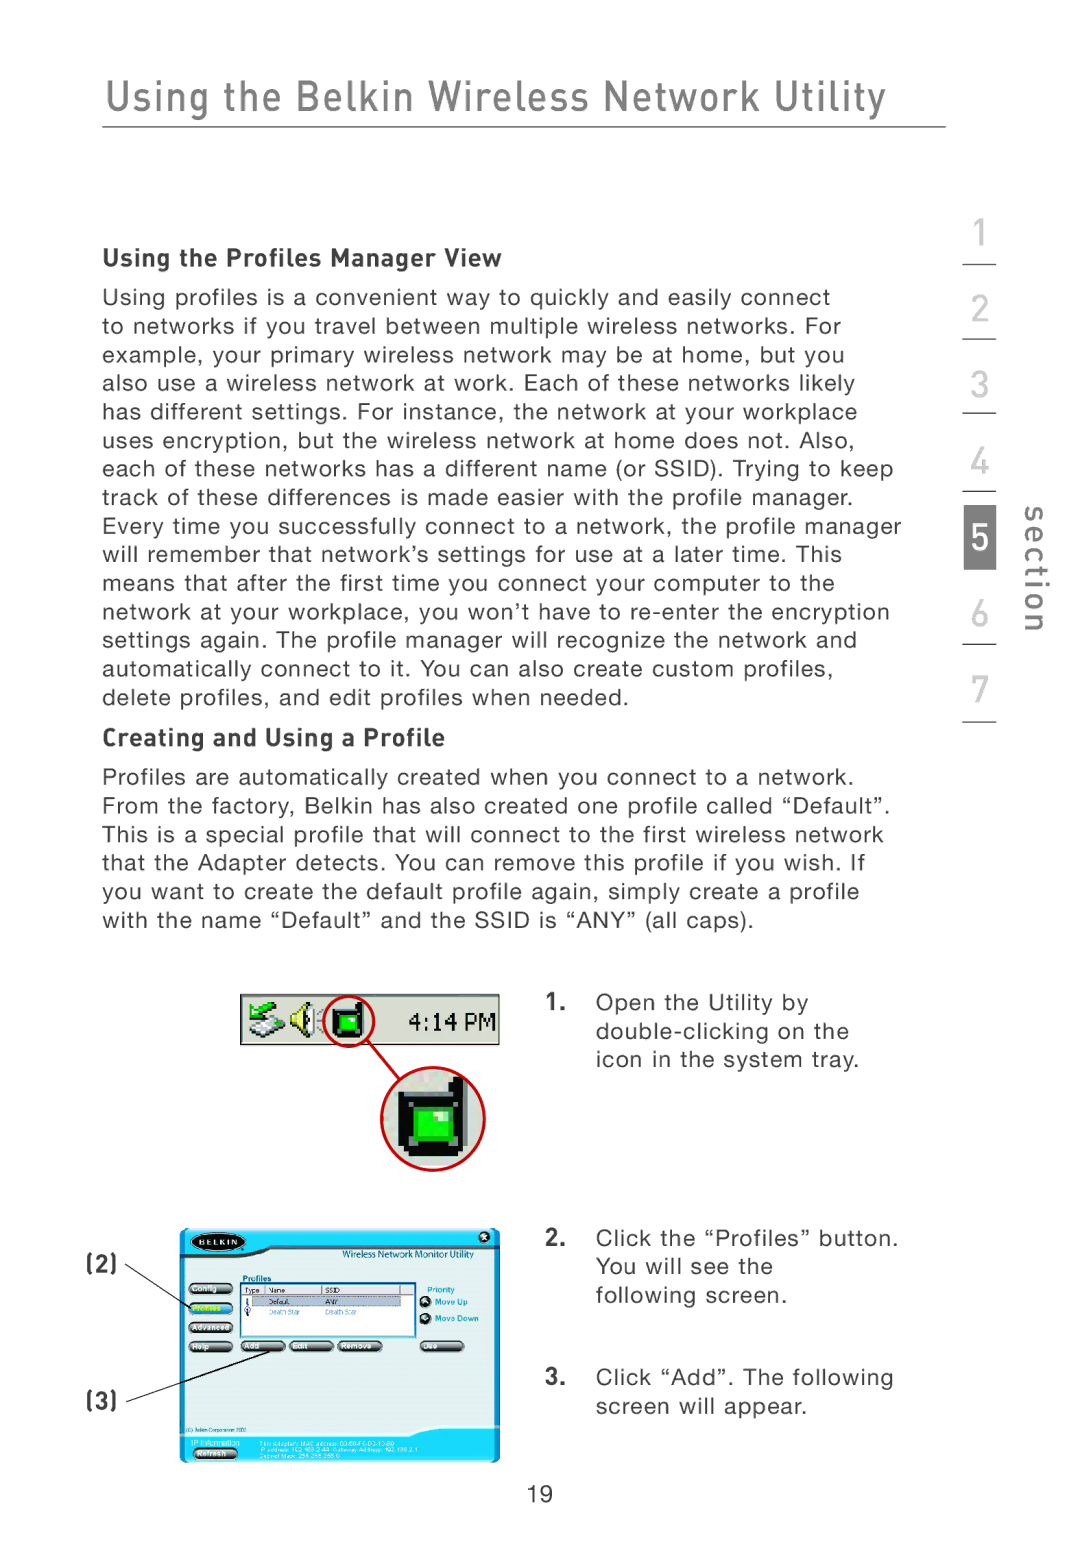
Profiles are automatically created when you connect to a network. From the factory, Belkin has also created one profile called “Default”. This is a special profile that will connect to the first wireless network that the Adapter detects. You can remove this profile if you wish. If you want to create the default profile again, simply create a profile with the name “Default” and the SSID is “ANY” (all caps).
1. Open the Utility by
1
2
3
4
6 | section |
5 |
|
7
2. Click the “Profiles” button.
(2)You will see the following screen.
(3) | 3. Click “Add”. The following |
screen will appear. |
19
