Using the Belkin Wireless Network Utility
Connecting to a Wireless Network
After you install your Adapter for the first time, it will connect to your wireless network automatically. You should not have to do anything further to connect to a network. To manually connect to a wireless network, see the steps below.
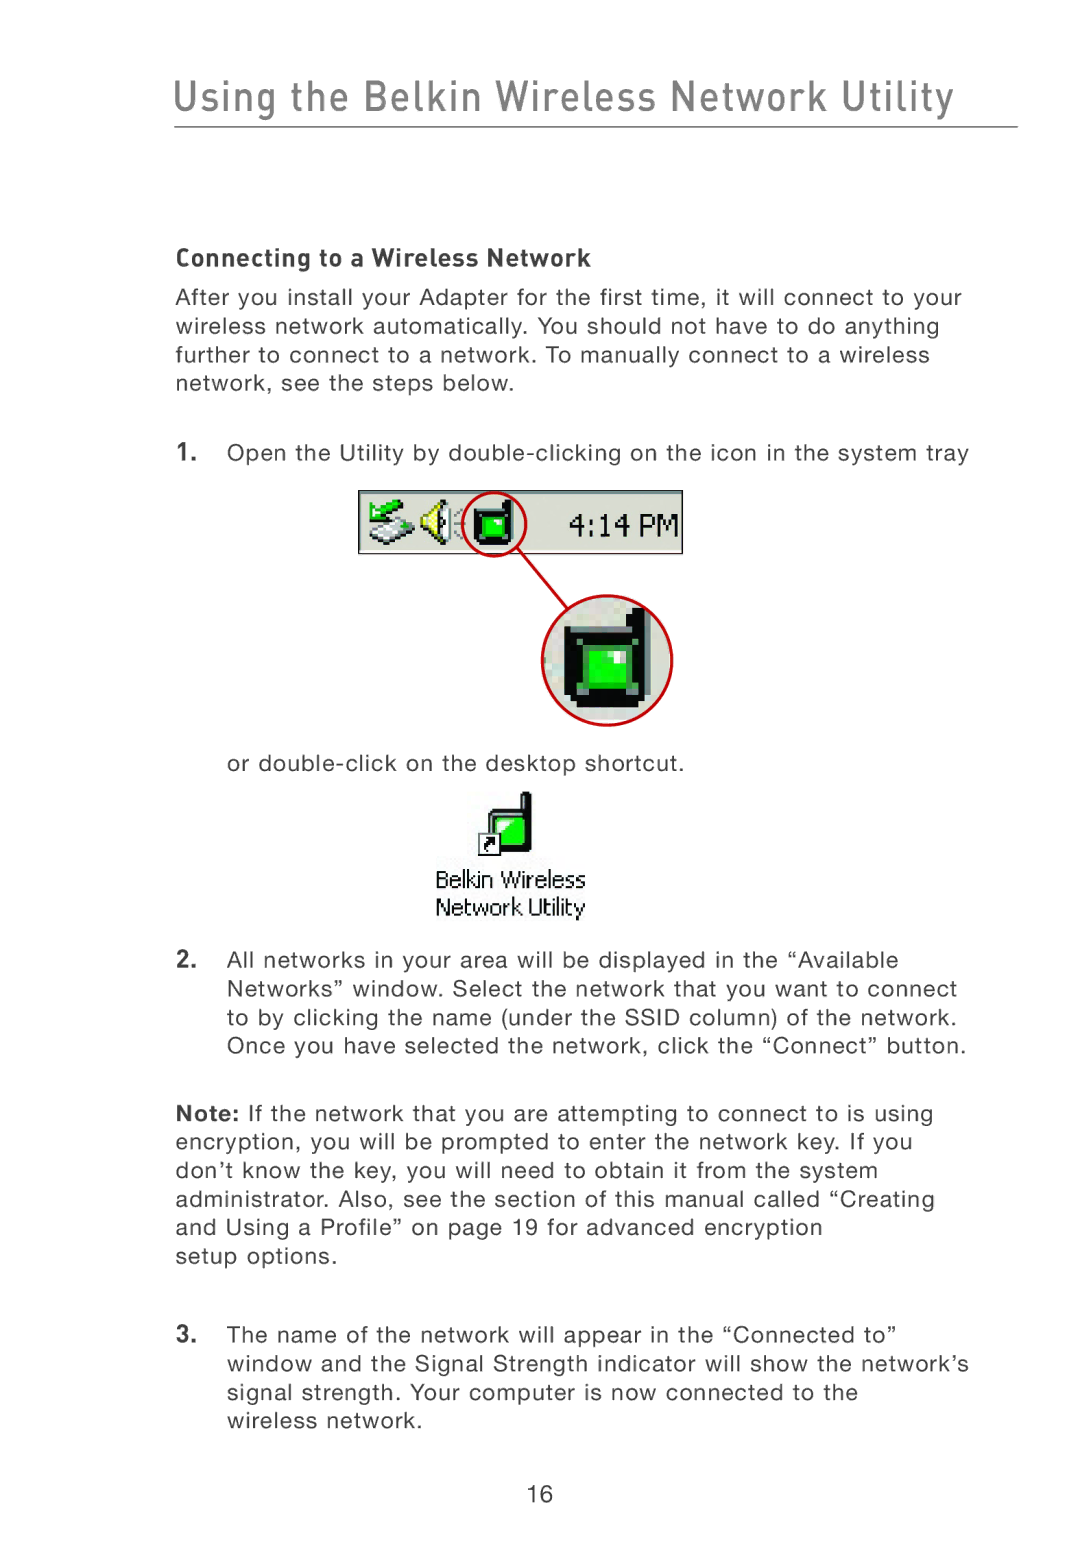
1.Open the Utility by
or
2.All networks in your area will be displayed in the “Available Networks” window. Select the network that you want to connect to by clicking the name (under the SSID column) of the network. Once you have selected the network, click the “Connect” button.
Note: If the network that you are attempting to connect to is using encryption, you will be prompted to enter the network key. If you don’t know the key, you will need to obtain it from the system administrator. Also, see the section of this manual called “Creating and Using a Profile” on page 19 for advanced encryption
setup options.
3.The name of the network will appear in the “Connected to” window and the Signal Strength indicator will show the network’s signal strength. Your computer is now connected to the wireless network.
16
