Auto-adjusting the image
In some cases, you may need to optimize the picture quality.
•Using the remote control
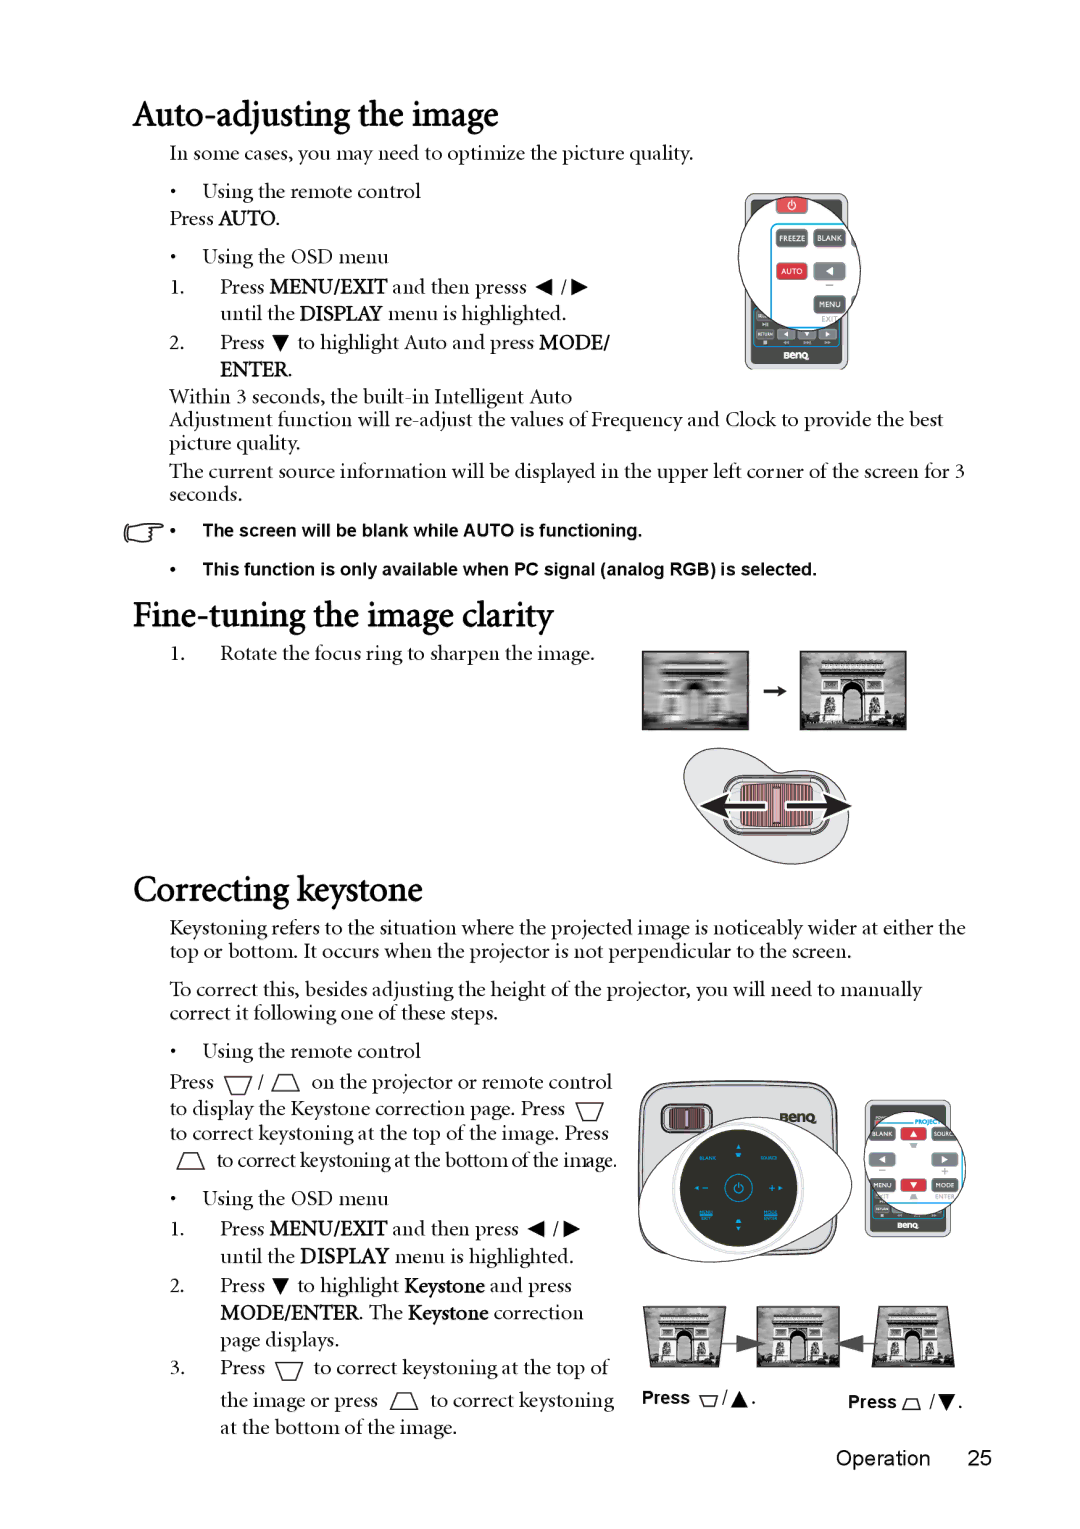
Press AUTO.
• Using the OSD menu
1. Press MENU/EXIT and then presss ![]() /
/ ![]() until the DISPLAY menu is highlighted.
until the DISPLAY menu is highlighted.
2. Press ![]() to highlight Auto and press MODE/
to highlight Auto and press MODE/
ENTER.
Within 3 seconds, the
Adjustment function will
The current source information will be displayed in the upper left corner of the screen for 3 seconds.
![]() • The screen will be blank while AUTO is functioning.
• The screen will be blank while AUTO is functioning.
•This function is only available when PC signal (analog RGB) is selected.
Fine-tuning the image clarity
1.Rotate the focus ring to sharpen the image.
Correcting keystone
Keystoning refers to the situation where the projected image is noticeably wider at either the top or bottom. It occurs when the projector is not perpendicular to the screen.
To correct this, besides adjusting the height of the projector, you will need to manually correct it following one of these steps.
•Using the remote control
Press ![]() /
/ ![]() on the projector or remote control to display the Keystone correction page. Press
on the projector or remote control to display the Keystone correction page. Press ![]() to correct keystoning at the top of the image. Press to correct keystoning at the bottom of the image.
to correct keystoning at the top of the image. Press to correct keystoning at the bottom of the image.
• Using the OSD menu
1. Press MENU/EXIT and then press ![]() /
/ ![]() until the DISPLAY menu is highlighted.
until the DISPLAY menu is highlighted.
2.Press ![]() to highlight Keystone and press MODE/ENTER. The Keystone correction
to highlight Keystone and press MODE/ENTER. The Keystone correction
page displays.
3.Press ![]() to correct keystoning at the top of
to correct keystoning at the top of
the image or press | to correct keystoning Press / . | Press | / . |
at the bottom of the image.
Operation 25
