•Replace the spool cover by aligning both tabs on it (13) with the slots in the spool housing and pushing them into place.
Make sure that both tabs are securely located.
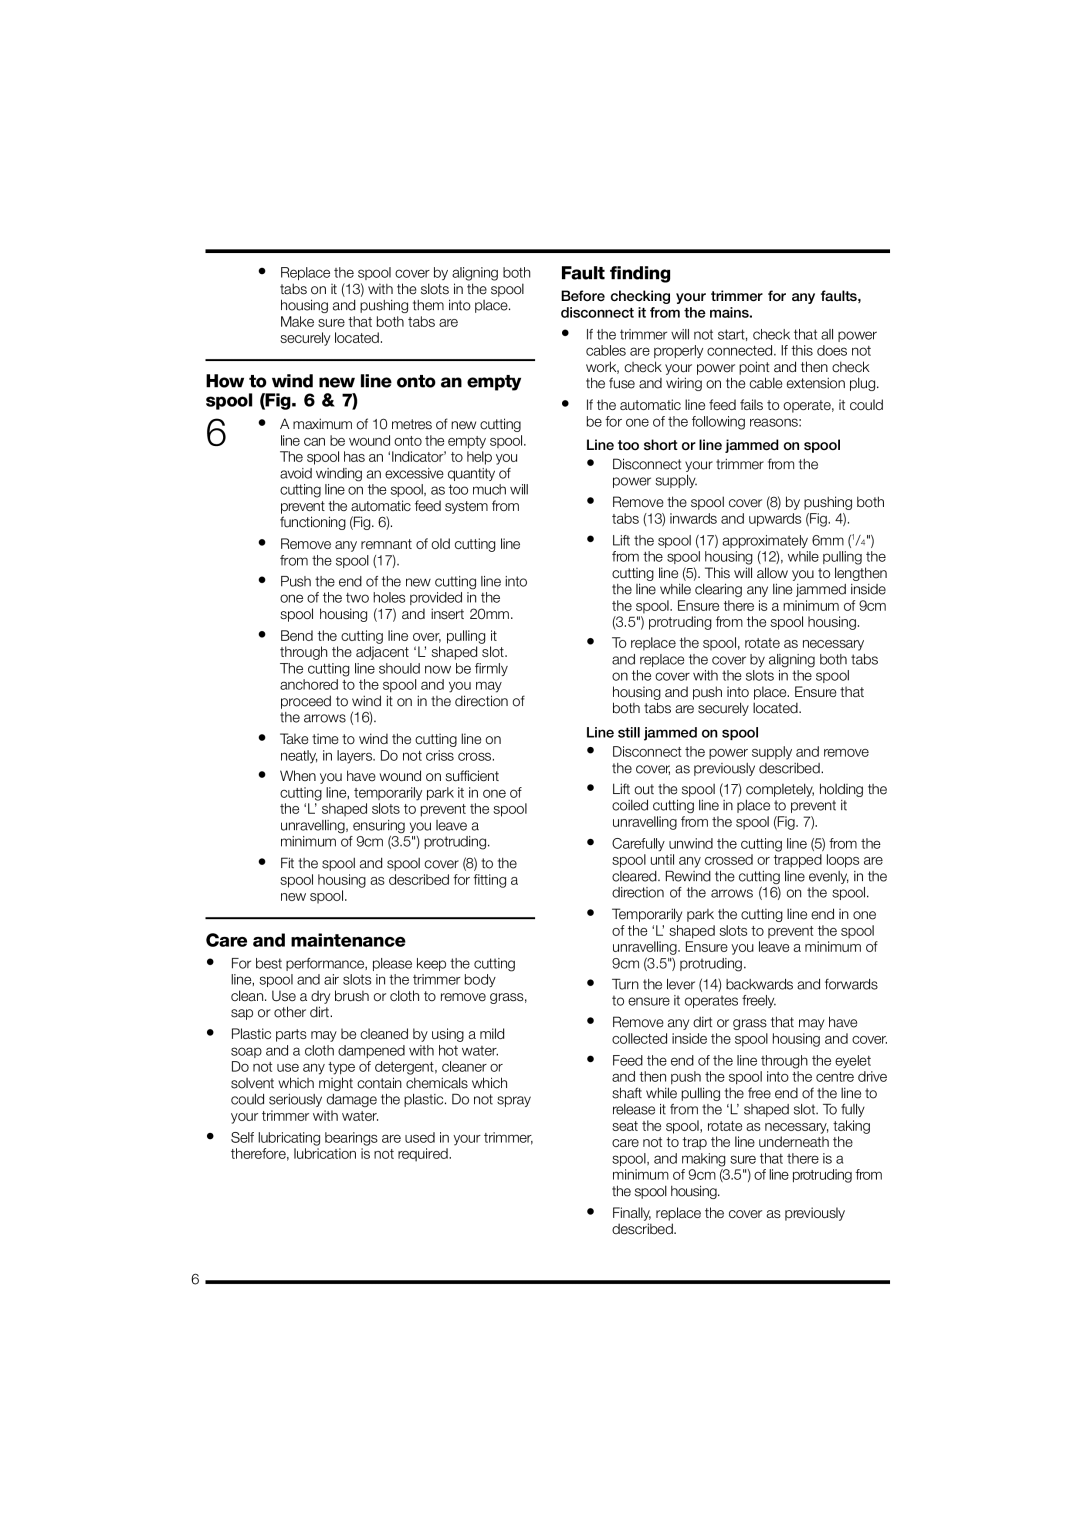
How to wind new line onto an empty spool (Fig. 6 & 7)
6 | • A maximum of 10 metres of new cutting |
line can be wound onto the empty spool. |
The spool has an ‘Indicator’ to help you avoid winding an excessive quantity of cutting line on the spool, as too much will prevent the automatic feed system from functioning (Fig. 6).
• Remove any remnant of old cutting line from the spool (17).
• Push the end of the new cutting line into one of the two holes provided in the spool housing (17) and insert 20mm.
• Bend the cutting line over, pulling it through the adjacent ‘L’ shaped slot. The cutting line should now be firmly anchored to the spool and you may proceed to wind it on in the direction of the arrows (16).
• Take time to wind the cutting line on neatly, in layers. Do not criss cross.
• When you have wound on sufficient cutting line, temporarily park it in one of the ‘L’ shaped slots to prevent the spool unravelling, ensuring you leave a minimum of 9cm (3.5") protruding.
• Fit the spool and spool cover (8) to the spool housing as described for fitting a new spool.
Care and maintenance
•For best performance, please keep the cutting line, spool and air slots in the trimmer body clean. Use a dry brush or cloth to remove grass, sap or other dirt.
•Plastic parts may be cleaned by using a mild soap and a cloth dampened with hot water. Do not use any type of detergent, cleaner or solvent which might contain chemicals which could seriously damage the plastic. Do not spray your trimmer with water.
•Self lubricating bearings are used in your trimmer, therefore, lubrication is not required.
Fault finding
Before checking your trimmer for any faults, disconnect it from the mains.
•If the trimmer will not start, check that all power cables are properly connected. If this does not work, check your power point and then check the fuse and wiring on the cable extension plug.
•If the automatic line feed fails to operate, it could be for one of the following reasons:
Line too short or line jammed on spool
•Disconnect your trimmer from the power supply.
•Remove the spool cover (8) by pushing both tabs (13) inwards and upwards (Fig. 4).
•Lift the spool (17) approximately 6mm (1/4") from the spool housing (12), while pulling the cutting line (5). This will allow you to lengthen the line while clearing any line jammed inside the spool. Ensure there is a minimum of 9cm (3.5") protruding from the spool housing.
•To replace the spool, rotate as necessary and replace the cover by aligning both tabs on the cover with the slots in the spool housing and push into place. Ensure that both tabs are securely located.
Line still jammed on spool
•Disconnect the power supply and remove the cover, as previously described.
•Lift out the spool (17) completely, holding the coiled cutting line in place to prevent it unravelling from the spool (Fig. 7).
•Carefully unwind the cutting line (5) from the spool until any crossed or trapped loops are cleared. Rewind the cutting line evenly, in the direction of the arrows (16) on the spool.
•Temporarily park the cutting line end in one of the ‘L’ shaped slots to prevent the spool unravelling. Ensure you leave a minimum of 9cm (3.5") protruding.
•Turn the lever (14) backwards and forwards to ensure it operates freely.
•Remove any dirt or grass that may have collected inside the spool housing and cover.
•Feed the end of the line through the eyelet and then push the spool into the centre drive shaft while pulling the free end of the line to release it from the ‘L’ shaped slot. To fully seat the spool, rotate as necessary, taking care not to trap the line underneath the spool, and making sure that there is a minimum of 9cm (3.5") of line protruding from the spool housing.
•Finally, replace the cover as previously described.
6