14 en Installation | |
|
|
3.Select a mounting surface capable of supporting the combined weight of the unit and mounting hardware to anticipate all expected conditions of both temperature and vibration.
4.Secure all cabling.
NOTICE!
If you are installing the camera on drywall, you must use #8 screws and #8 drywall nylon plugs or a superior connection.
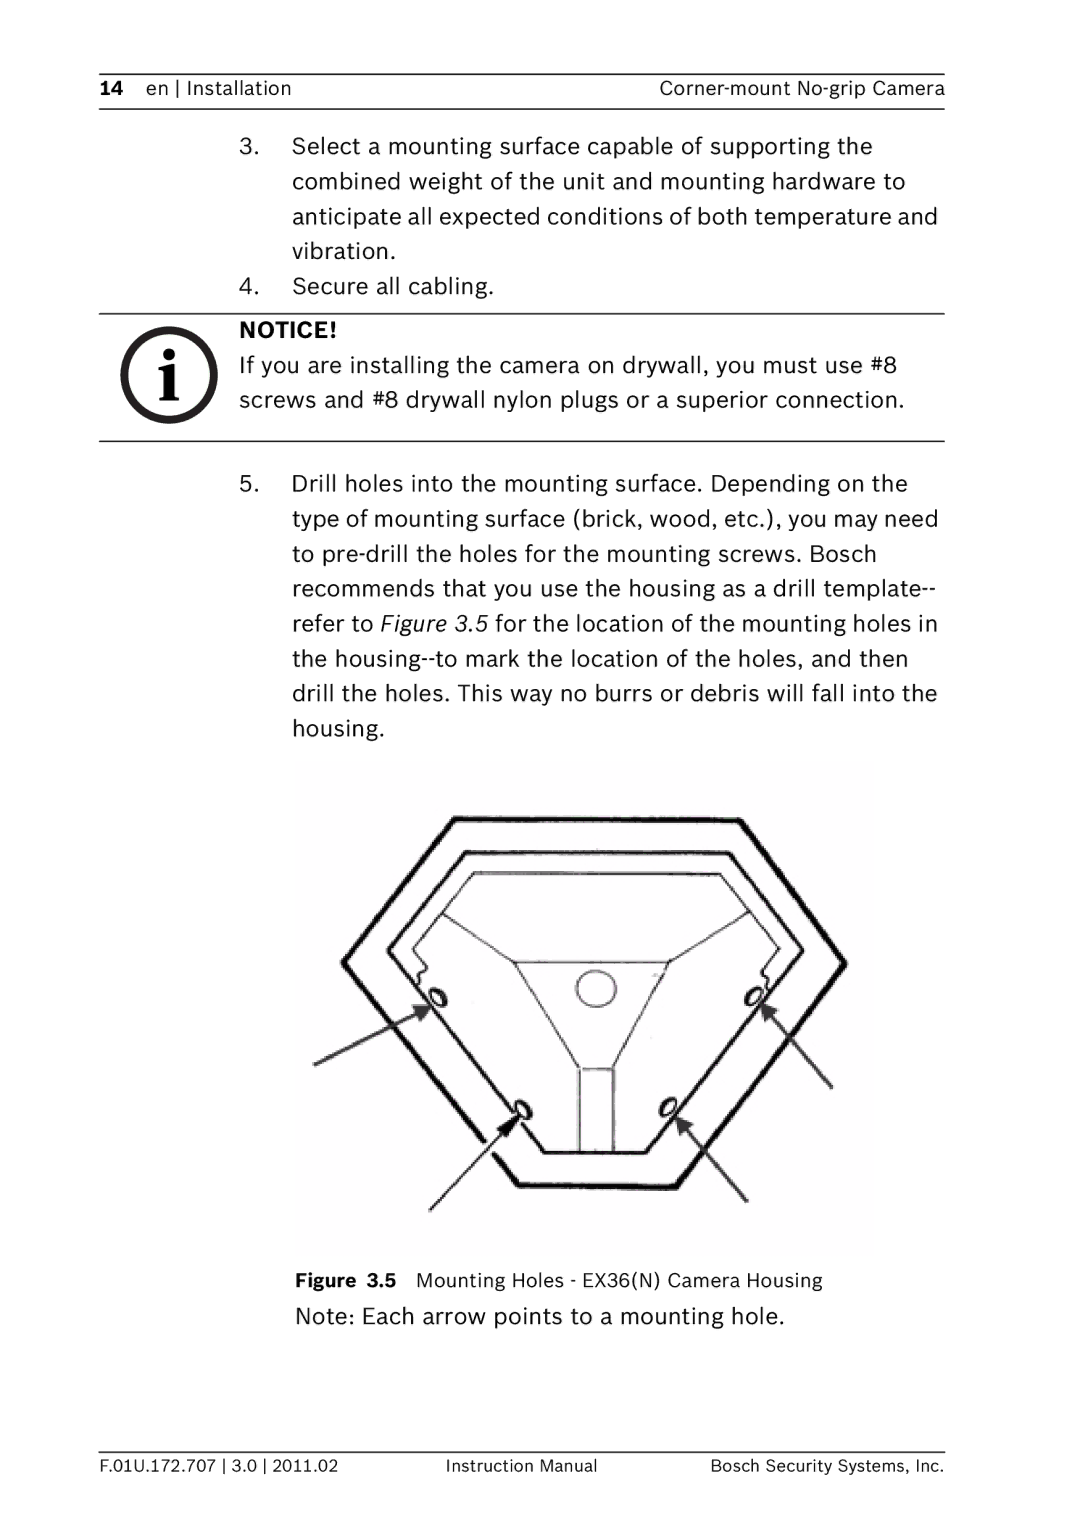
5.Drill holes into the mounting surface. Depending on the type of mounting surface (brick, wood, etc.), you may need to
Figure 3.5 Mounting Holes - EX36(N) Camera Housing
Note: Each arrow points to a mounting hole.
F.01U.172.707 3.0 2011.02 | Instruction Manual | Bosch Security Systems, Inc. |
