4212L specifications
The Bosch Power Tools 4212L is a highly innovative and versatile tool that caters to the needs of both amateur and professional craftsmen. Designed for precision and efficiency, it stands out with its robust features and advanced technologies, making it an essential addition to any toolbox.One of the main features of the 4212L is its powerful 15-amp motor, which delivers a remarkable 4,500 RPM. This power allows users to tackle various materials with ease, whether it’s cutting through hardwood, laminate, or even metal. The tool’s speed settings are adjustable, offering versatility in applications and allowing users to customize the tool’s performance based on the specific material being worked on.
The Bosch 4212L also incorporates a high-quality laser guide system that enhances precision. This technology ensures that users have a clear line of sight for accurate cuts, reducing the chances for errors. The integrated laser is easily adjustable, allowing for quick alignment and setup, which saves time and enhances efficiency on the job site.
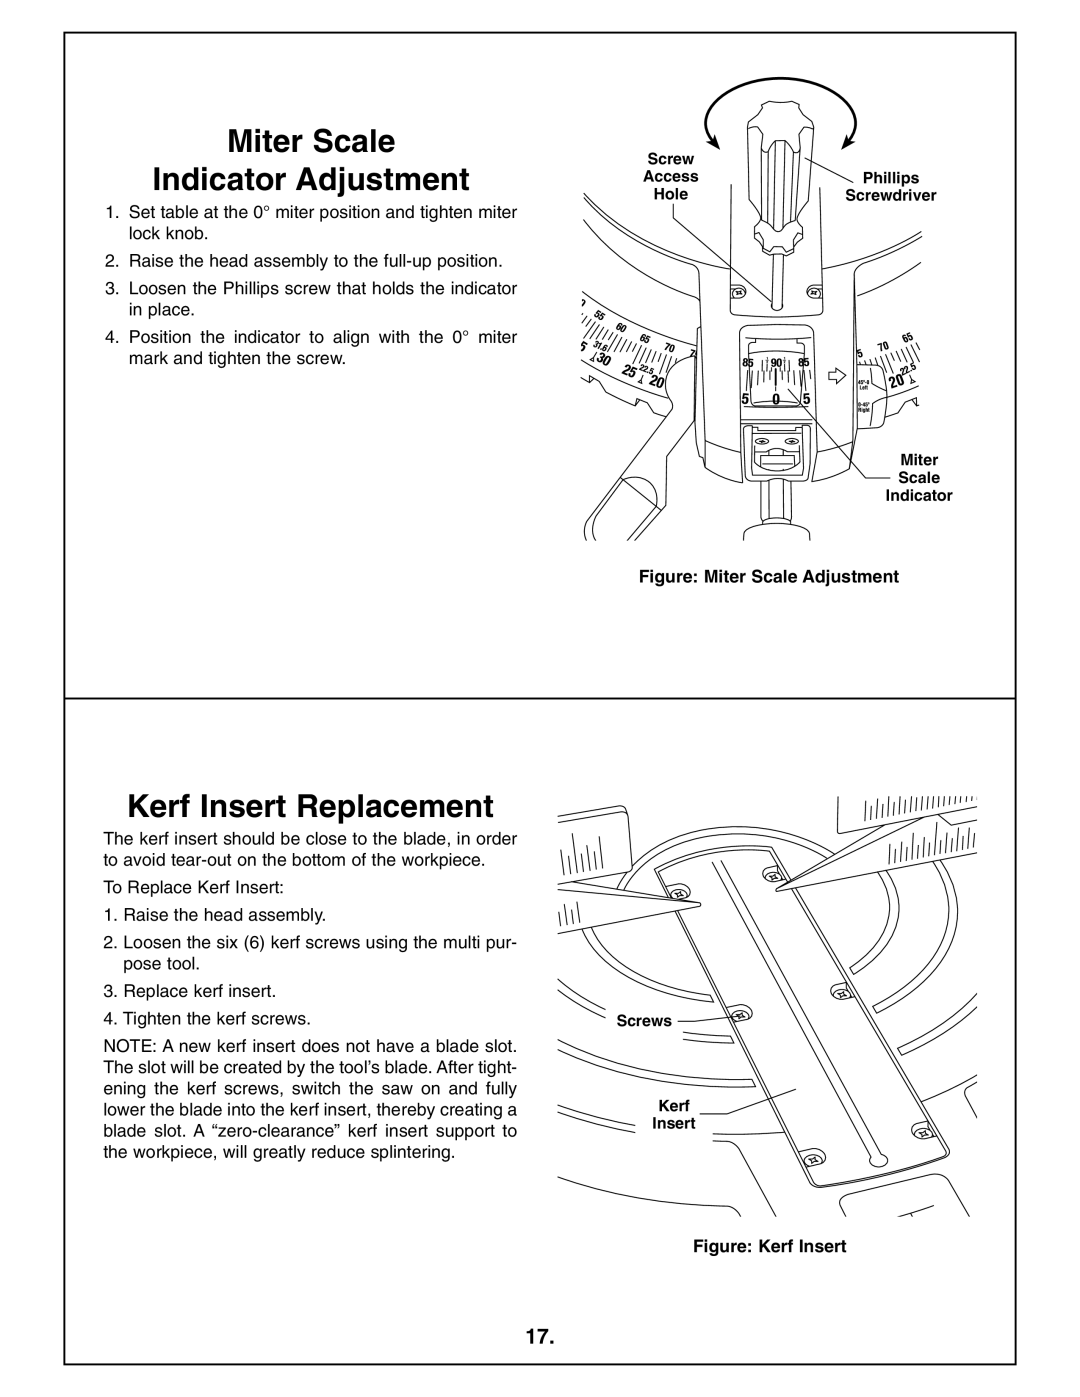
Another key characteristic of the Bosch 4212L is its dual bevel feature. This allows for compound miter cuts up to 45 degrees in both directions, expanding the range of cuts that can be made. This feature is particularly useful for crown molding and other intricate trim work, providing users with the flexibility needed for more complex projects.
In terms of safety, Bosch has included various design features to protect users during operation. The 4212L is equipped with a soft start feature, which minimizes kickback when the tool is powered up. Additionally, the electric brake works to stop the blade quickly after the trigger is released, enhancing safety during operation.
The overall build quality of the Bosch 4212L reflects durability and reliability. Its sturdy construction is designed to withstand heavy use, ensuring longevity even in demanding work environments. The tool also features an ergonomic handle design, providing comfort and reducing fatigue, which is crucial during prolonged use.
In summary, the Bosch Power Tools 4212L brings together power, precision, and safety in a single, user-friendly package. With its impressive motor, adjustable laser guide, dual bevel capabilities, and safety features, it stands out as a top choice for anyone seeking a high-performance cutting tool. Whether you are a DIY enthusiast or a seasoned professional, the Bosch 4212L is engineered to meet your cutting needs efficiently and effectively.

