SERVICE PROCEDURE AG-III
Honeywell Gas Control and Thermowell
Replacement
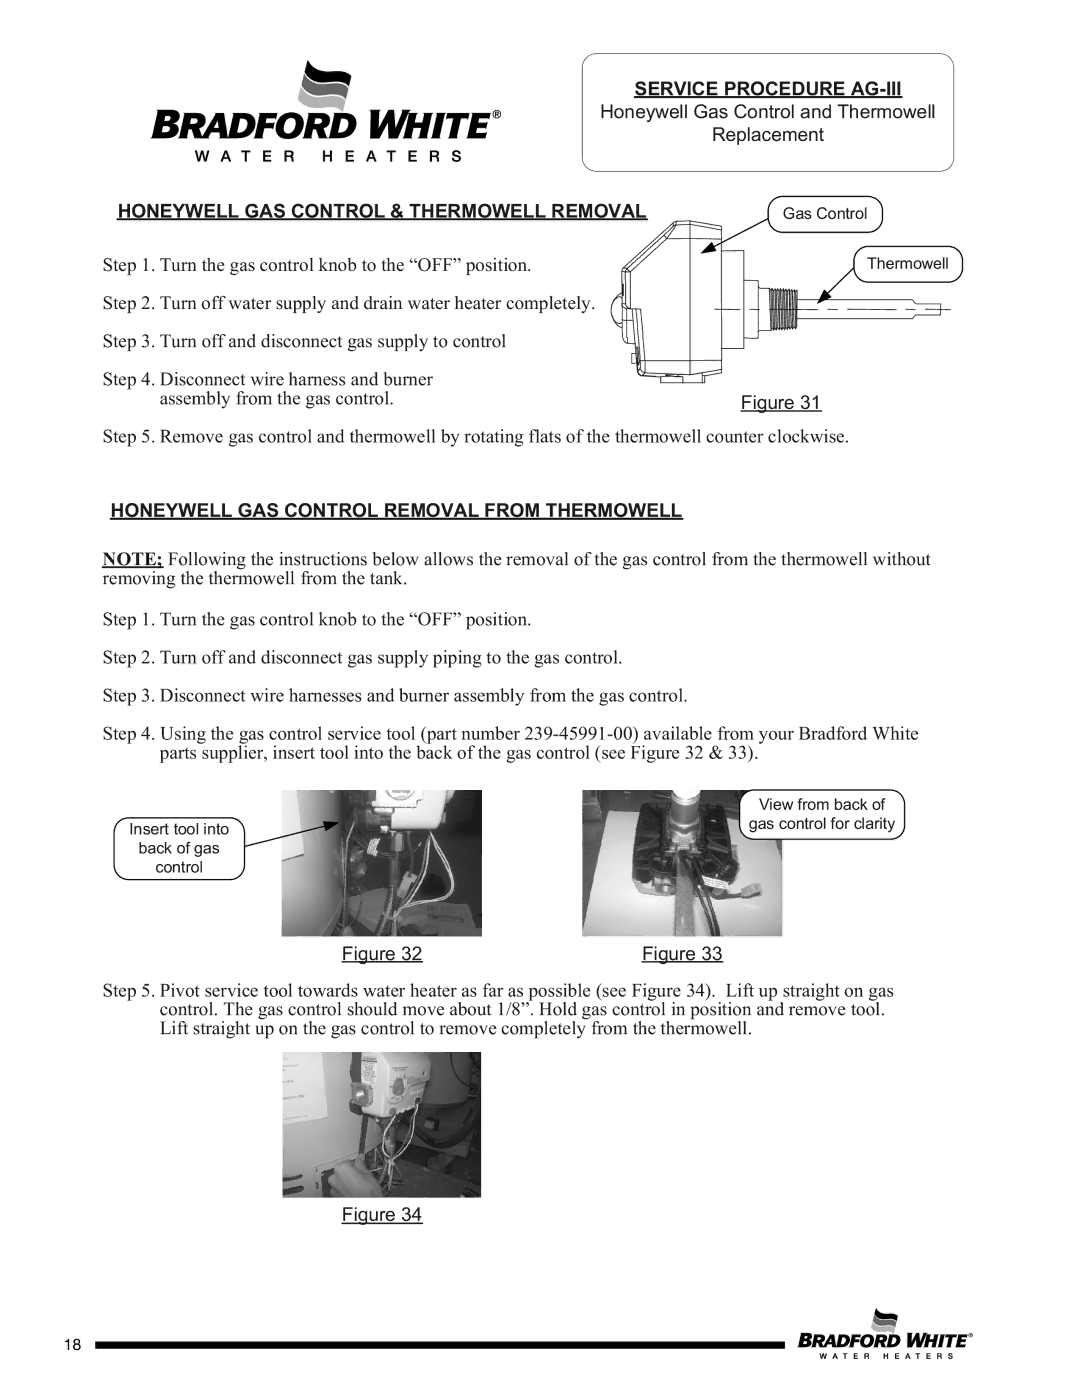
HONEYWELL GAS CONTROL & THERMOWELL REMOVAL
Step 1. Turn the gas control knob to the “OFF” position.
Step 2. Turn off water supply and drain water heater completely.
Step 3. Turn off and disconnect gas supply to control
Step 4. Disconnect wire harness and burner assembly from the gas control.
Gas Control
Thermowell
Figure 31
Step 5. Remove gas control and thermowell by rotating flats of the thermowell counter clockwise.
HONEYWELL GAS CONTROL REMOVAL FROM THERMOWELL
NOTE; Following the instructions below allows the removal of the gas control from the thermowell without removing the thermowell from the tank.
Step 1. Turn the gas control knob to the “OFF” position.
Step 2. Turn off and disconnect gas supply piping to the gas control.
Step 3. Disconnect wire harnesses and burner assembly from the gas control.
Step 4. Using the gas control service tool (part number
View from back of
Insert tool into![]() gas control for clarity back of gas
gas control for clarity back of gas
control
Figure 32 |
| Figure 33 |
Step 5. Pivot service tool towards water heater as far as possible (see Figure 34). Lift up straight on gas control. The gas control should move about 1/8”. Hold gas control in position and remove tool. Lift straight up on the gas control to remove completely from the thermowell.
Figure 34
Page 18
18