CO200B specifications
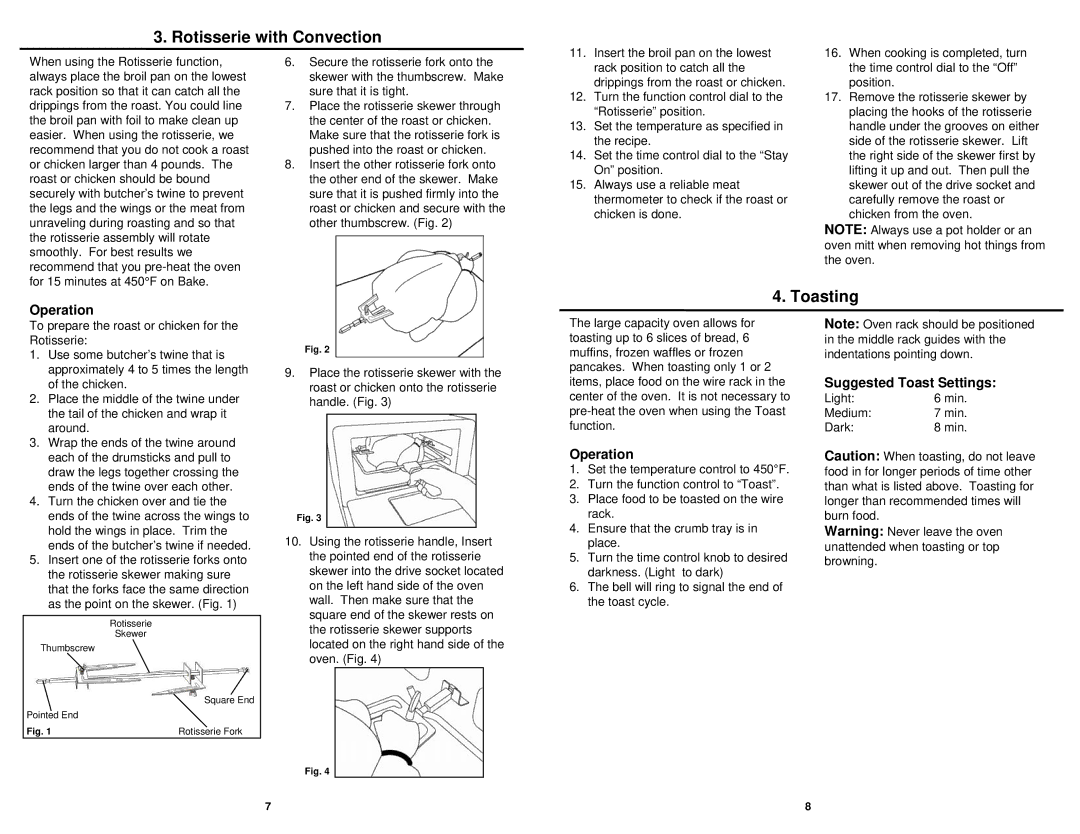
The Bravetti CO200B is an innovative and efficient countertop oven designed for those who seek versatility and convenience in their cooking appliances. This compact yet powerful oven combines multiple cooking functions with a sleek design, making it an ideal addition to any kitchen.One of the primary features of the Bravetti CO200B is its multifunctionality. It operates as a toaster oven, conventional oven, and even a broiler, allowing users to toast, bake, broil, and reheat a wide range of dishes with ease. The unit's spacious interior can accommodate a variety of food items, from personal-sized pizzas to batches of cookies, enhancing its usability for both everyday meals and special occasions.
The CO200B incorporates cutting-edge technology that ensures even cooking and a crispy finish, thanks to its efficient heating element and convection fan. This fan circulates hot air within the oven cavity, providing uniform heat distribution, which results in perfectly cooked dishes every time. Whether you're roasting vegetables or baking bread, this technology significantly reduces cooking times while maintaining high-quality results.
Another standout characteristic of the Bravetti CO200B is its user-friendly control panel. The intuitive dials and buttons allow for easy temperature and time adjustments, ensuring that even novice cooks can operate the oven with confidence. With temperature settings up to 450°F, users can prepare a wide array of recipes effectively.
Safety is also a priority with the Bravetti CO200B. The oven is equipped with an automatic shut-off feature that activates when the cooking cycle is complete, preventing overcooking and reducing the risk of kitchen accidents. Additionally, the cool-touch exterior ensures that the outer surfaces remain safe to touch, protecting users from burns while operating the appliance.
The Bravetti CO200B's compact design makes it perfect for limited kitchen spaces, such as apartments and dorms. Its sleek appearance and durable construction not only enhance kitchen aesthetics but also ensure longevity and reliability over time.
In summary, the Bravetti CO200B is a versatile countertop oven that combines advanced technology, user-friendly features, and safety mechanisms. Its multifunctionality allows for various cooking methods, making it a valuable addition to any culinary setup. Whether you're toasting, baking, or broiling, this compact oven delivers convenience and quality, making it a preferred choice for both novice and experienced cooks alike.

