XL-3510i, XL-2610i, XL-2620i, XL-3520i specifications
Brother XL-2620i, XL-3520i, XL-3510i, and XL-2610i are four sewing machines that stand out for their blend of user-friendly features and advanced technology, making them suitable for both beginners and more experienced sewists. These models are part of Brother's XL series, which is known for reliability and innovation.The Brother XL-2620i is designed for versatility, featuring 30 built-in stitches, including utility, decorative, and quilting stitches. This wide range of options allows users to tackle various sewing projects with ease. The machine’s automatic needle threader simplifies the threading process, while the drop-in bobbin system ensures convenience and efficiency. An adjustable stitch width and length enables personalized stitch formation, providing flexibility for different fabric types.
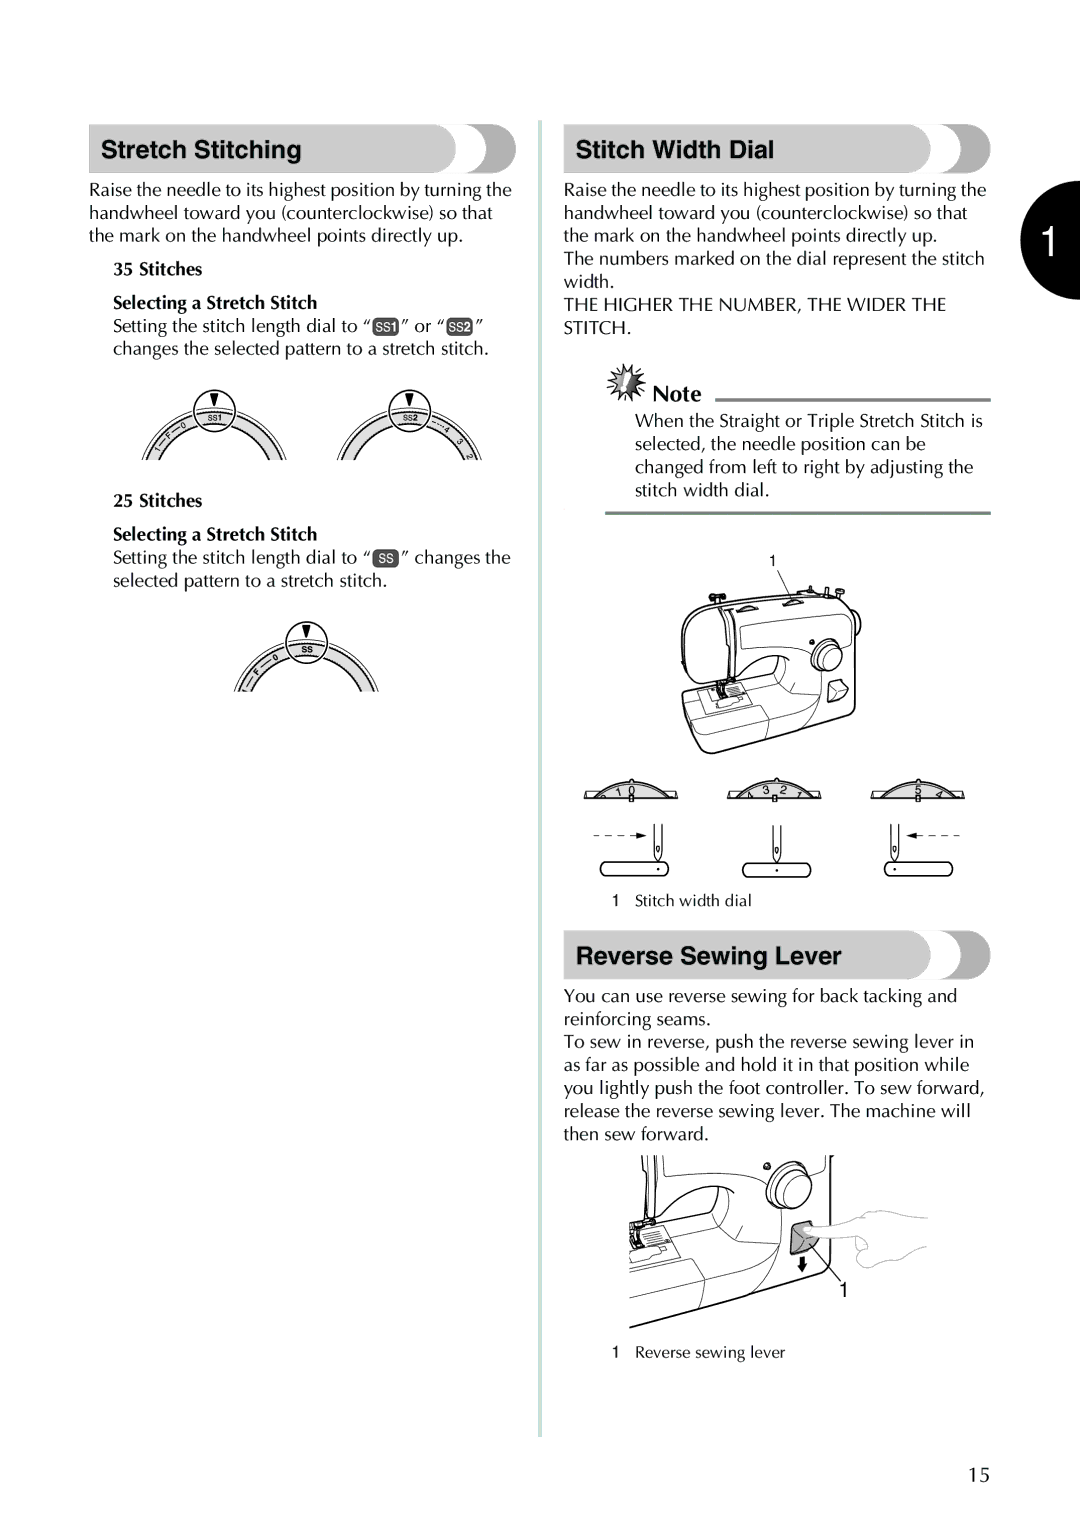
The XL-3520i, on the other hand, takes creativity a step further with its 35 built-in stitches, including advanced functions like zigzag and blind hem stitches. Designed for those who wish to expand their sewing capabilities, it includes a one-step buttonhole feature, making it easy to create buttonholes in a streamlined process. The machine also boasts a larger work area, accommodating bigger projects.
The XL-3510i shares many features with the XL-3520i but focuses on simplicity. With 10 essential built-in stitches, it's ideal for straightforward sewing tasks. Its lightweight design enhances portability, making it perfect for sewing on the go. The intuitive control layout ensures a seamless user experience, allowing novices to grasp sewing basics quickly.
Lastly, the XL-2610i is particularly favored for its ease of use. This model contains 27 stitch options, providing ample choices for diverse projects while maintaining an uncomplicated user interface. The machine comes equipped with a free arm for sewing cuffs and sleeves, enhancing its practicality for various garment constructions.
All four models feature Brother's innovative jamming resistance technology, ensuring smooth fabric feed and less downtime. They also incorporate various foot options and accessories, catering to specific sewing requirements. With robust build quality and reliability, the Brother XL series shines in home sewing and crafting, bridging the gap between function and creativity. Each machine serves as a valuable tool for achieving impressive sewing projects, allowing users to express their artistic vision with confidence.

