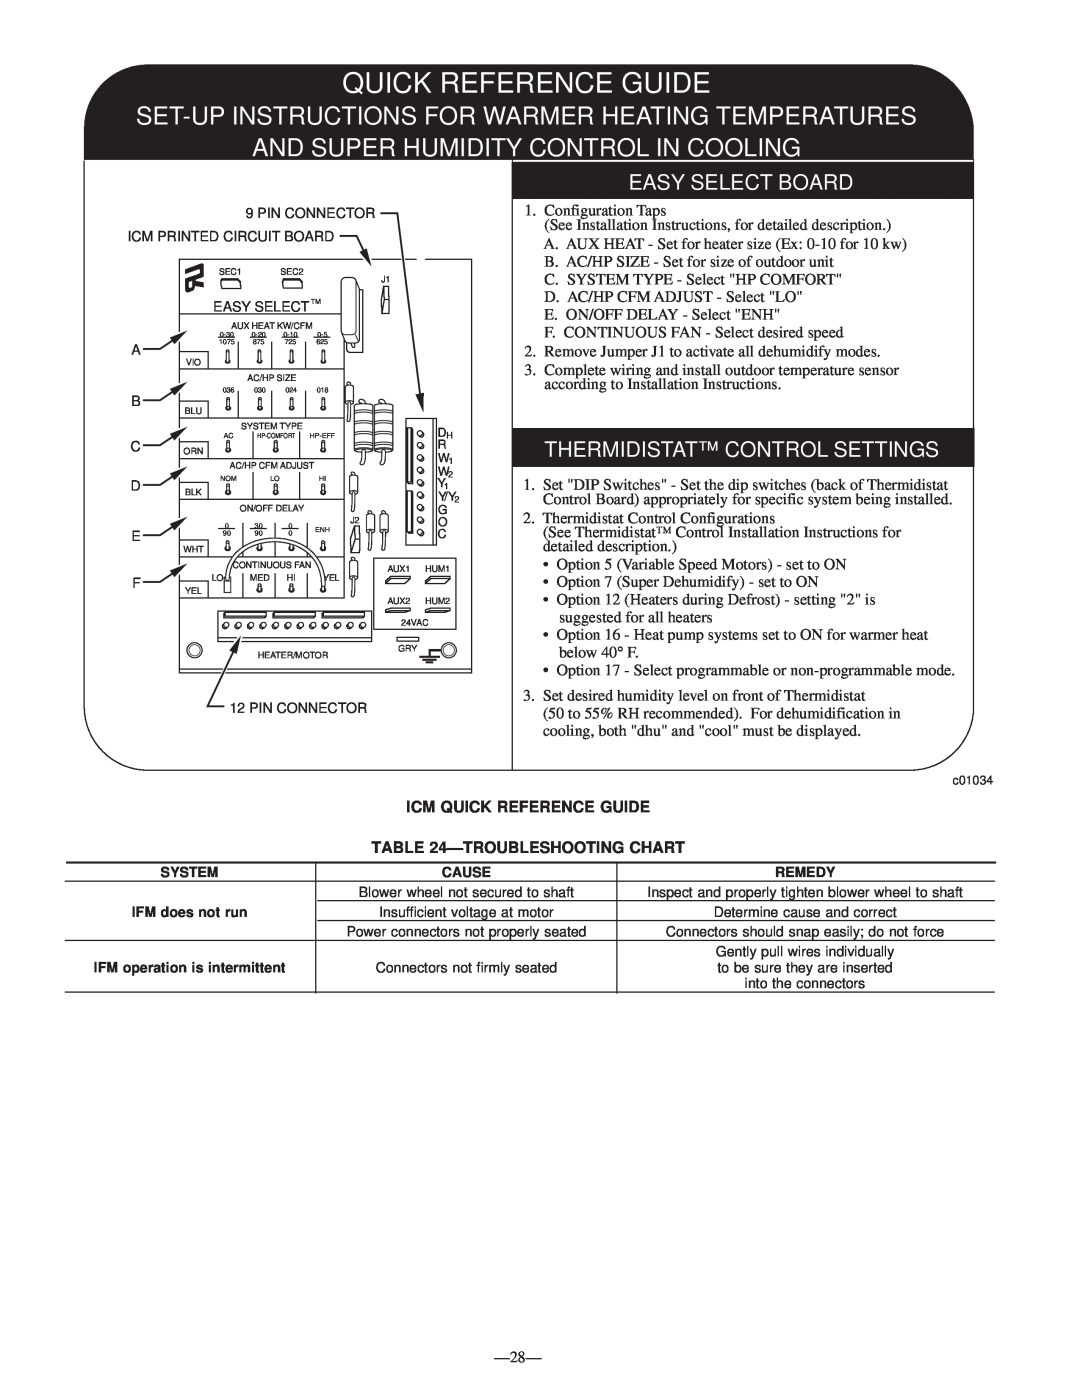
602B, 683B, 702B, 583B specifications
The Bryant 583B is an advanced, high-efficiency gas furnace designed to provide exceptional heating performance and reliability. With a focus on comfort and energy efficiency, this model stands out in the residential heating market.One of the main features of the Bryant 583B is its impressive Annual Fuel Utilization Efficiency (AFUE) rating of up to 95%. This means that the furnace converts up to 95% of the fuel it consumes into usable heat. As a result, homeowners can expect lower energy bills and reduced environmental impact due to decreased carbon emissions.
The Bryant 583B is equipped with a modulating gas valve that allows for precise control of the heating output. This technology enables the furnace to adjust its running capacity based on the heating demands of your home. Instead of operating at a single, high setting, the furnace runs at the required level to maintain the desired temperature, delivering consistent comfort while maximizing efficiency.
Another noteworthy characteristic of the 583B is its two-stage operation. This feature allows the furnace to operate at a lower stage for mild weather, which reduces energy consumption and minimizes noise levels. During colder conditions, it can switch to a high stage for increased heating capacity. This dual approach not only enhances comfort but also prolongs the lifespan of the unit by reducing wear and tear.
In terms of construction, the Bryant 583B is built with durable materials and a robust cabinet, which ensures longevity and resilience over time. It also comes with a quiet operation feature, minimizing disturbances while maintaining a comfortable indoor environment.
The unit is compatible with Bryant's advanced communication technology, enabling seamless integration with smart thermostats. This addition allows homeowners to monitor and control their furnace remotely, optimizing energy usage even further.
In summary, the Bryant 583B furnishes an outstanding combination of efficiency, reliability, and user-friendly technologies. Its modulating gas valve, two-stage operation, and high AFUE rating collectively ensure that customers enjoy a comfortable home environment while significantly reducing energy costs. As energy-conscious choices become increasingly crucial, the Bryant 583B stands ready to meet the challenges of modern heating needs.