TU3 specifications
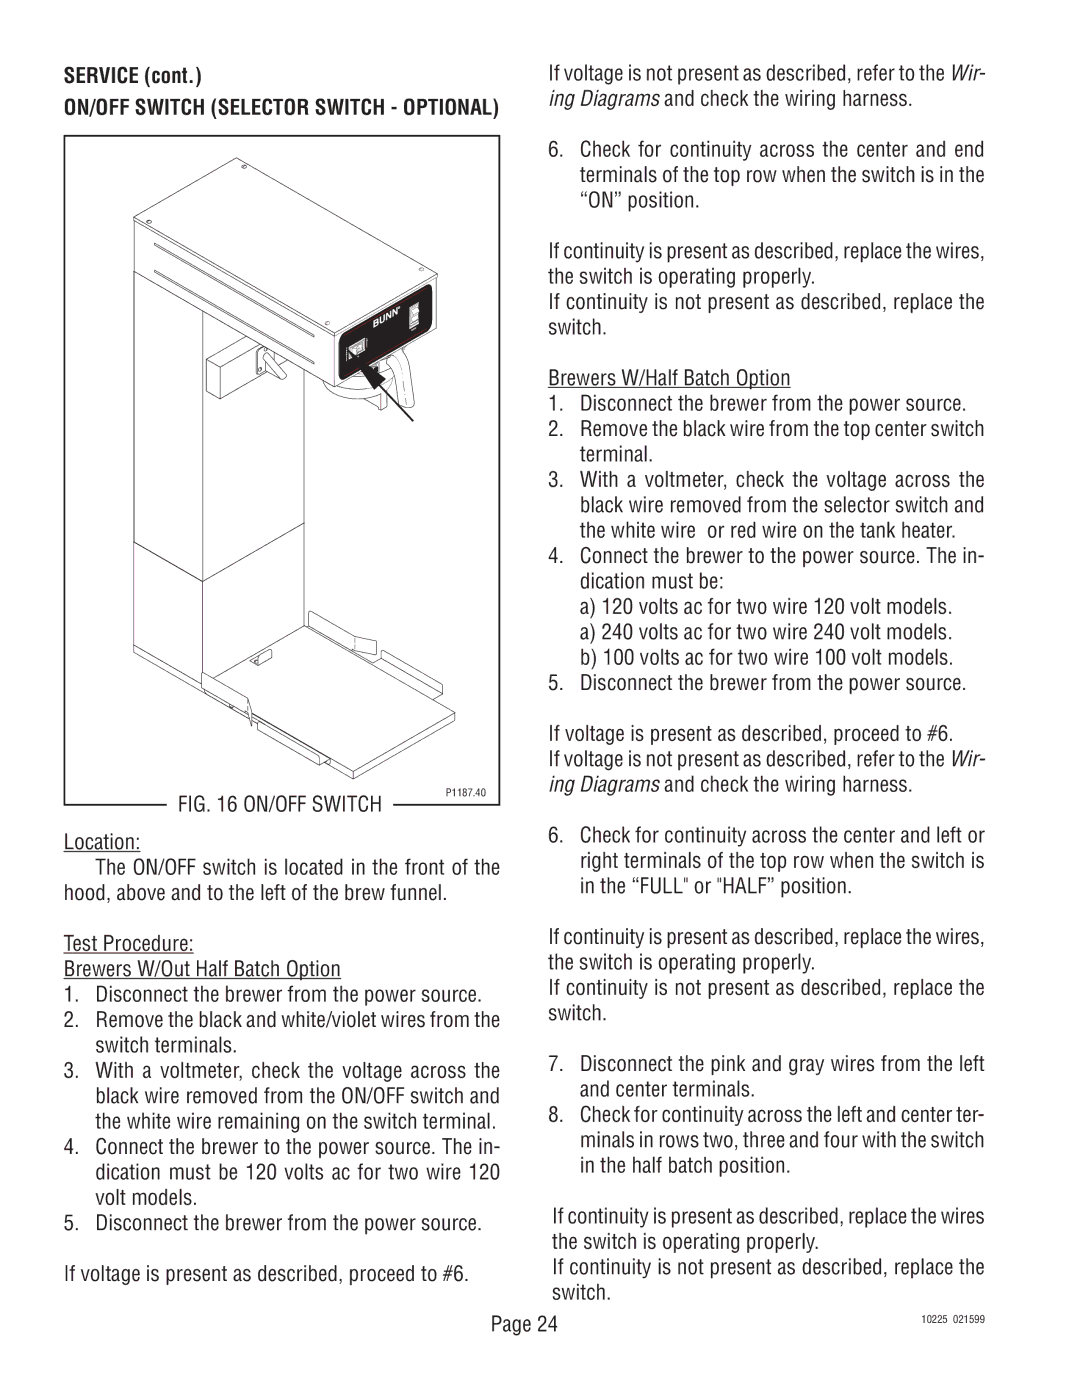
The Bunn TU3 is a renowned commercial coffee brewer known for its reliability and performance in bustling coffee shops, restaurants, and diners. Designed to cater to high-demand environments, the TU3 stands out with a variety of features that ensure an optimal brewing experience.One of the primary characteristics of the Bunn TU3 is its capability to brew large volumes of coffee efficiently. It has a 3-gallon capacity, making it ideal for establishments that serve numerous customers throughout the day. This model can produce up to 19 gallons of coffee per hour, allowing establishments to keep pace with customer demand without sacrificing quality or flavor.
At the heart of the Bunn TU3's performance are its advanced brewing technologies. The brewer features a patented "multi-stream" spray head that evenly distributes hot water over coffee grounds, ensuring optimal extraction for a richer taste. This technology contributes to the consistent flavor profile that customers expect in a quality cup of coffee.
The TU3 is also equipped with a built-in hot water faucet, providing added convenience for brewing tea or instant beverages. Operators can easily access boiling water without interfering with the brewing process, streamlining service during peak hours. The adjustable temperature settings further enhance control over the brewing process, allowing for customization based on the coffee type or personal preference.
In terms of construction, the Bunn TU3 is built to withstand the rigors of commercial use. The brewer boasts a durable stainless steel body that is not only stylish but also easy to clean, helping maintain a professional appearance in any setting. Additionally, the brewer's design incorporates features such as a splash guard and easy-to-use controls, making it user-friendly for staff members.
Energy efficiency is another highlight of the Bunn TU3. Its innovative design helps in reducing energy consumption while still providing rapid brewing capabilities. This feature is particularly appealing to environmentally conscious operators looking to minimize their operational impact.
Overall, the Bunn TU3 coffee brewer combines speed, reliability, and exceptional brewing technology, making it a top choice for businesses that prioritize quality coffee service. Its combination of durability, efficiency, and user-friendly features ensures that it can handle the demands of any high-volume coffee operation, delivering excellent results cup after cup.

