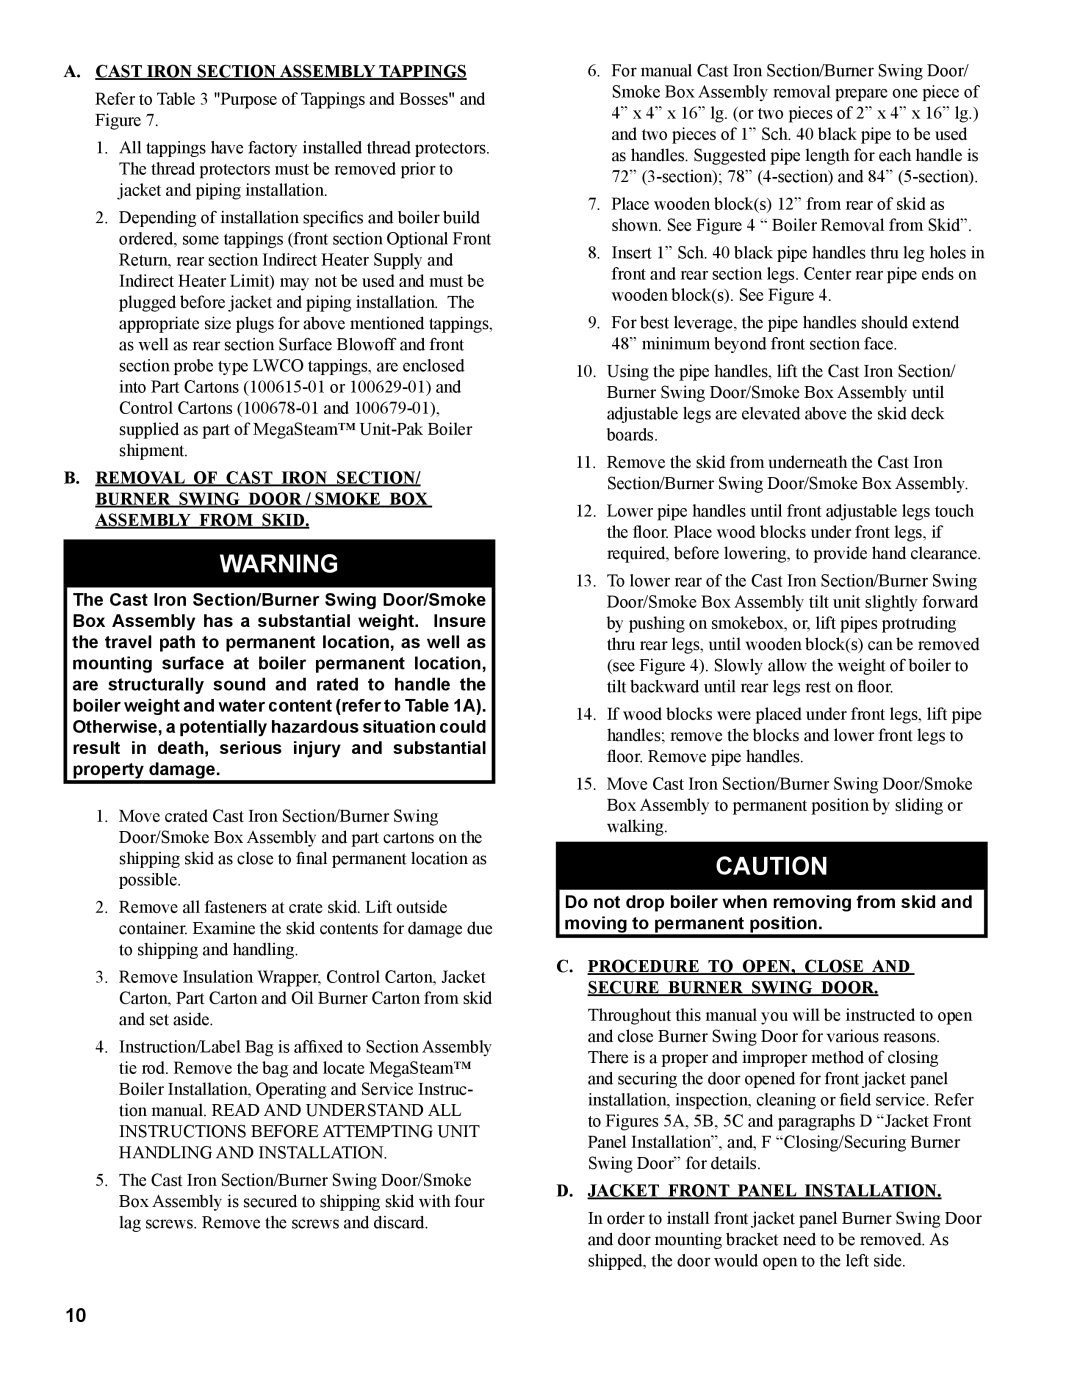
A.CAST IRON SECTION ASSEMBLY TAPPINGS

Refer to Table 3 "Purpose of Tappings and Bosses" and

Figure 7.

1.All tappings have factory installed thread protectors.

The thread protectors must be removed prior to jacket and piping installation.

2.Depending of installation specifics and boiler build ordered, some tappings (front section Optional Front Return, rear section Indirect Heater Supply and

Indirect Heater Limit) may not be used and must be plugged before jacket and piping installation. The appropriate size plugs for above mentioned tappings, as well as rear section Surface Blowoff and front section probe type LWCO tappings, are enclosed into Part Cartons (100615-01 or 100629-01) and Control Cartons (100678-01 and 100679-01), supplied as part of MegaSteam™ Unit-Pak Boiler shipment.

B.Removal of Cast Iron Section/ Burner Swing Door / Smoke Box Assembly from Skid.

WARNING

The Cast Iron Section/Burner Swing Door/Smoke Box Assembly has a substantial weight. Insure the travel path to permanent location, as well as mounting surface at boiler permanent location, are structurally sound and rated to handle the boiler weight and water content (refer to Table 1A). Otherwise, a potentially hazardous situation could result in death, serious injury and substantial property damage.

1.Move crated Cast Iron Section/Burner Swing

Door/Smoke Box Assembly and part cartons on the shipping skid as close to final permanent location as possible.

2.Remove all fasteners at crate skid. Lift outside container. Examine the skid contents for damage due to shipping and handling.

3.Remove Insulation Wrapper, Control Carton, Jacket Carton, Part Carton and Oil Burner Carton from skid and set aside.

4.Instruction/Label Bag is affixed to Section Assembly tie rod. Remove the bag and locate MegaSteam™

Boiler Installation, Operating and Service Instruc- tion manual. READ AND UNDERSTAND ALL INSTRUCTIONS BEFORE ATTEMPTING UNIT HANDLING AND INSTALLATION.

5.The Cast Iron Section/Burner Swing Door/Smoke

Box Assembly is secured to shipping skid with four lag screws. Remove the screws and discard.

6.For manual Cast Iron Section/Burner Swing Door/

Smoke Box Assembly removal prepare one piece of

4” x 4” x 16” lg. (or two pieces of 2” x 4” x 16” lg.) and two pieces of 1” Sch. 40 black pipe to be used as handles. Suggested pipe length for each handle is 72” (3-section); 78” (4-section) and 84” (5-section).

7.Place wooden block(s) 12” from rear of skid as shown. See Figure 4 “ Boiler Removal from Skid”.

8.Insert 1” Sch. 40 black pipe handles thru leg holes in front and rear section legs. Center rear pipe ends on wooden block(s). See Figure 4.

9.For best leverage, the pipe handles should extend 48” minimum beyond front section face.

10.Using the pipe handles, lift the Cast Iron Section/

Burner Swing Door/Smoke Box Assembly until adjustable legs are elevated above the skid deck boards.

11.Remove the skid from underneath the Cast Iron

Section/Burner Swing Door/Smoke Box Assembly.

12.Lower pipe handles until front adjustable legs touch the floor. Place wood blocks under front legs, if required, before lowering, to provide hand clearance.

13.To lower rear of the Cast Iron Section/Burner Swing

Door/Smoke Box Assembly tilt unit slightly forward by pushing on smokebox, or, lift pipes protruding thru rear legs, until wooden block(s) can be removed (see Figure 4). Slowly allow the weight of boiler to tilt backward until rear legs rest on floor.

14.If wood blocks were placed under front legs, lift pipe handles; remove the blocks and lower front legs to floor. Remove pipe handles.

15.Move Cast Iron Section/Burner Swing Door/Smoke

Box Assembly to permanent position by sliding or walking.

CAUTION

Do not drop boiler when removing from skid and moving to permanent position.

C.Procedure To Open, Close and Secure Burner Swing Door.

Throughout this manual you will be instructed to open and close Burner Swing Door for various reasons. There is a proper and improper method of closing and securing the door opened for front jacket panel installation, inspection, cleaning or field service. Refer to Figures 5A, 5B, 5C and paragraphs D “Jacket Front Panel Installation”, and, F “Closing/Securing Burner Swing Door” for details.

D.Jacket Front Panel Installation.

In order to install front jacket panel Burner Swing Door and door mounting bracket need to be removed. As shipped, the door would open to the left side.

10

Page 10
Image 10
Burnham MST629, MST288, MST396 manual Procedure To Open, Close and Secure Burner Swing Door, Jacket Front Panel Installation

MST513, MST396, MST629, MST288 specifications

The Burnham MST series, comprising models MST396, MST629, MST513, and MST288, is renowned for its robust design and exceptional performance in the boiler industry. Each model is engineered to provide optimal efficiency and reliability for residential and commercial heating applications.

The Burnham MST396 is distinguished by its high thermal efficiency and advanced combustion technology. This model features a cast iron heat exchanger which ensures superior heat retention and distribution. The MST396 is equipped with a powerful burner that allows for variable firing rates, maximizing efficiency and extending the lifespan of the unit. Additionally, it includes a built-in electronic ignition system that enhances reliability while reducing the need for frequent maintenance.

Moving to the MST629, this model is designed for larger applications needing higher output. It boasts a significant BTU input and utilizes a multi-stage burner system. This ensures optimal combustion and adapts to varying demand, providing consistent heat without wasting energy. The MST629 also incorporates enhanced insulation and an advanced flue gas venting system to improve safety and minimize energy loss.

The MST513 caters to mid-sized applications with its adaptable performance and user-friendly features. This model is notable for its compact design, making it suitable for installations with limited space. It uses a two-stage burner for efficient energy use and offers a smart control system that monitors performance in real-time. This allows users to make informed decisions about their energy consumption and maintenance needs, ultimately leading to cost savings.

Lastly, the MST288 is the smaller model in the series, ideal for homes and small businesses. Despite its size, it does not compromise on efficiency. The MST288 features a straightforward design, ensuring ease of installation and maintenance. It utilizes a single-stage burner that provides consistent heat output, making it a reliable choice for low-demand applications. The unit is also equipped with adjustable settings, allowing users to tailor their heating needs effectively.

In summary, the Burnham MST series demonstrates a remarkable blend of innovation and practicality across its models. With features like advanced burner technology, efficient heat exchangers, and smart controls, the MST396, MST629, MST513, and MST288 cater to a wide range of heating needs while prioritizing energy efficiency and user comfort. These models stand out in the market, continually setting a standard for performance and reliability in heating solutions.