Correcting the Brightness (i-Contrast)
The camera can detect areas in an image, such as faces or backgrounds, that are too dark and automatically adjust them to the optimum brightness. Also, when the overall image is lacking in contrast, the camera will automatically correct the image for a sharper impression.
You can choose from four levels of correction: [Auto], [Low], [Medium] or [High]. The corrected image is saved as a separate file.
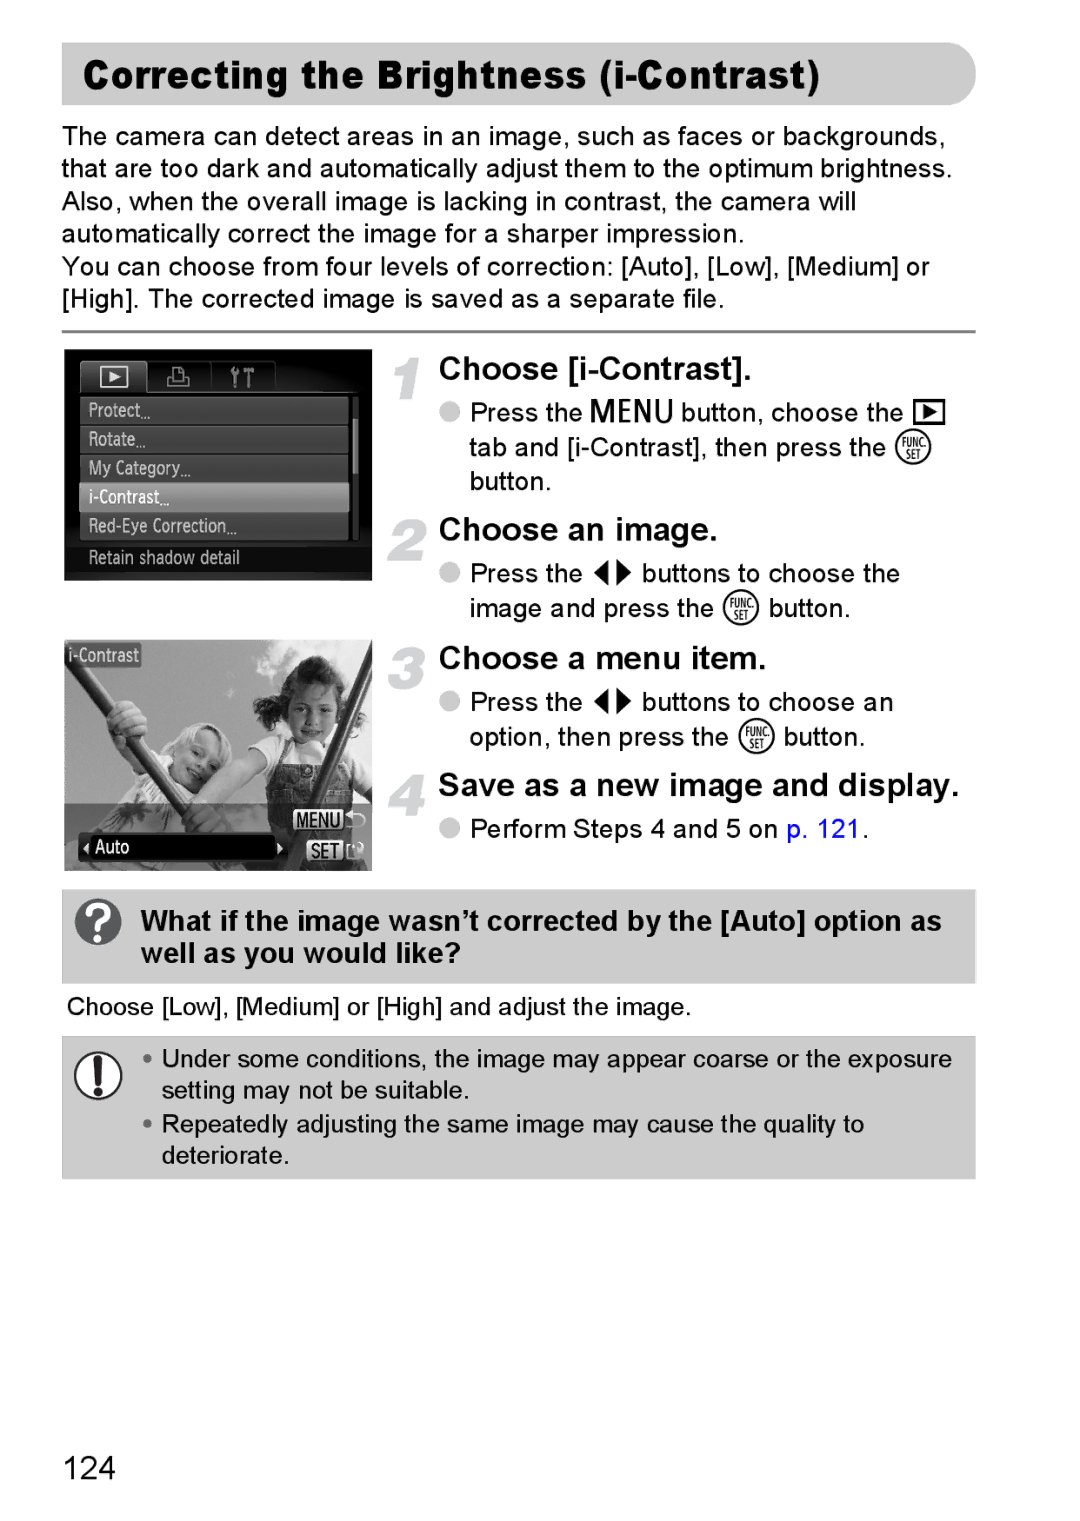
Choose [i-Contrast].
●Press the n button, choose the 1 tab and
Choose an image.
●Press the qr buttons to choose the image and press the m button.
Choose a menu item.
●Press the qr buttons to choose an option, then press the m button.
Save as a new image and display.
●Perform Steps 4 and 5 on p. 121.
What if the image wasn’t corrected by the [Auto] option as well as you would like?
Choose [Low], [Medium] or [High] and adjust the image.
•Under some conditions, the image may appear coarse or the exposure
setting may not be suitable.
•Repeatedly adjusting the same image may cause the quality to deteriorate.
124
