Using the Software on the Windows Platform – Preparations
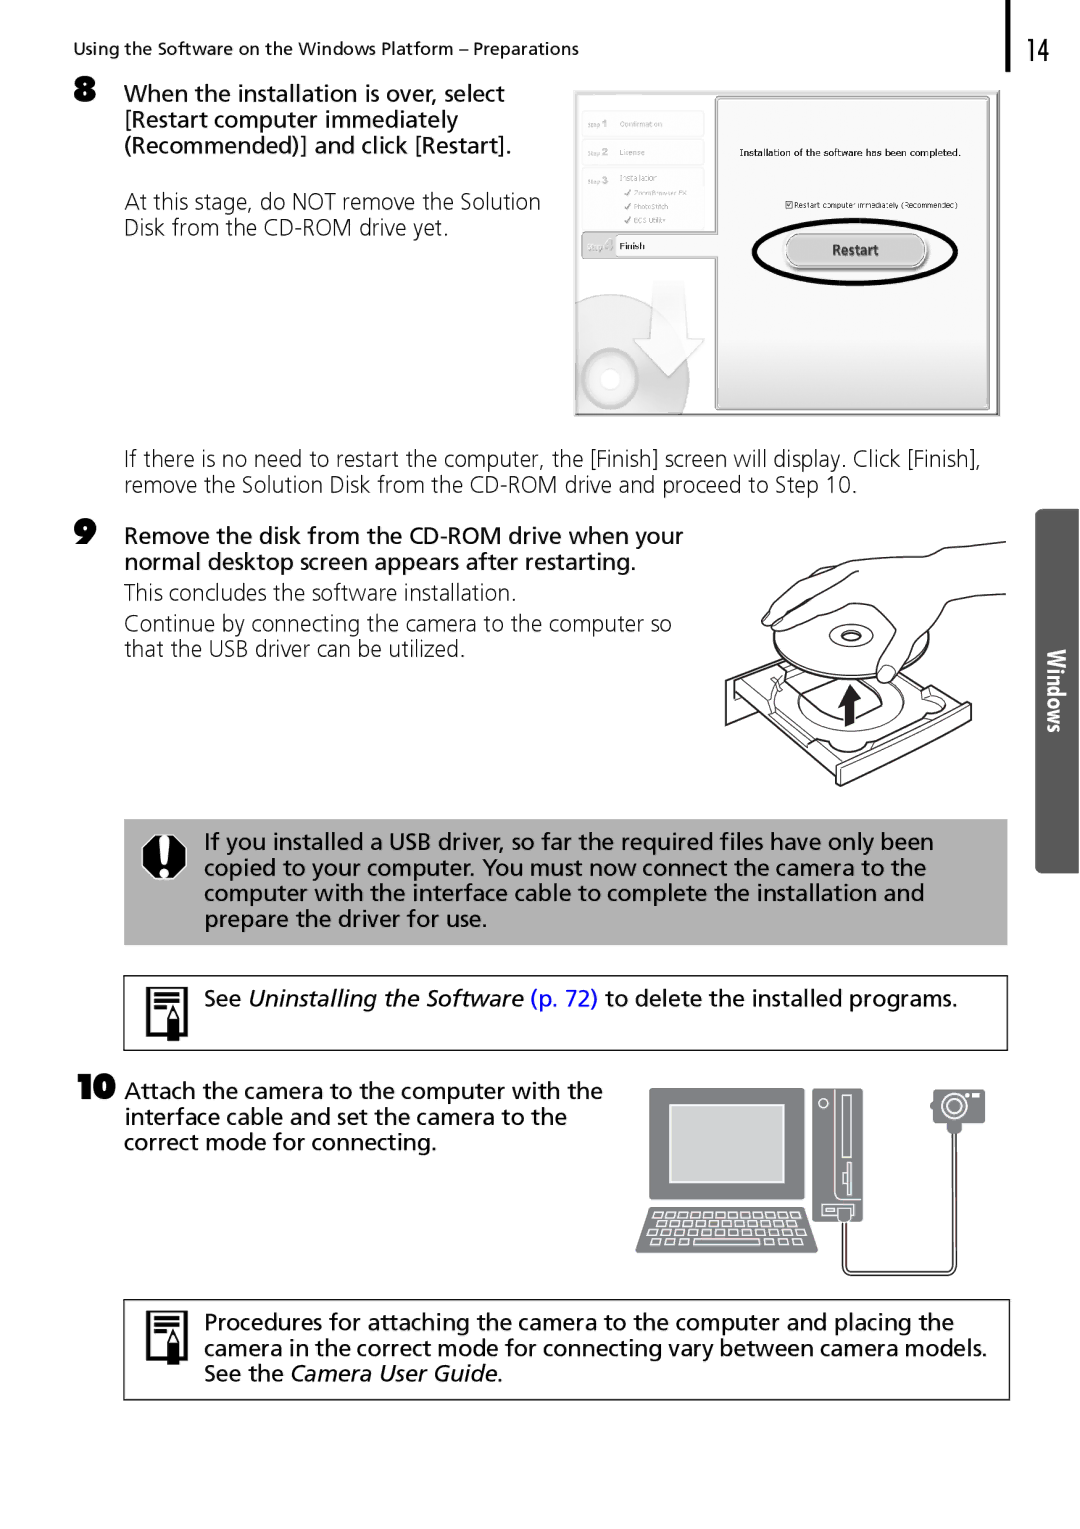
8 When the installation is over, select [Restart computer immediately (Recommended)] and click [Restart].
At this stage, do NOT remove the Solution
Disk from the
If there is no need to restart the computer, the [Finish] screen will display. Click [Finish], remove the Solution Disk from the
9 Remove the disk from the
This concludes the software installation.
Continue by connecting the camera to the computer so that the USB driver can be utilized.
If you installed a USB driver, so far the required files have only been copied to your computer. You must now connect the camera to the computer with the interface cable to complete the installation and prepare the driver for use.
See Uninstalling the Software (p. 72) to delete the installed programs.
10 Attach the camera to the computer with the interface cable and set the camera to the correct mode for connecting.
Procedures for attaching the camera to the computer and placing the camera in the correct mode for connecting vary between camera models. See the Camera User Guide.
14