Example: January 14, 2005
1M 14D 2005Y (Initial setting)
↓
14D 1M 2005Y
↓
2005Y 1M 14D
6Press the STOP button to close the menu.
When the date is confirmed, the recorder’s clock will start to move. Set the time according to the time signal and press the MENU/SET button.
1
Setting
4 Set the month.
1 Press the 3 button or 2 button to set the month.
2 Press the MENU/SET button to accept the month.
........................................................................
Note
If you press the STOP button during the setup operation, the recorder will save the items that were set to that point.
Time/Date (TIME&DA
5 Set the date.
1 Press the 3 button or 2 button to set the date.
2 Press the MENU/SET button to accept the date.
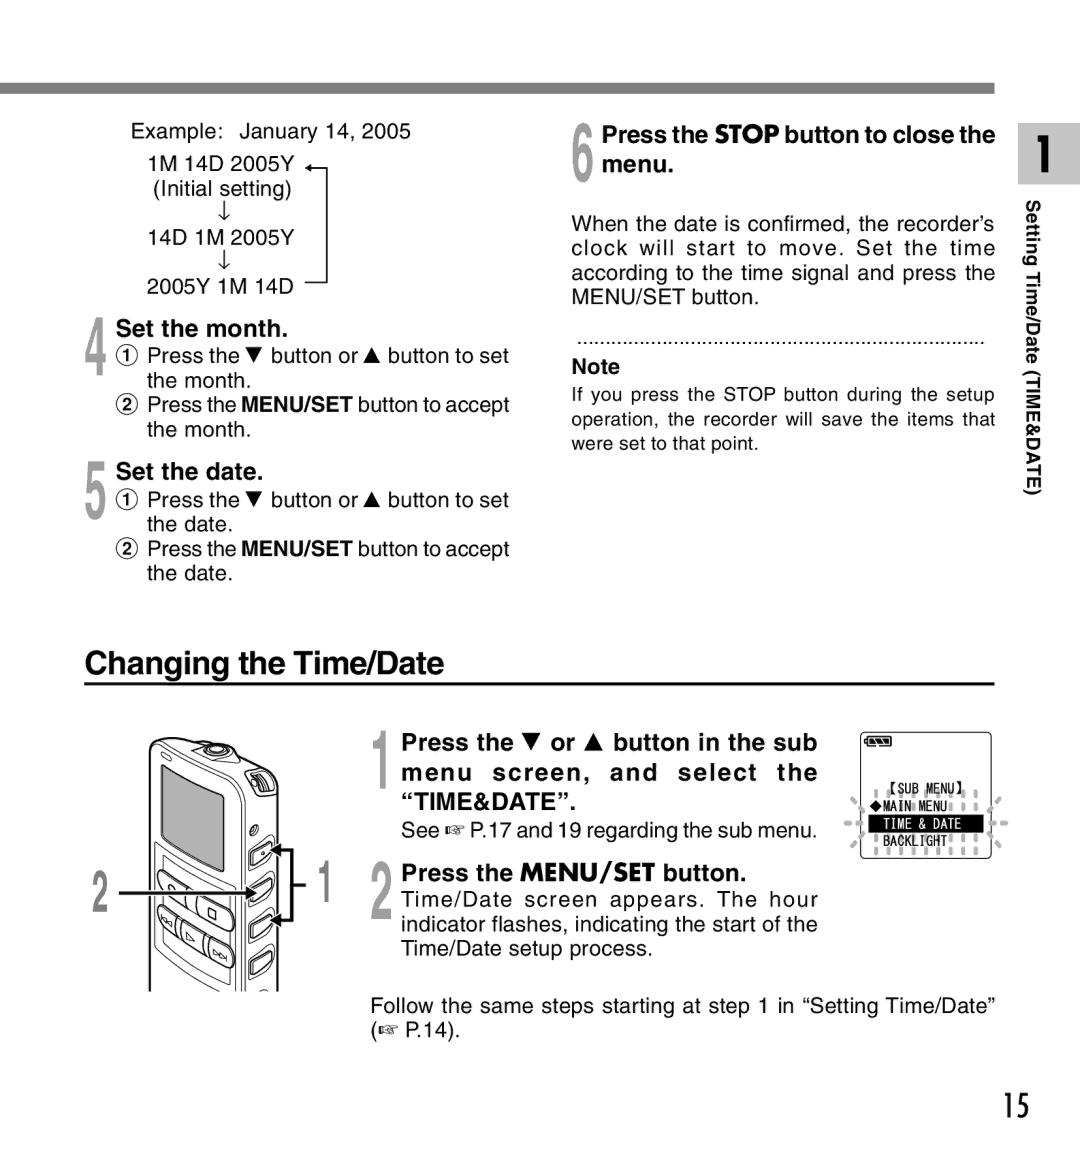
Changing the Time/Date
1 Press the 3 or 2 button in the sub menu screen, and select the
|
| “TIME&DATE”. |
|
| See ☞ P.17 and 19 regarding the sub menu. |
2 | 1 | Press the MENU/SET button. |
Time/Date screen appears. The hour | ||
| 2 indicator flashes, indicating the start of the |
Time/Date setup process.
Follow the same steps starting at step 1 in “Setting Time/Date” (☞ P.14).
TE)
15
