6
Notes
Photo 24
Photo 25
Photo 26
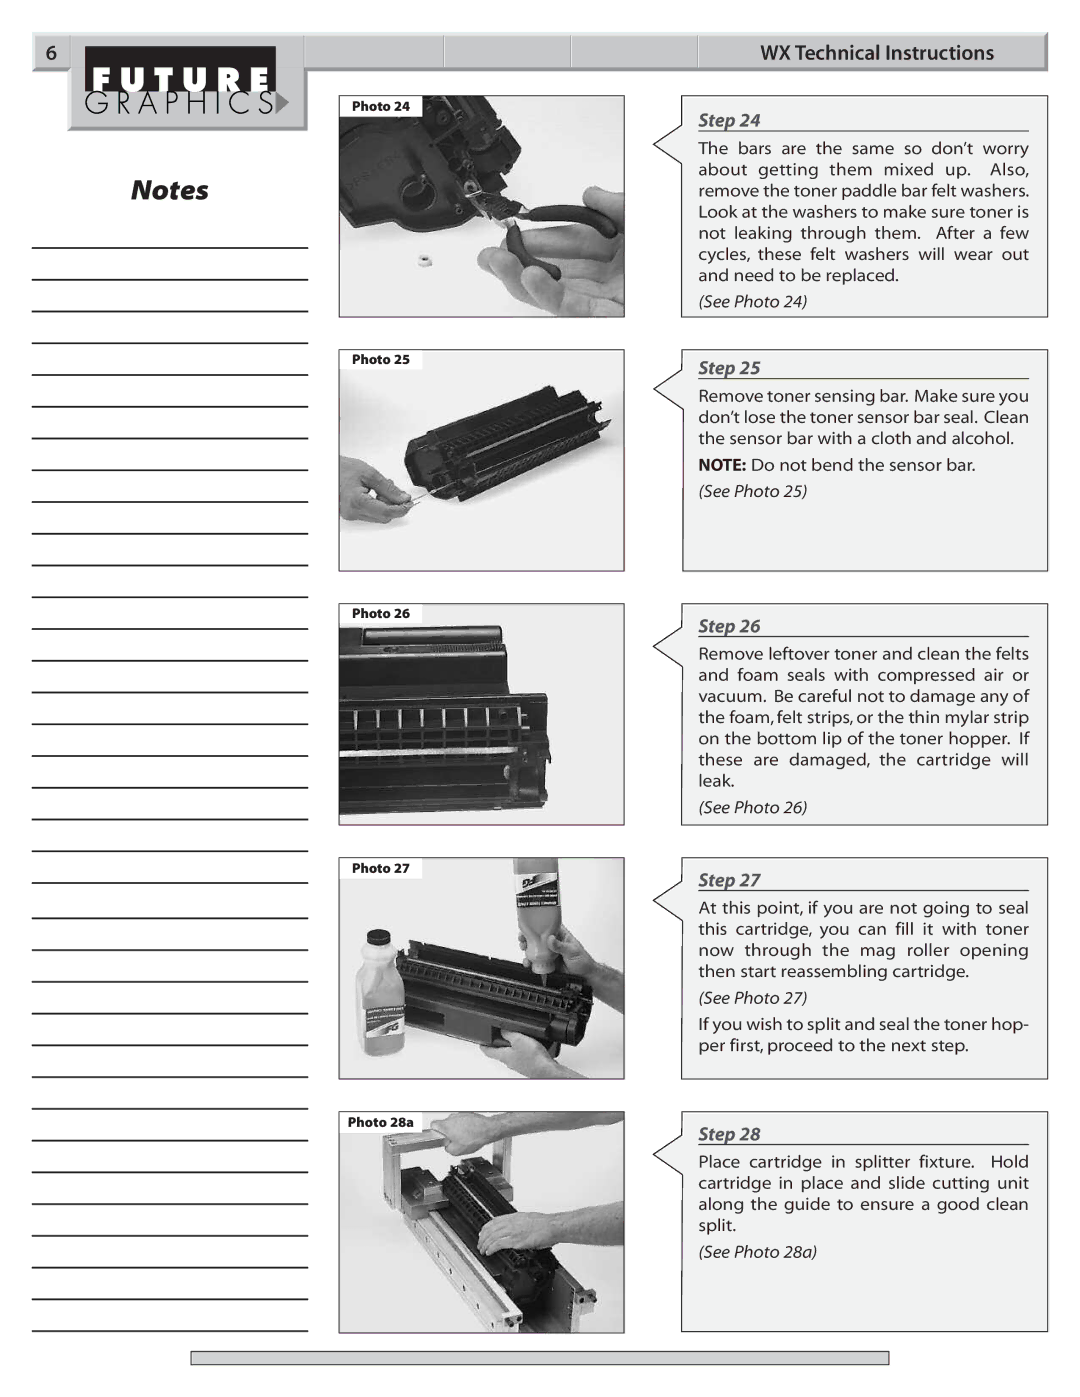
Photo 27
Photo 28a
WX Technical Instructions
Step 24
The bars are the same so don’t worry about getting them mixed up. Also, remove the toner paddle bar felt washers. Look at the washers to make sure toner is not leaking through them. After a few cycles, these felt washers will wear out and need to be replaced.
(See Photo 24)
Step 25
Remove toner sensing bar. Make sure you don’t lose the toner sensor bar seal. Clean the sensor bar with a cloth and alcohol.
NOTE: Do not bend the sensor bar.
(See Photo 25)
Step 26
Remove leftover toner and clean the felts and foam seals with compressed air or vacuum. Be careful not to damage any of the foam, felt strips, or the thin mylar strip on the bottom lip of the toner hopper. If these are damaged, the cartridge will leak.
(See Photo 26)
Step 27
At this point, if you are not going to seal this cartridge, you can fill it with toner now through the mag roller opening then start reassembling cartridge.
(See Photo 27)
If you wish to split and seal the toner hop- per first, proceed to the next step.
Step 28
Place cartridge in splitter fixture. Hold cartridge in place and slide cutting unit along the guide to ensure a good clean split.