Advanced
Camera Body Temperature
About This Guide
About the LCD Monitor and Viewfinder
Video Format
Contents
Page
Page
Warranty Limitations
Safety Precautions
Please Read
Test Shots
About the Memory Card
Page
Page
„Avoid Strong Magnetic Fields
„Avoid Condensation Related Problems
Preventing Malfunctions
„If Condensation Forms Inside the Camera
„Extended Storage
Components Guide
Direct Print Compatible Printers Sold Separately
Attaching the Wrist Strap
AF-assist Beam
Basic Operations
Operation Panel
Image Zone
Mode Dial
Auto � See Basic Guide p
Using the Multi Control Dial
Using the Viewfinder
Shooting with an Off-Center AF Frame Selected
Using the LCD Monitor
Image Seen in Viewfinder vs. Recorded Image
Night Display
LCD Monitor Brightness
Changing the brightness of the LCD monitor
Display Contents
Shooting Information Shooting Mode
Playback Information- Mode
This is displayed in the no information display mode
Playback Information-Detailed Playback Mode
Camera
Overexposure Warning
Histogram Function
Press the Menu button
Changing the Review Duration
Power Saving Function
Auto Power Down
When the Display Off Function Activates
Display Off Shooting Mode Only
When the Auto Power Down Function Activates
Formatting a Memory Card
Use the or button to select OK, then press FUNC./SET button
Setting the World Clock
Switching to the Destination Time Zone
Menu List
FUNC. Menu
Rec. Menu
Play Menu
Off
Set up Menu
Basic
10 sec./20 sec./30sec./1 min.*/2 min./3 min
My Camera Menu
Resetting Settings to Their Default Values
Movies
Changing Resolution/Compression Settings
Still Images
Setting the Red-eye Reduction Function
Press the FUNC./SET button
Or button to set the compression rate
Press the FUNC./SET button and shoot the image
Setting the Slow Synchro
Select Red-Eye from the Rec. menu
Use the or button to select On and press Menu button
Select Slow Synchro from the Rec. menu
Using the Self-timer
Press button
Rec. menu, select Self-timer
Check that , or is displayed and shoot the image
Select the timer delay and number of shots
Use the or button to select and press the Func SET button
‹ Images become coarser the more they are digitally zoomed
Using the Digital Zoom
Push the zoom lever toward and shoot the image
To Cancel Continuous Shooting
Continuous Shooting
Turn the mode dial to
Shooting a Movie
Turn the multi control dial to select a movie mode
Press the shutter button halfway
Press the shutter button fully
Press the shutter fully again to stop recording
On next
Page
Shooting Panoramic Images Stitch Assist
Shooting
Images can be shot in five sequences in Stitch Assist mode
Framing a Subject
Shoot the first frame in the sequence
Check that the camera is in Shooting mode
Using the Mode Dial Creative Zone
How to Use the Mode Dial
Shutter Aperture Speed value
Differences between the and Modes
Setting the Shutter Speed
Program AE
Aperture value Shutter Speed seconds
Setting the Aperture
Shutter Speed Display
Aperture Setting Display
Manually Setting the Shutter Speed and Aperture
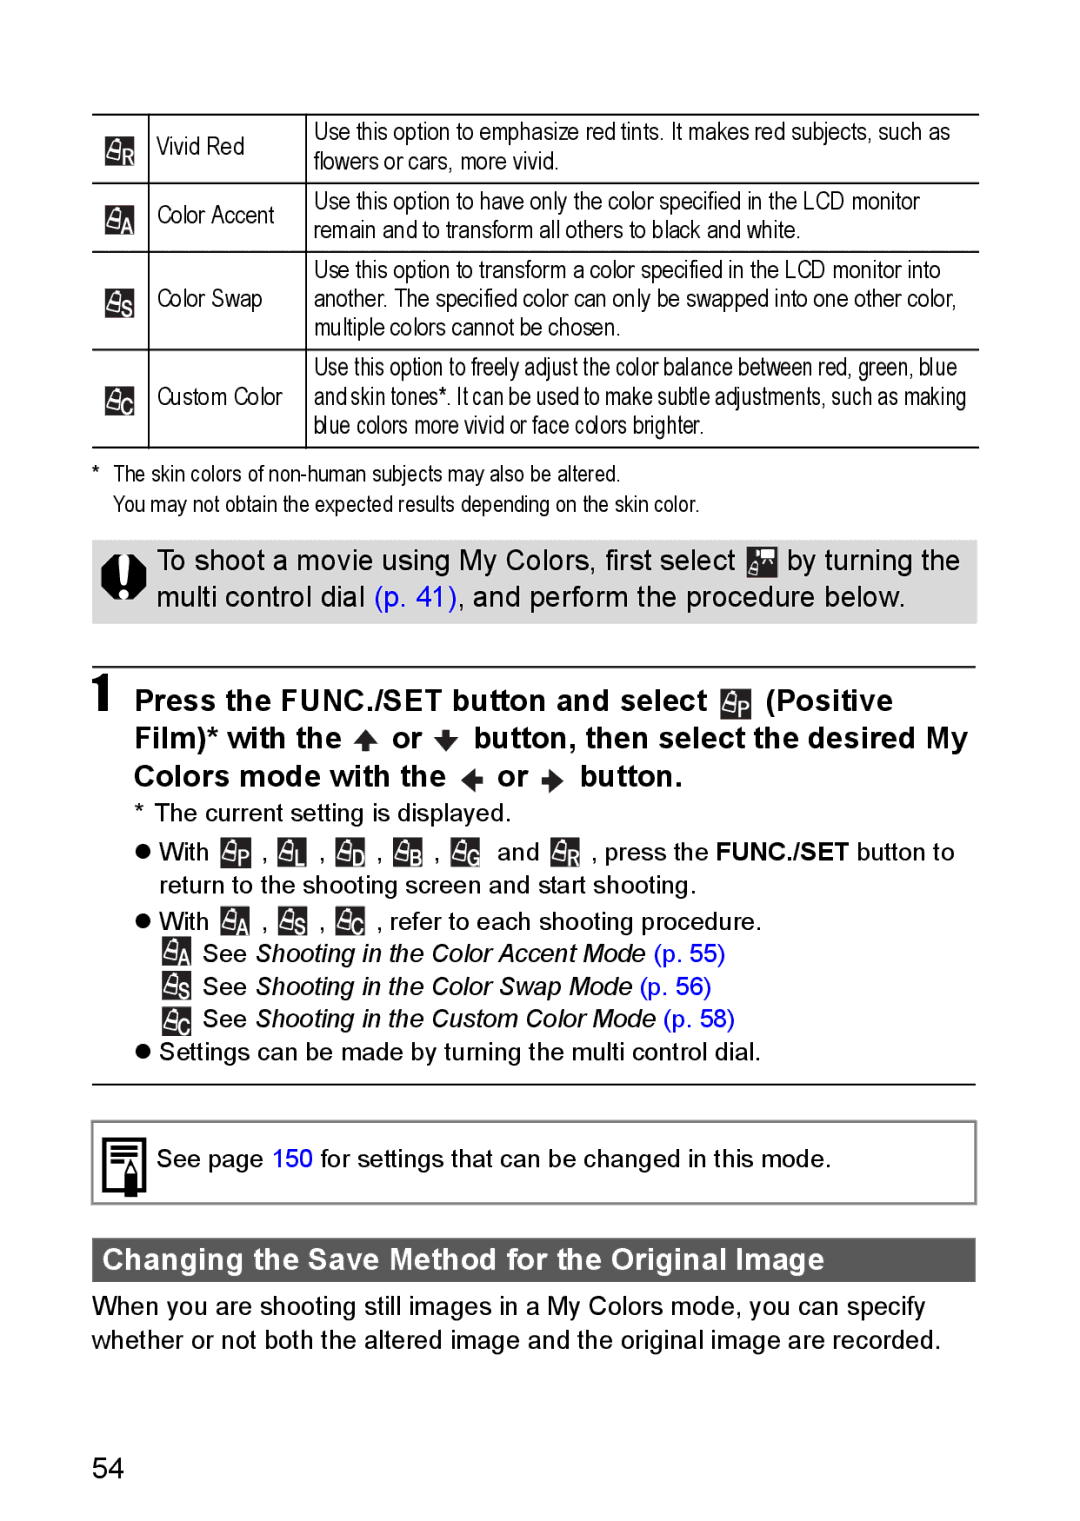
Shooting in a My Colors Mode
Changing the Save Method for the Original Image
Save Original is Set to On
Shooting in the Color Accent Mode
Rec. menu, select Save Original
Shooting in the Color Swap Mode
Press the FUNC./SET button
Shooting in the Custom Color Mode
Registering Settings to the Shortcut Button
Registering a Function
Press the button
Using the Shortcut Button
Selecting an AF Frame
Setting an AF Frame Manually
Shooting Problem Subjects for the Autofocus
Shooting with the Focus Lock
Shooting with the AF Lock
Press the MF button
Shooting in Manual Focus Mode
Focus can be manually set
Locking the Exposure Setting AE Lock
Press the shutter button all the way to shoot the image
While pressing the shutter button Halfway, press the button
Recompose the image and shoot
Locking the Flash Exposure Setting FE Lock
Press the button and display on the LCD monitor
Switching between Metering Modes
Rec. menu, select Spot AE Point
Adjusting the Exposure
Adjusting the Tone White Balance
Setting a Custom White Balance
You can start shooting
ISO speed is set to the same setting to shoot the image
Changing the Photo Effect
When is selected
Contrast
Sharpness
Saturation
Changing the ISO Speed
Auto Exposure Bracketing AEB Mode
From the FUNC. menu, select * BKT-OFF
Focus Bracketing Focus-BKT Mode
Set the amount of focus position offset with the or button
Setting the Flash Adjustment/Flash Output
Switching between Built-in Flash Adjustment Settings
Select Flash Adjust from the Rec. menu
Select Flash or Flash Output from the FUNC. menu
Use the or button to select 1st-curtain or 2nd- curtain
Switching the Timing at which the Flash Fires
Select Flash Sync from the Rec. menu
Shooting Images at Set Intervals Intervalometer
Use the or button to select an interval time
Press the shutter button
Saving Custom Settings
Turn the mode dial to P, Tv, Av, M or C
Set the setting contents you wish to save
Select OK and press the FUNC./SET button
Setting the Auto Rotate Function
Resetting the File Number
Set up menu, select File Numbering
‹ File and Folder Numbers
Create a save destination folder
Settings can be made by turning the multi control dial
Magnifying Images
Press the button Press the zoom lever toward
Display jumps nine images at a time
Change the image selection using the , , or button
Index playback mode p , press the button
Single Image playback mode, press the button
View the previous or next nine images using or button
Jumping to Images
When viewing an image, turn the multi control dial
Triple Image Scrolling Display
To Return to Single Image Playback Press the Menu button
To Return to Single Image Playback
Select Rotate from the Play menu and press the SET button
Rotating Images in the Display
Images can be rotated clockwise 90 or 270 in the display
Use the or button to select Off, , or
Applying Effects and Playing Back
Select Transition on the Playback menu
Movie Control Panel
Select a movie Playback mode and press the FUNC./SET button
Viewing/Editing Movies
When Playback Ends
Playback and Slow Motion Playback Operations
You can select it by turning the multi control dial
Attaching Sound Memos to Images
Press the button while playing back images
Exiting the Sound Memos Menu
Playing back the Sound Memos
Erasing the Sound Memos
Slide show image settings are based on Dpof standards p
Automated Playback Slide Shows
Starting a Slide Show
Select from , , , , or one of with the , , or button
100
When the slide show is over, press the Menu button
Select images for the Slide Show
Index Playback
Select images for the Slide Show
101
Adjusting the Play Time and Repeat Settings
102
Play Time
Repeat
103
Protecting Images
Use the or button to select , , or
You can protect important images from accidental erasure
Play menu, select Protect and press the FUNC./SET button
Erasing All Images
105
106
Setting the Dpof Print Settings
About Printing
Selecting Images for Printing
Play menu, select Print Order and press the SET button
Select images for printing
107
All images on a memory card
Setting the Print Style
108
109
Print Type
Date
File No
110
Selecting Images for Transferring
Play menu, select Transfer Order and press the SET button
Select images for transferring
111
Viewing Images on a TV Set
Customizing the Camera My Camera Settings
Changing My Camera Settings
Press the Menu button and press the button twice
113
Registering My Camera Settings
New content can be registered to
Press the DISP. button
114
Data that can be Registered as My Camera Settings
Start-up, Operation, Self-timer and Shutter Sounds
Use the or button to select OK and press FUNC./SET button
115
116
Troubleshooting
Camera will not operate
Cannot play back
117
Battery pack does not charge
Lens will not retract
Batteries consumed quickly
Sounds come from the camera interior
119
Image is blurred or out of focus
Subject in recorded image is too dark
120
Subject in recorded image is too bright
Bar of light red, purple appears on the LCD monitor
White dots appear on the image
Flash does not fire
Image not showing on TV monitor
Zoom does not operate
List of Messages
Image too large
Incompatible Jpeg format
Corrupted Data
Unidentified Image
Unselectable image
Cannot edit
Exx
124
Battery Handling
Battery Status Indications
Battery Handling Precaution
125
126
Fig.A
127
Handling the Memory Card
Write Protect Tab
Using the AC Adapter Kit Sold Separately
128
Car Battery Charger Sold Separately
130
Using Conversion Lenses Sold Separately
Open the lens cover to power up the camera
Attaching a Lens
131
Turn the lens in the direction of the arrow to attach it
132
133
High-Power Flash HF-DC1
134
Camera Care and Maintenance
135
136
Specifications
PowerShot S80
137
138
PictBridge compliant, and Canon Direct Print and Bubble Jet
Test Conditions
Battery Performance
139
Memory Cards and Estimated Capacities Recordable Images
„Still images
„Movies
140
Battery Pack NB-2LH
Image File Sizes Estimated
SD Memory Card
141
Battery Charger CB-2LW/CB-2LWE
Compact Power Adapter CA-PS700
Car Battery Charger CBC-NB2 sold separately
142
143
Wide Converter WC-DC10 Sold Separately
Tele-converter TC-DC10 sold separately
Advanced Techniques for the Macro Mode Basic
Tip for Using the Self-timer p
Photo Tips and Information
Regarding the AF Frame p
Exposure Compensation p
ISO Speed p
145
ZUnderexposure
Print Order . . . . . . . .28
Intervalometer . . . . . . . . .28 146
SD card 127 My Camera Menu Self-timer My Camera Settings
Playback Vol Macro
Playing Review
Magnifying Images
Numerics
Shooting Close-Ups
1st-curtain . . . . . . . . . . . . . . .792nd-curtain 148
Disclaimer
149
Functions Available in Each Shooting Mode
150
AEB p
CEL-SF3R210 Canon INC