
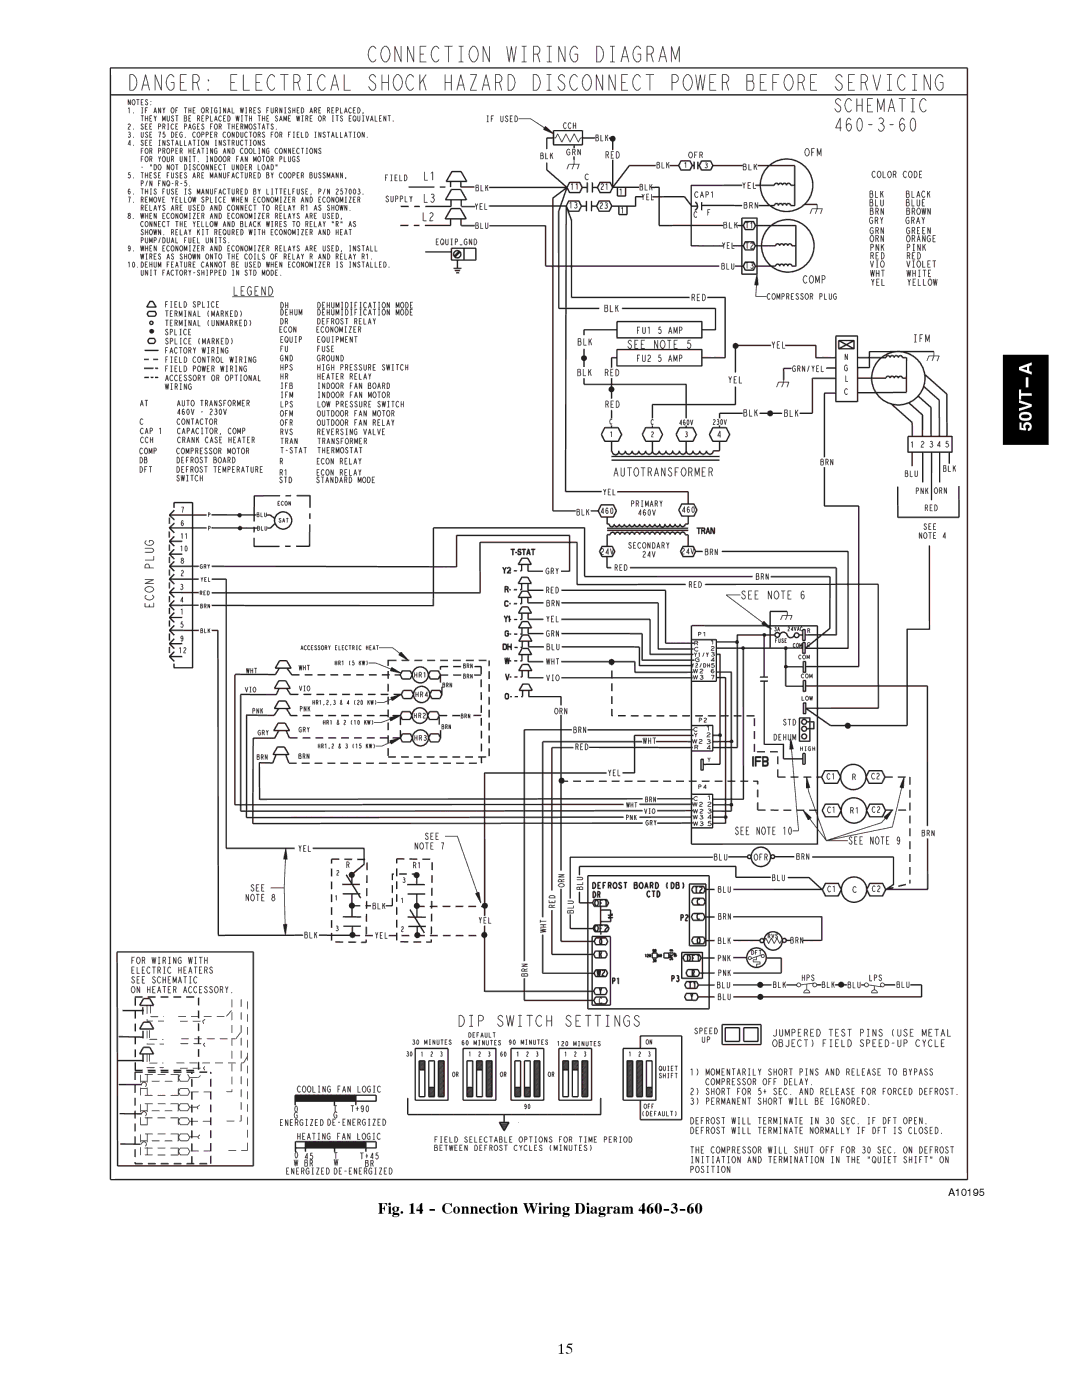
50VT-A specifications
Carrier’s 50VT-A and 50EZ-A series exemplify cutting-edge advancements in heating, ventilation, and air conditioning (HVAC) technology. These products are engineered to meet diverse climate control needs in residential and commercial applications while ensuring operational efficiency and superior indoor air quality.The Carrier 50VT-A series stands out with its variable-speed technology, which allows for precise temperature control by adjusting the cooling or heating output based on current demand. This capability not only optimizes energy consumption but also enhances comfort by eliminating temperature swings. The 50VT-A units are equipped with hybrid heat technology, which enables seamless integration with alternative heating sources, providing flexibility in energy use.
On the other hand, the Carrier 50EZ-A offers a unique solution for those seeking efficient and reliable climate control in a more compact design. This series incorporates advanced inverter technology, which continuously adjusts the compressor speed, ensuring that the system operates at the utmost efficiency regardless of environmental conditions. The result is significant energy savings and quieter operation compared to traditional units.
Both series feature intelligent refrigerant management, utilizing R-410A refrigerant, which is environmentally friendly and designed to reduce greenhouse gas emissions. The systems are engineered with robust insulation and sound-dampening materials, minimizing noise levels for a peaceful indoor environment.
In addition to their impressive technical specifications, the Carrier 50VT-A and 50EZ-A units come equipped with smart controls, allowing users to monitor and adjust settings remotely through mobile applications. This connectivity feature empowers homeowners and businesses to manage energy consumption, set schedules, and receive maintenance alerts, ensuring optimal performance at all times.
Durability is an important characteristic of both series, as they are designed to withstand various environmental conditions. With corrosion-resistant coatings and high-grade materials, these units promise longevity and reliable performance over their operational lifespan.
In summary, Carrier’s 50VT-A and 50EZ-A series offer an innovative blend of efficiency, advanced technology, and user-friendly features. Whether for residential or commercial applications, these systems provide exceptional comfort, lower energy costs, and an environmentally conscious choice for modern HVAC solutions.