Chapter 3: Basic Operations | 35 |
|
|
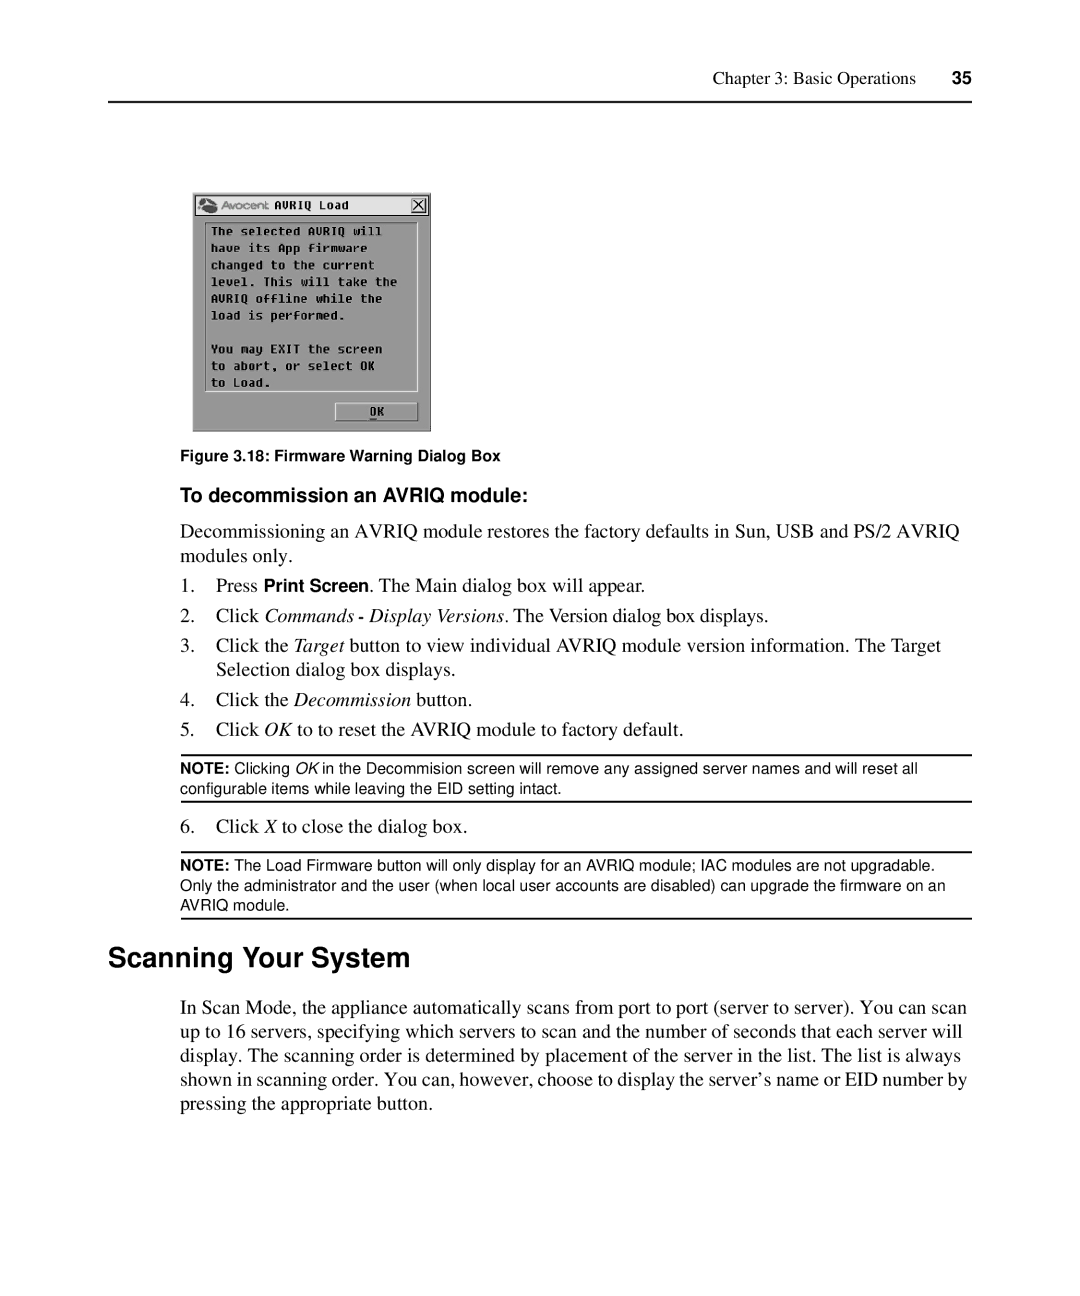
Figure 3.18: Firmware Warning Dialog Box
To decommission an AVRIQ module:
Decommissioning an AVRIQ module restores the factory defaults in Sun, USB and PS/2 AVRIQ modules only.
1.Press Print Screen. The Main dialog box will appear.
2.Click Commands - Display Versions. The Version dialog box displays.
3.Click the Target button to view individual AVRIQ module version information. The Target Selection dialog box displays.
4.Click the Decommission button.
5.Click OK to to reset the AVRIQ module to factory default.
NOTE: Clicking OK in the Decommision screen will remove any assigned server names and will reset all configurable items while leaving the EID setting intact.
6.Click X to close the dialog box.
NOTE: The Load Firmware button will only display for an AVRIQ module; IAC modules are not upgradable. Only the administrator and the user (when local user accounts are disabled) can upgrade the firmware on an AVRIQ module.
Scanning Your System
In Scan Mode, the appliance automatically scans from port to port (server to server). You can scan up to 16 servers, specifying which servers to scan and the number of seconds that each server will display. The scanning order is determined by placement of the server in the list. The list is always shown in scanning order. You can, however, choose to display the server’s name or EID number by pressing the appropriate button.