3Running Express Setup
When you first set up the switch, you should use Express Setup to enter the initial IP information. Doing this enables the switch to connect to local routers and the Internet. You can then access the switch through the IP address for further configuration.
You need this equipment to set up the switch:
•A PC with Windows 2000 or XP installed
•A web browser (Internet Explorer 6.0, 7.0, Firefox 1.5, 2.0, Windows Vista OS) with JavaScript enabled
•A
Before running Express Setup, disable any
During Express Setup, the switch acts as a DHCP server. If your PC has a static IP address, change your PC settings before you begin to temporarily use DHCP.
To run Express Setup:
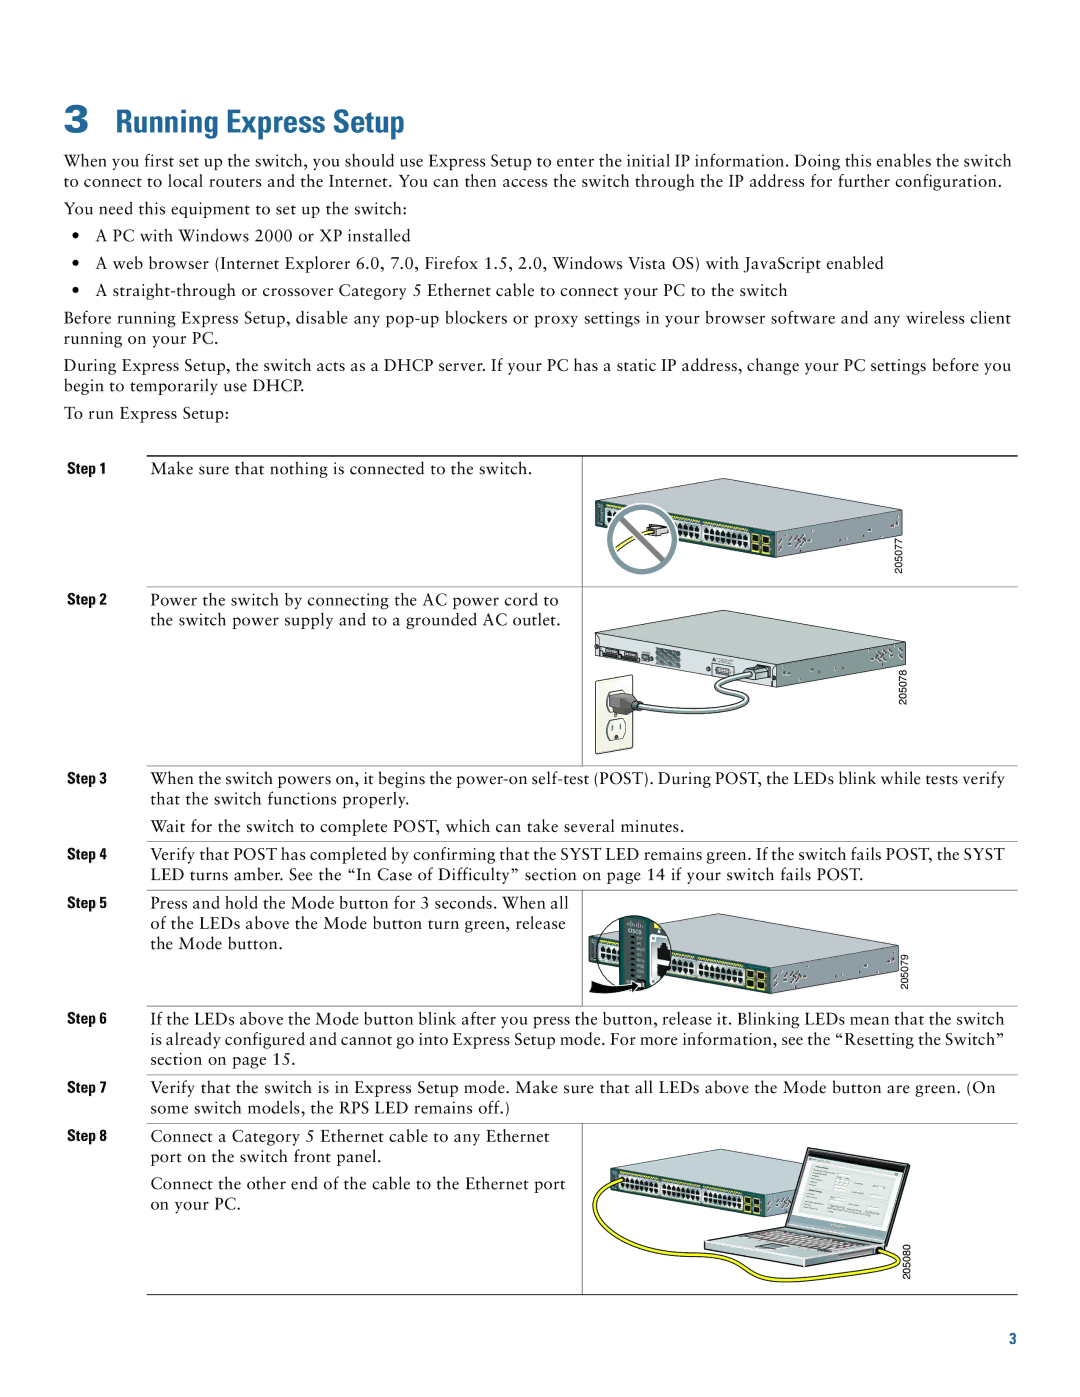
Step 1 Make sure that nothing is connected to the switch.
Catalyst | |
2975G |
205077
Step 2 Power the switch by connecting the AC power cord to the switch power supply and to a grounded AC outlet.
STACK 1 ![]() STACK 2
STACK 2
CONSOLE
205078
Step 3
Step 4
Step 5
Step 6
Step 7
When the switch powers on, it begins the
Wait for the switch to complete POST, which can take several minutes.
Verify that POST has completed by confirming that the SYST LED remains green. If the switch fails POST, the SYST LED turns amber. See the “In Case of Difficulty” section on page 14 if your switch fails POST.
Press and hold the Mode button for 3 seconds. When all |
|
|
of the LEDs above the Mode button turn green, release |
|
|
the Mode button. |
| 205079 |
Catalyst | ||
2975G |
|
If the LEDs above the Mode button blink after you press the button, release it. Blinking LEDs mean that the switch is already configured and cannot go into Express Setup mode. For more information, see the “Resetting the Switch” section on page 15.
Verify that the switch is in Express Setup mode. Make sure that all LEDs above the Mode button are green. (On some switch models, the RPS LED remains off.)
Step 8
Connect a Category 5 Ethernet cable to any Ethernet port on the switch front panel.
Connect the other end of the cable to the Ethernet port on your PC.
Catalyst |
|
2975G |
205080
3
