CP7910GSWRF specifications
The Cisco Systems CP7910GSWRF is a versatile and efficient VoIP phone designed to meet the needs of modern businesses. As part of Cisco's 7900 series, this phone combines advanced communication features with user-friendly functionality, making it an ideal choice for office environments seeking reliable and scalable telephony solutions.One of the main features of the CP7910GSWRF is its high-definition audio capability, which ensures clear and crisp voice quality during calls. This is crucial for maintaining effective communication, especially in fast-paced business settings. The phone is equipped with wideband audio support, enabling it to deliver a richer audio experience compared to standard phones.
The CP7910GSWRF also boasts an intuitive user interface, featuring a backlit LCD display that provides easy access to contacts and call management options. The interface is designed to be user-friendly, allowing employees to navigate through menus effortlessly. This feature is particularly beneficial for improving productivity, as users can quickly respond to calls and manage their communications without unnecessary delays.
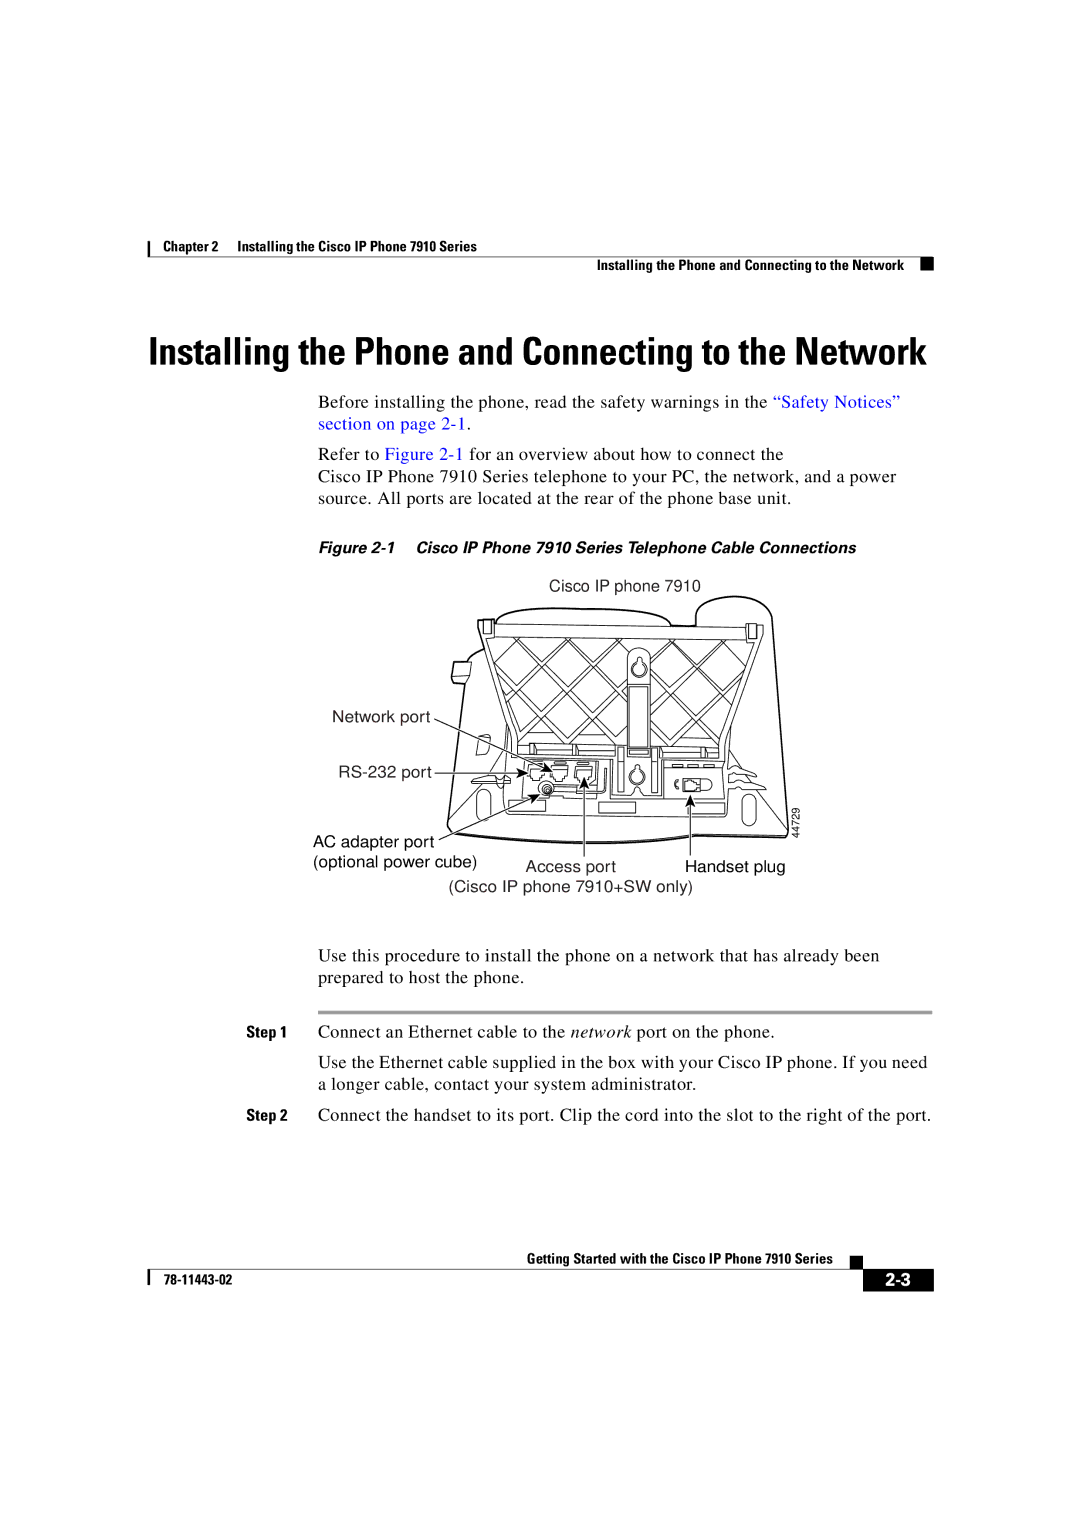
In terms of connectivity, the CP7910GSWRF supports Power over Ethernet (PoE), which simplifies installation and reduces cable clutter by allowing the device to receive power through the same Ethernet cable used for data. This feature is an essential advantage for organizations looking to streamline their office setup while maintaining network efficiency.
Moreover, the phone is compatible with Cisco Unified Communications Manager, enabling it to support a range of advanced call features and integrations. This compatibility allows organizations to leverage features such as presence information, call history, and voicemail access, providing a comprehensive communications experience.
The CP7910GSWRF is also designed for flexibility and scalability, making it suitable for businesses of various sizes. Its compact design and lightweight construction ensure that it can be easily placed on desks or mounted on walls without taking up much space.
In summary, the Cisco Systems CP7910GSWRF is a robust VoIP phone that combines high-definition audio, user-friendly interface, PoE support, and compatibility with advanced communication systems. These features make it an excellent choice for organizations seeking to enhance their telephony capabilities and improve overall communication efficiency in their workplace.

