Appendix B | Linksys QuickVPN for Windows 2000, XP, or Vista | |||
|
|
|
|
|
|
|
|
|
|
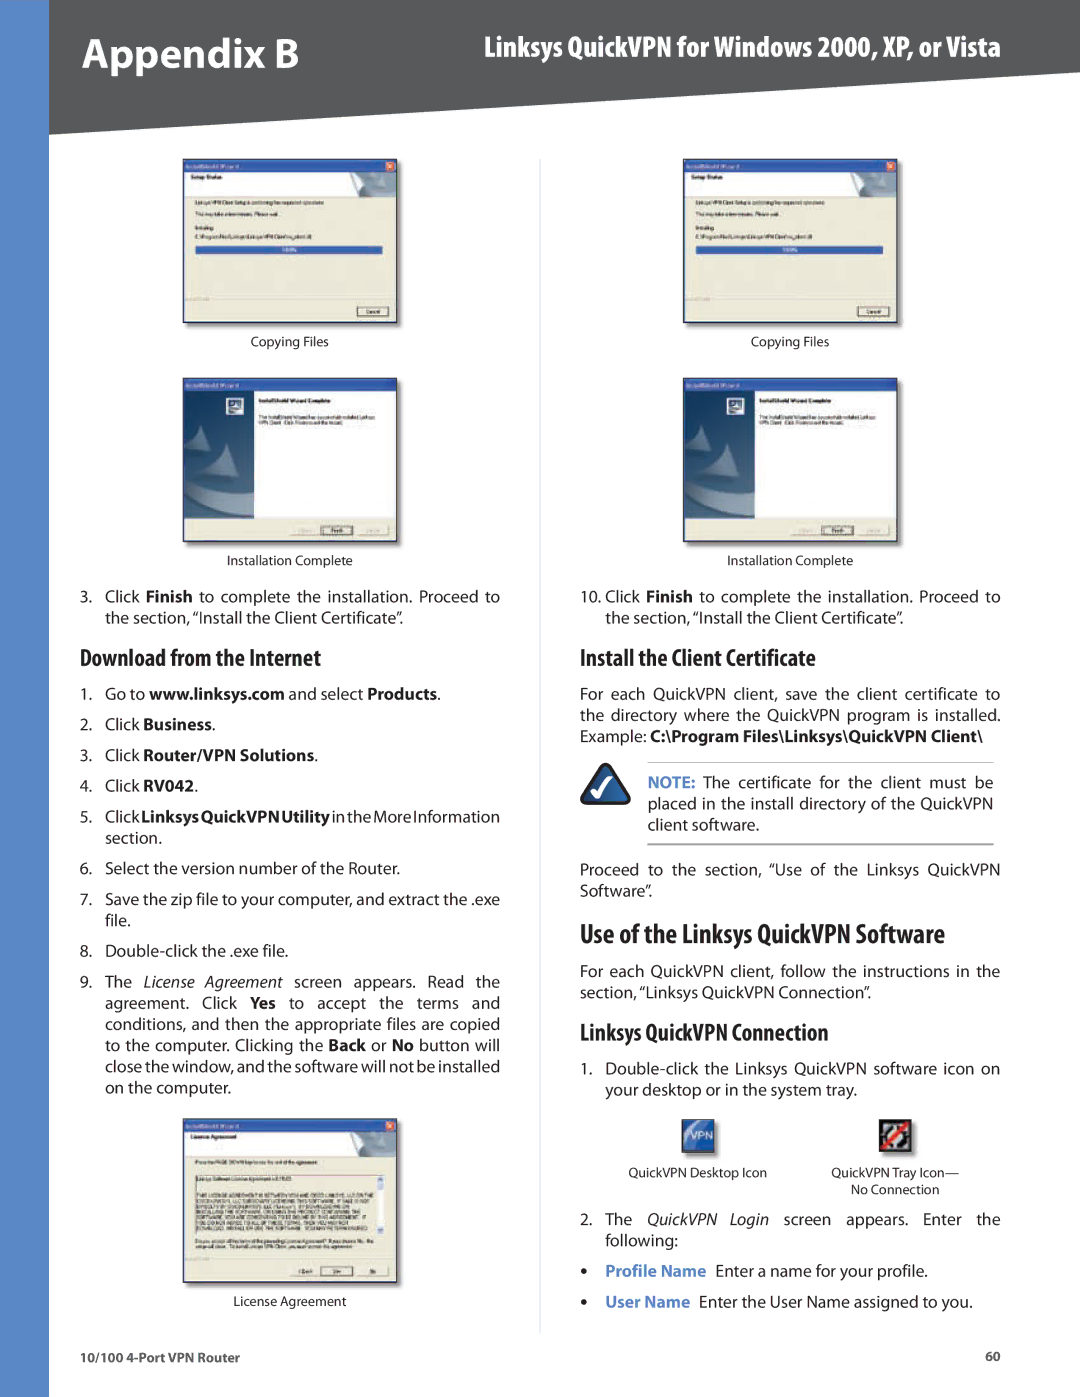
Copying Files
Installation Complete
3.Click Finish to complete the installation. Proceed to the section, “Install the Client Certificate”.
Download from the Internet
1.Go to www.linksys.com and select Products.
2.Click Business.
3.Click Router/VPN Solutions.
4.Click RV042.
5.ClickLinksysQuickVPNUtilityintheMoreInformation section.
6.Select the version number of the Router.
7.Save the zip file to your computer, and extract the .exe file.
8.
9.The License Agreement screen appears. Read the agreement. Click Yes to accept the terms and conditions, and then the appropriate files are copied to the computer. Clicking the Back or No button will close the window, and the software will not be installed on the computer.
License Agreement
Copying Files
Installation Complete
10.Click Finish to complete the installation. Proceed to the section, “Install the Client Certificate”.
Install the Client Certificate
For each QuickVPN client, save the client certificate to the directory where the QuickVPN program is installed. Example: C:\Program Files\Linksys\QuickVPN Client\
NOTE: The certificate for the client must be placed in the install directory of the QuickVPN client software.
Proceed to the section, “Use of the Linksys QuickVPN Software”.
Use of the Linksys QuickVPN Software
For each QuickVPN client, follow the instructions in the section, “Linksys QuickVPN Connection”.
Linksys QuickVPN Connection
1.
QuickVPN |
| Icon | QuickVPN |
| Icon— |
Desktop | Tray | ||||
|
|
| No Connection | ||
2.The QuickVPN Login screen appears. Enter the following:
•• Profile Name Enter a name for your profile.
•• User Name Enter the User Name assigned to you.
10/100 | 60 |
