Operation Common to CD and USB Drive
English
Pausing play
1.Press the [![]() ] button to pause play. “PAUSE” appears in the display.
] button to pause play. “PAUSE” appears in the display.
2.To resume track play, press the [![]() ] button again.
] button again.
Title display mode
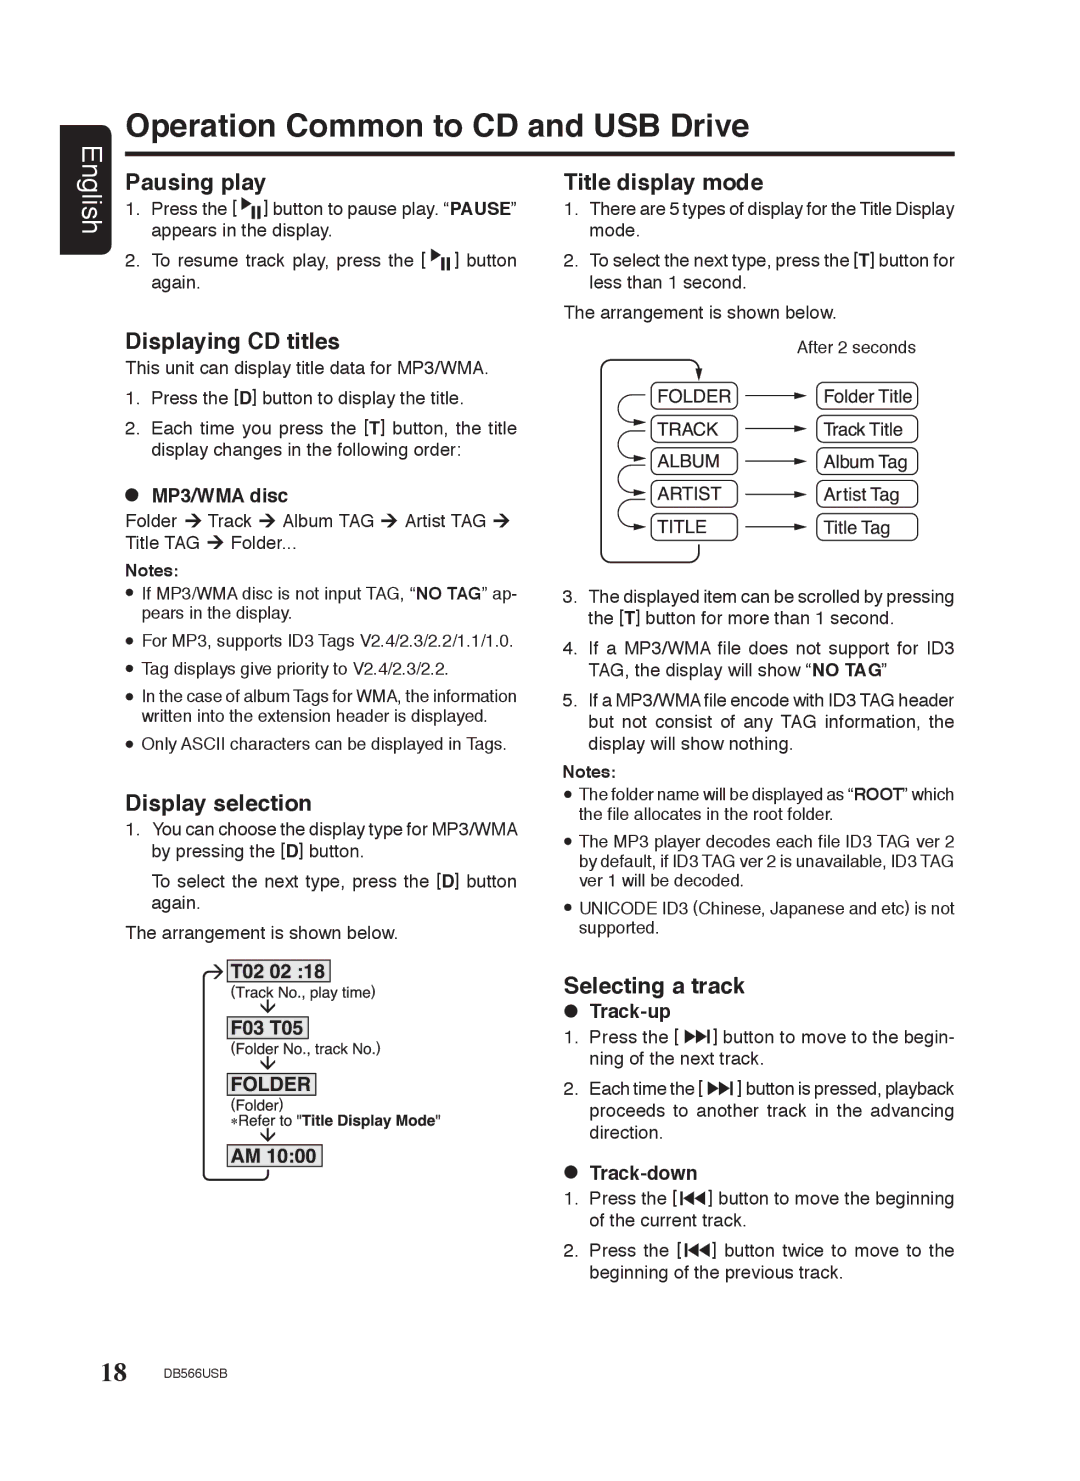
1.There are 5 types of display for the Title Display mode.
2.To select the next type, press the [T] button for less than 1 second.
The arrangement is shown below.
Displaying CD titles
This unit can display title data for MP3/WMA.
1.Press the [D] button to display the title.
2.Each time you press the [T] button, the title display changes in the following order:
 MP3/WMA disc
Folder  Track
Track  Album TAG
  Artist TAG
Title TAG  Folder...
Notes:
![]() If MP3/WMA disc is not input TAG, “NO TAG” ap- pears in the display.
If MP3/WMA disc is not input TAG, “NO TAG” ap- pears in the display.
![]() For MP3, supports ID3 Tags V2.4/2.3/2.2/1.1/1.0.
For MP3, supports ID3 Tags V2.4/2.3/2.2/1.1/1.0.
![]() Tag displays give priority to V2.4/2.3/2.2.
Tag displays give priority to V2.4/2.3/2.2.
![]() In the case of album Tags for WMA, the information written into the extension header is displayed.
In the case of album Tags for WMA, the information written into the extension header is displayed.
![]() Only ASCII characters can be displayed in Tags.
Only ASCII characters can be displayed in Tags.
Display selection
1.You can choose the display type for MP3/WMA by pressing the [D] button.
To select the next type, press the [D] button again.
The arrangement is shown below.
After 2 seconds
3.The displayed item can be scrolled by pressing the [T] button for more than 1 second.
4.If a MP3/WMA file does not support for ID3 TAG, the display will show “NO TAG”
5.If a MP3/WMA file encode with ID3 TAG header but not consist of any TAG information, the display will show nothing.
Notes:
![]() The folder name will be displayed as “ROOT” which the file allocates in the root folder.
The folder name will be displayed as “ROOT” which the file allocates in the root folder.
![]() The MP3 player decodes each file ID3 TAG ver 2 by default, if ID3 TAG ver 2 is unavailable, ID3 TAG ver 1 will be decoded.
The MP3 player decodes each file ID3 TAG ver 2 by default, if ID3 TAG ver 2 is unavailable, ID3 TAG ver 1 will be decoded.
![]() UNICODE ID3 (Chinese, Japanese and etc) is not supported.
UNICODE ID3 (Chinese, Japanese and etc) is not supported.
Selecting a track

Track-up
1.Press the [ ![]()
![]() ] button to move to the begin- ning of the next track.
] button to move to the begin- ning of the next track.
2.Each time the [![]()
![]() ] button is pressed, playback proceeds to another track in the advancing direction.
] button is pressed, playback proceeds to another track in the advancing direction.

Track-down
1.Press the [![]()
![]() ] button to move the beginning of the current track.
] button to move the beginning of the current track.
2.Press the [![]()
![]() ] button twice to move to the beginning of the previous track.
] button twice to move to the beginning of the previous track.
18 DB566USB
