CD Operations

Other Handy Functions

Ejecting a CD

Top function

1. Press the Eject button 6. The SLOPING

The top function resets the CD player to the first

CONSOLE opens and a CD ejects. “EJECT

track of the disc. Press TOP button 8 to play

appears in the display.

the first track (track No. 1) on the disc.

Setting the clock

1.

Press MODE button & four times to display


the adjustment selection display.

2.

Press up (w) or down (z) of VOLUME

pressing Direct buttons " (1 to 5).

1 ... Capital letters

2 ... Small letters

3 ... Numbers/symbols

4 ... Umlauts

CAUTION

Be careful not to get your fingers caught when opening and closing the SLOPING CONSOLE.

2.Remove the CD and press OPEN button 6 to close the SLOPING CONSOLE.

Notes:

Be sure to close the SLOPING CONSOLE after removing the CD.

The SLOPING CONSOLE closes automatically 30 seconds after removing the CD.

If a CD (12 cm) is left in the ejected position for 15 seconds, the CD is automatically reloaded. (Auto reload)

3" CDs (8 cm) are not auto reloaded. Be sure to remove it when ejected.

Notes:

If you force a CD into before auto reloading, this can damage the CD.

Scan play

The scan play locates and plays the first 10 sec- onds of each track on a disc automatically. This function continues on the disc until it is canceled.

The scan play is useful when you want to select a desired track.

1.Press the SCN button " to start scan play. “SCN” lights in the display.

2.To cancel the scan play, press the SCN button " again. “SCN” goes off from the display and the current track continues to play.

Repeat play

The repeat play continuously plays the current track. This function continues automatically until it is canceled.

1. Press the RPT button ". “RPT” lights in the

display and the current track is repeated.


buttons 2 and select “CLOCK”.

3.

Press the right side of SEARCH button 4 to


CLOCK” appears in the display.

4.

Press the right side or left side of SEARCH


button 4 to select the hour or the minute.

5.

Press the up (w) or down (z) of VOLUME


2 button to set the correct time.


The clock is displayed in 12-hour format.

6.

Press ENT button $ to store the time into


memory.

7.

Press MODE button & or press and hold ENT


button $ for 1 second or longer to return to


the previous mode.

Note:

You cannot set the clock when it is displayed with only the ignition on. If you drain or remove the car’s battery or take out this unit, the clock is reset. While setting the clock, if another button or operation is selected, the clock set mode is canceled.

5 ... Title clear

6.Press VOLUME buttons 2 up (w) or down (z) to select the character to enter.

7.Repeat steps 4 to 6 to enter for the title.

8.Press and hold ENT button $ for 2 seconds or longer to store the title into memory and cancel title input mode.

Clearing titles

1.Select and play a CD or CD in the CD changer or tune in to a radio station or a TV station for which you want to clear the title.

2.When you press and hold TITLE button # for 1 second or longer, the display switches to the title input screen.

3.Press the CLR button ".

4.If you press and hold ENT button $ for 2 seconds or longer, the title is cleared and title input mode is cancelled.

Selecting a track

Track-up

1.Press the right side of SEARCH button 4 to move ahead to the beginning of the next track.

2.Each time you press the right side of SEARCH button 4, the track advances ahead to the beginning of the next track.

Track-down

1.Press the left side of SEARCH button 4 to move back to the beginning of the current track.

2.Press the left side of SEARCH button 4 twice to move to the beginning of the previous track.

Fast-forward/fast-backward

Fast-forward

Press and hold the right side of SEARCH button 4 for 1 second or longer.

Fast-backward

Press and hold the left side of SEARCH button 4 for 1 second or longer.

2. To cancel the repeat play, press the RPT

button " again. “RPT” goes off from the

display and normal play resumes.

Random play

The random play selects and plays individual tracks on a disc in no particular order. This function continues automatically until it is canceled.

1.Press the RDM button ". “RDM” lights in the display, an individual track is selected randomly and play begins.

2.To cancel the random play, press the RDM button " again. “RDM” goes off and normal play resumes.

Entering titles

Titles up to 10 characters long can be stored in memory and displayed for radio stations and TV stations and CDs. The numbers of titles that can be entered for each mode are as follows.

Mode

Number of titles

Radio mode

30 titles

CD mode

50 titles

TV mode

15 titles

CD changer mode

Number of titles

CDC655z connected

60 titles

CDC655Tz connected

100 titles

CDC1255z connected

50 titles

1.

Press FUNCTION button 7 to select the


mode you want to enter a title. (Radio, CD,


CD changer or TV)

2.

Select and play a CD or a CD in the CD


changer or tune in to a radio station or a TV


station for which you want to enter the title.

3.

If you press and hold TITLE button # for 1


second or longer, the display switches to the


title input screen.

4.

Press the right or left side of SEARCH button


4 to move the cursor.

Title list play

You can display a list of titles, then select the disc or broadcast station to listen to from that list.

1.With the unit in radio, CD/MD changer, TV mode, press TITLE button #.

2.Press BAND button 8 and switch to the band or disc you want to play.

3.Press the right or left side of SEARCH button 4 and select the desired title.

4.When you press ENT button $, the broadcast or disc of which title you selected starts.

Adjusting the display contrast

You can adjust the display contrast to match the angle of installation of the unit.

The factory default setting is “8”. (Adjustment level: 1 to 15)

1. Press MODE button & four times to switch to the adjustment selection display.

2. Press VOLUME buttons 2 up (w) or down (z) to select “CONTRAST”.

3. Press the right side of SEARCH button 4 to move the cursor.

4. Press VOLUME buttons 2 up (w) or down (z) to adjust the contrast.

14 DRX9675z

5. Press one of Direct buttons " from “1” to “4

and select the character you want to enter.

You can enter title characters as follows by

5. Press MODE button & or press and hold ENT button $ for 1 second or longer to return to the previous mode.

DRX9675z 15

Page 8
Image 8
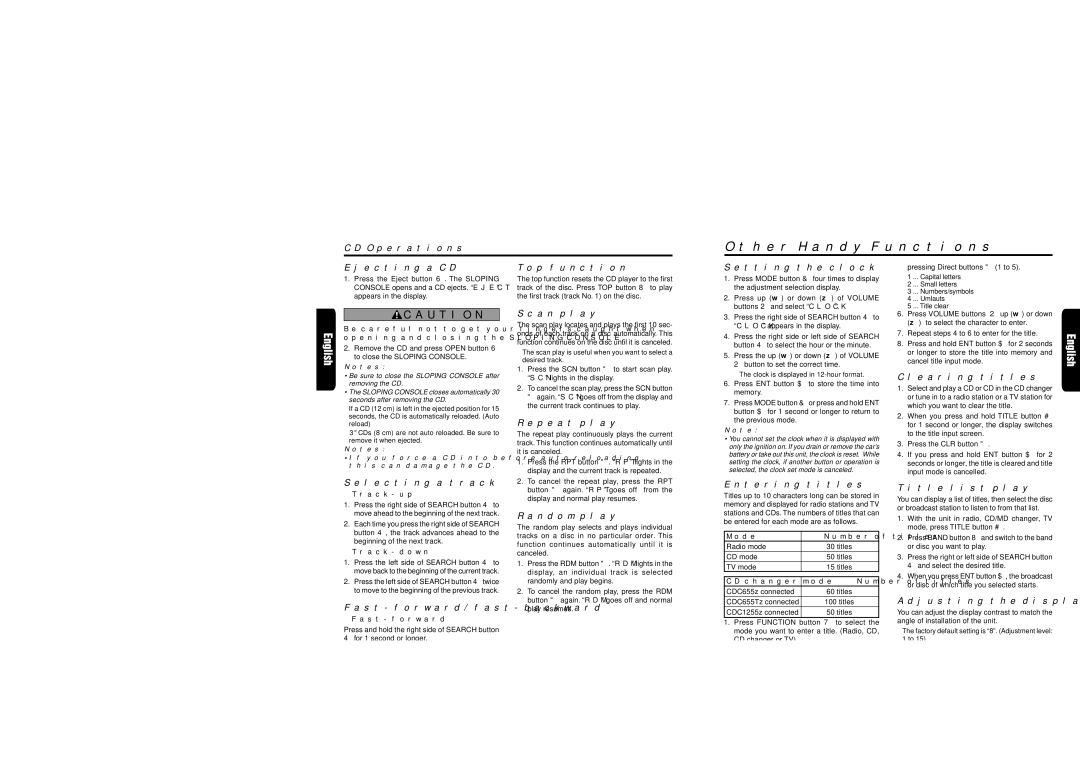
Clarion DRX9675z owner manual Other Handy Functions

DRX9675z specifications

The Clarion DRX9675Z is a highly regarded car audio receiver known for its high-performance audio features, innovative technologies, and user-friendly design. It is tailored for audiophiles and casual listeners alike, offering a plethora of functionalities that enhance the in-car listening experience.

One of the primary features of the DRX9675Z is its support for various audio formats, including MP3, WMA, and WAV, allowing users to play their favorite tracks from multiple sources. The receiver is equipped with a high-quality built-in amplifier that delivers clear and powerful sound, ensuring a rich audio experience while driving. The unit's multi-band equalizer enables users to customize sound output to their preferences, effectively enhancing the overall listening experience.

The DRX9675Z also boasts an easy-to-use interface, featuring a large display with adjustable brightness and support for various languages. The rotary knob and dedicated buttons allow for quick access to essential functions, making it user-friendly even while on the road. Its sleek design seamlessly integrates into a variety of vehicle interiors, adding a modern touch.

Connectivity is another standout feature of the DRX9675Z. It offers multiple inputs, including USB, auxiliary, and a dedicated slot for CDs. The USB port supports playback of audio files stored on flash drives, while the AUX input provides compatibility with numerous portable devices. Additionally, the receiver is designed to be compatible with Bluetooth technology, allowing for hands-free calling and music streaming directly from smartphones.

The DRX9675Z is equipped with advanced digital signal processing (DSP) technology, which helps optimize audio performance based on vehicle acoustics. This ensures an enhanced soundstage and immersion irrespective of the environment. Furthermore, the receiver includes features such as AM/FM tuning with preset options, dynamic bass enhancement, and customizable sound settings, ensuring an adaptable listening experience.

Overall, the Clarion DRX9675Z sets itself apart with its combination of high-quality audio output, flexible connectivity options, and intuitive user interface. Whether listening to music on a road trip or navigating through urban traffic, this receiver provides an exceptional audio experience that caters to the needs of diverse users, making it a solid choice for any car owner looking to elevate their in-car entertainment.