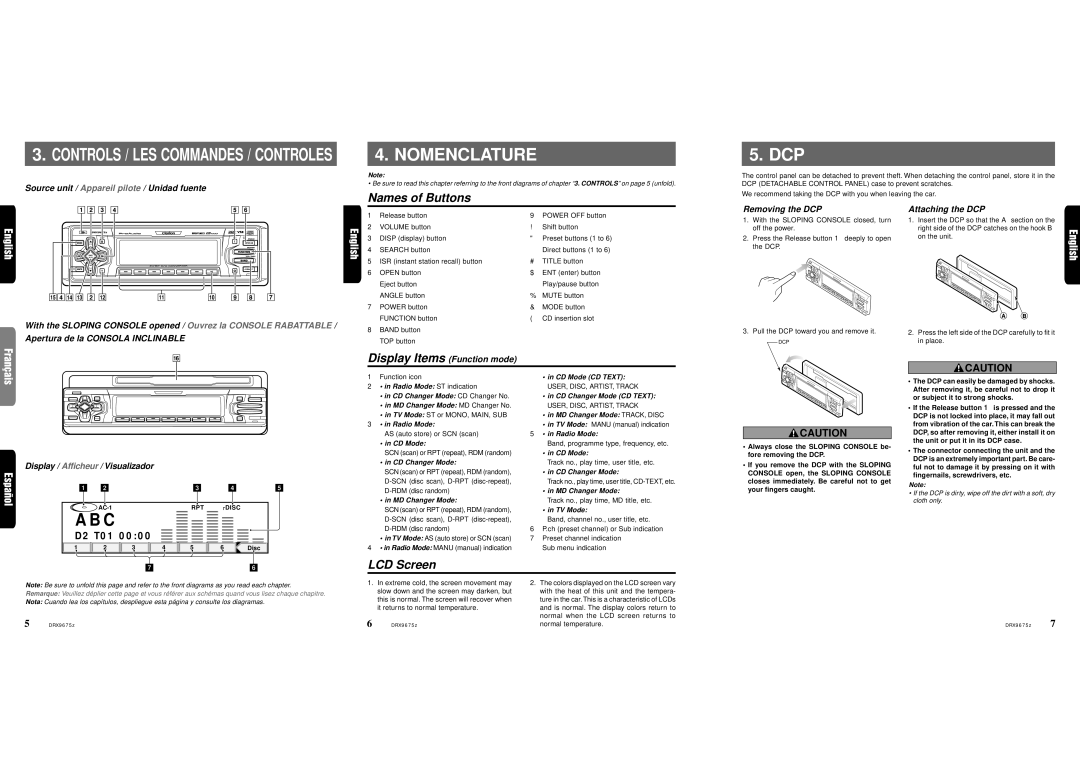
DRX9675z specifications
The Clarion DRX9675Z is a highly regarded car audio receiver known for its high-performance audio features, innovative technologies, and user-friendly design. It is tailored for audiophiles and casual listeners alike, offering a plethora of functionalities that enhance the in-car listening experience.One of the primary features of the DRX9675Z is its support for various audio formats, including MP3, WMA, and WAV, allowing users to play their favorite tracks from multiple sources. The receiver is equipped with a high-quality built-in amplifier that delivers clear and powerful sound, ensuring a rich audio experience while driving. The unit's multi-band equalizer enables users to customize sound output to their preferences, effectively enhancing the overall listening experience.
The DRX9675Z also boasts an easy-to-use interface, featuring a large display with adjustable brightness and support for various languages. The rotary knob and dedicated buttons allow for quick access to essential functions, making it user-friendly even while on the road. Its sleek design seamlessly integrates into a variety of vehicle interiors, adding a modern touch.
Connectivity is another standout feature of the DRX9675Z. It offers multiple inputs, including USB, auxiliary, and a dedicated slot for CDs. The USB port supports playback of audio files stored on flash drives, while the AUX input provides compatibility with numerous portable devices. Additionally, the receiver is designed to be compatible with Bluetooth technology, allowing for hands-free calling and music streaming directly from smartphones.
The DRX9675Z is equipped with advanced digital signal processing (DSP) technology, which helps optimize audio performance based on vehicle acoustics. This ensures an enhanced soundstage and immersion irrespective of the environment. Furthermore, the receiver includes features such as AM/FM tuning with preset options, dynamic bass enhancement, and customizable sound settings, ensuring an adaptable listening experience.
Overall, the Clarion DRX9675Z sets itself apart with its combination of high-quality audio output, flexible connectivity options, and intuitive user interface. Whether listening to music on a road trip or navigating through urban traffic, this receiver provides an exceptional audio experience that caters to the needs of diverse users, making it a solid choice for any car owner looking to elevate their in-car entertainment.

