
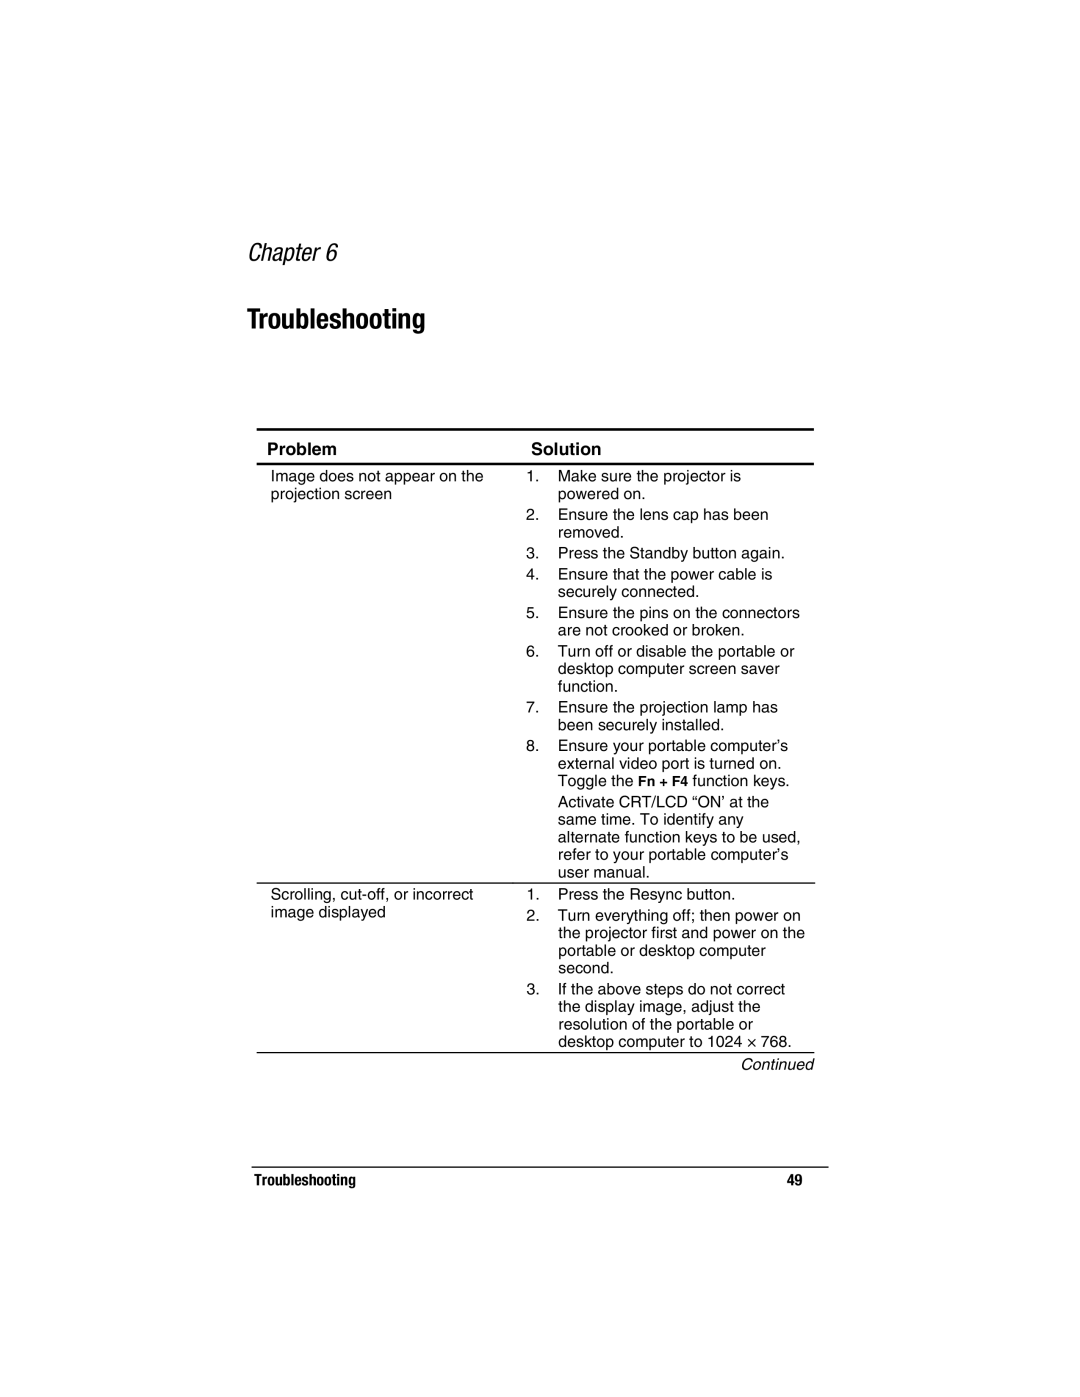
MP2800 specifications
The Compaq MP2800 is a noteworthy addition to the landscape of portable multimedia projectors, designed to cater to both business and entertainment needs. Launched at a time when the demand for high-resolution visuals in a compact format was rapidly increasing, the MP2800 became a popular choice for professionals and casual users alike.One of the standout features of the Compaq MP2800 is its impressive brightness, typically reaching up to 2800 ANSI lumens. This level of brightness ensures that presentations and videos are visible even in well-lit environments, making it perfect for conference rooms or classrooms. Coupled with a contrast ratio of around 2000:1, the MP2800 delivers sharp images with distinct color separation, providing an overall enhanced viewing experience.
The MP2800 employs DLP (Digital Light Processing) technology, which is known for its reliability and efficiency in producing vivid images and smooth motion, ideal for video playback. This technology minimizes the occurrence of color degradation over time, ensuring consistent performance. The projector supports various resolutions, including native SVGA (800x600), with the capability to project higher resolutions, making it versatile for different media formats.
Portability is another key characteristic of the Compaq MP2800. Weighing around 5 pounds, it is designed for easy transport, allowing users to carry it to different locations with minimal hassle. The compact design does not compromise on connectivity; the projector offers multiple input options, including VGA, composite video, S-Video, and USB ports for connecting various devices such as laptops, DVD players, and gaming consoles.
Moreover, the MP2800 is equipped with built-in speakers, providing a convenient audio solution for presentations and video playback without the need for external speakers. The lamp life of the projector is also commendable, with an estimated lifespan of up to 3000 hours in standard mode, reducing maintenance costs and the frequency of lamp replacements.
In conclusion, the Compaq MP2800 stands out for its blend of portability, brightness, and image quality. Its DLP technology, versatile connectivity options, and built-in audio make it a reliable choice for those seeking a projector that adapts well to various settings and usage scenarios. Whether for business presentations or home entertainment, the MP2800 offers the essential features needed for effective visual communication.