WR 3M | Page 7 of 21 |
−LED lit green constantly indicates that the connected tool is being heated up.
−LED flashing green indicates that the Set temperature of the tool has been reached.
Active channels are indicated in the display with a triangle “S”(22) and a lightning symbol " “ (21).
6 Operating Guidelines
6.1Selecting a channel, switching ON or OFF
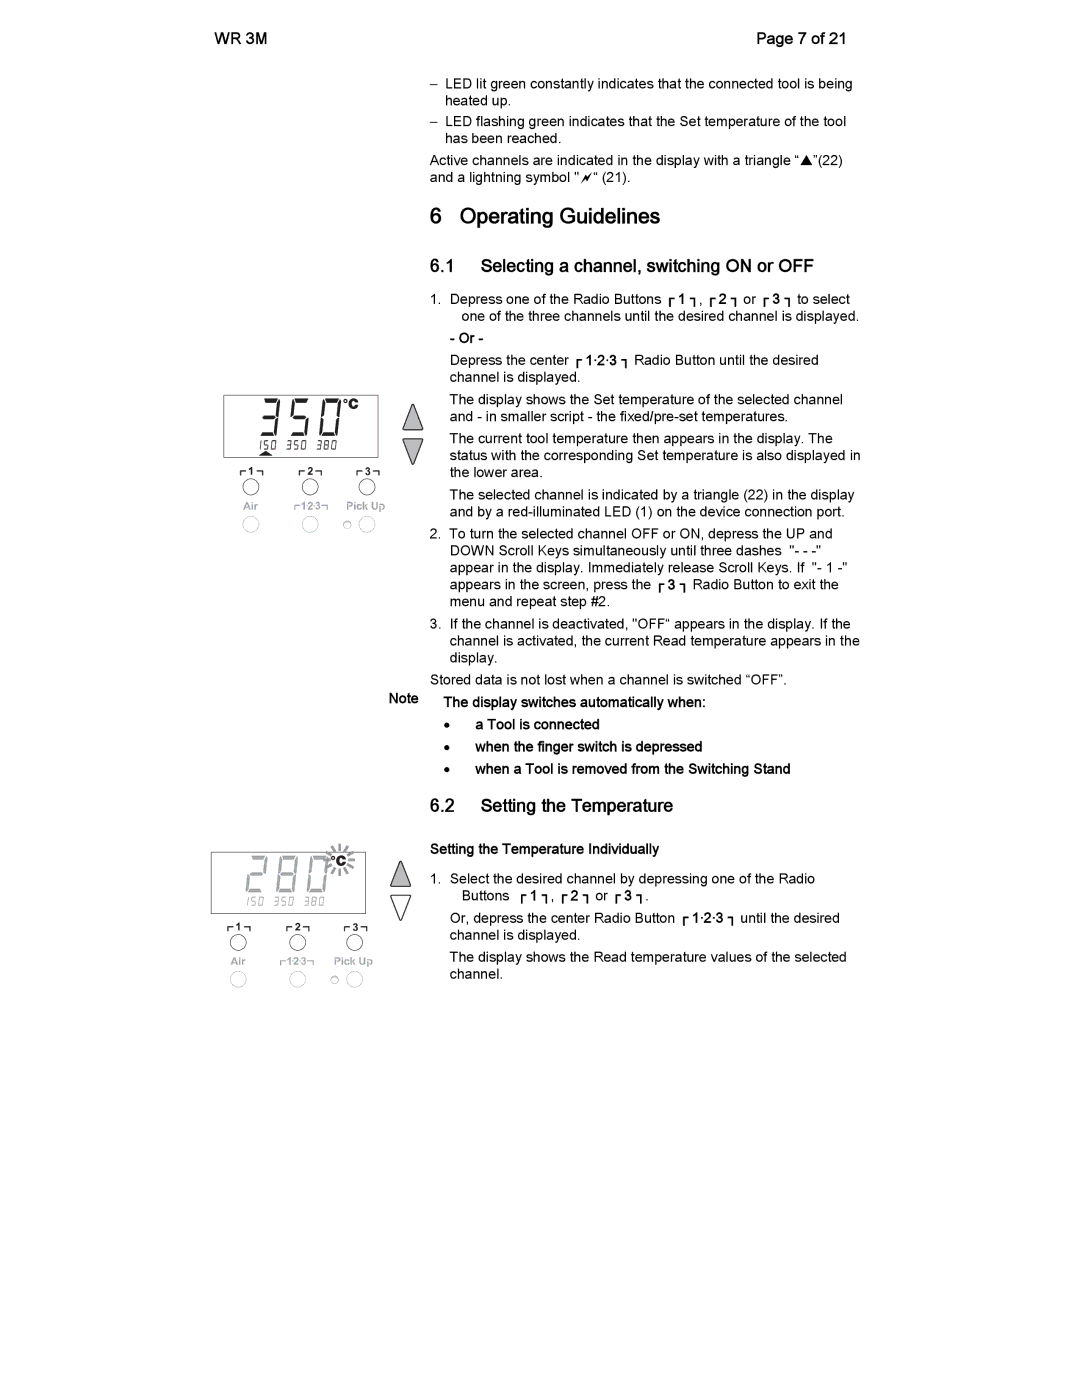
1.Depress one of the Radio Buttons ┌ 1 ┐, ┌ 2 ┐ or ┌ 3 ┐ to select one of the three channels until the desired channel is displayed.
-Or -
Depress the center ┌ 1·2·3 ┐ Radio Button until the desired channel is displayed.
The display shows the Set temperature of the selected channel and - in smaller script - the
The current tool temperature then appears in the display. The status with the corresponding Set temperature is also displayed in the lower area.
The selected channel is indicated by a triangle (22) in the display and by a
2. To turn the selected channel OFF or ON, depress the UP and DOWN Scroll Keys simultaneously until three dashes "- -
3.If the channel is deactivated, "OFF“ appears in the display. If the channel is activated, the current Read temperature appears in the display.
Stored data is not lost when a channel is switched “OFF”.
Note | The display switches automatically when: | |
| • | a Tool is connected |
| • | when the finger switch is depressed |
| • | when a Tool is removed from the Switching Stand |
6.2Setting the Temperature
Setting the Temperature Individually
1. Select the desired channel by depressing one of the Radio Buttons ┌ 1 ┐, ┌ 2 ┐ or ┌ 3 ┐.
Or, depress the center Radio Button ┌ 1·2·3 ┐ until the desired channel is displayed.
The display shows the Read temperature values of the selected channel.