|
| Fence |
|
|
|
|
|
|
The
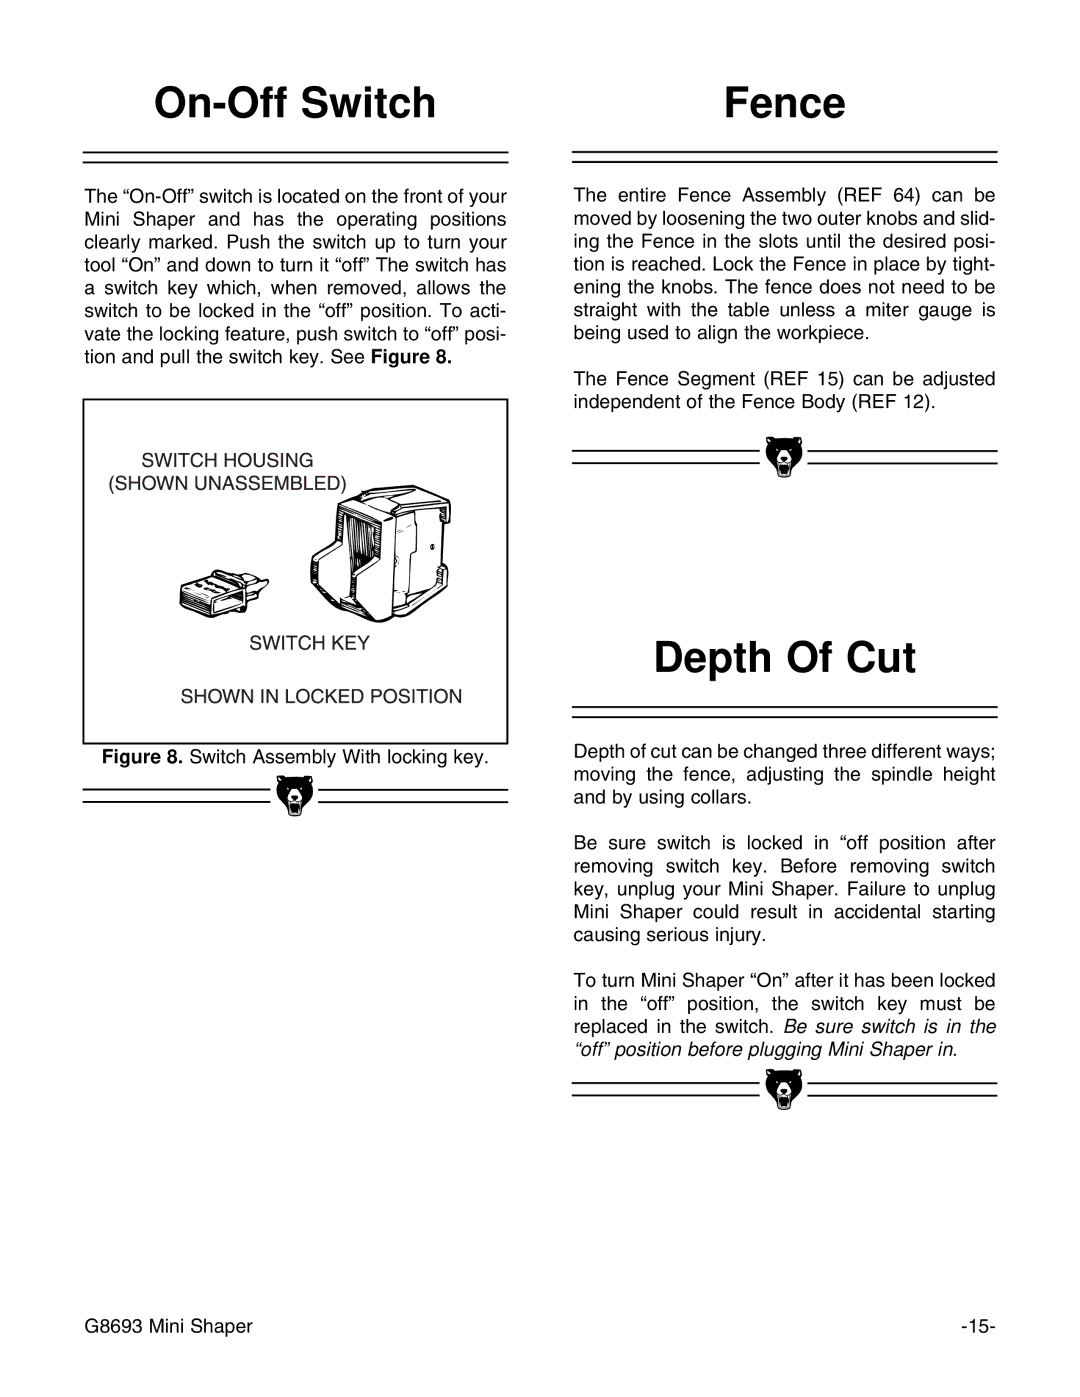
Figure 8. Switch Assembly With locking key.
The entire Fence Assembly (REF 64) can be moved by loosening the two outer knobs and slid- ing the Fence in the slots until the desired posi- tion is reached. Lock the Fence in place by tight- ening the knobs. The fence does not need to be straight with the table unless a miter gauge is being used to align the workpiece.
The Fence Segment (REF 15) can be adjusted independent of the Fence Body (REF 12).
Depth Of Cut
Depth of cut can be changed three different ways; moving the fence, adjusting the spindle height and by using collars.
Be sure switch is locked in “off position after removing switch key. Before removing switch key, unplug your Mini Shaper. Failure to unplug Mini Shaper could result in accidental starting causing serious injury.
To turn Mini Shaper “On” after it has been locked in the “off” position, the switch key must be replaced in the switch. Be sure switch is in the “off” position before plugging Mini Shaper in.
|
|
|
|
|
|
|
|
|
|
|
|
G8693 Mini Shaper | |||