Fence |
| Ring Guard |
|
|
|
|
|
|
1.Find three Knobs (REF 14) and three rubber faced Washers (REF 13) from the parts bag.
2.Mount the Fence Body (REF 12) on the Table (REF 10) using two knobs and washers. Screw the knobs through the slots of the fence body and into the threaded holes near the rear of the table. See Figure 4.
3.Place the Fence Segment (REF 15) in the V groove on the Fence Body and screw the third knob and washer into the threaded hole in the Fence Body.
4.If you plan to use a dust collection system with your mini Shaper, attach the Dust Port to the back of the Fence using the four
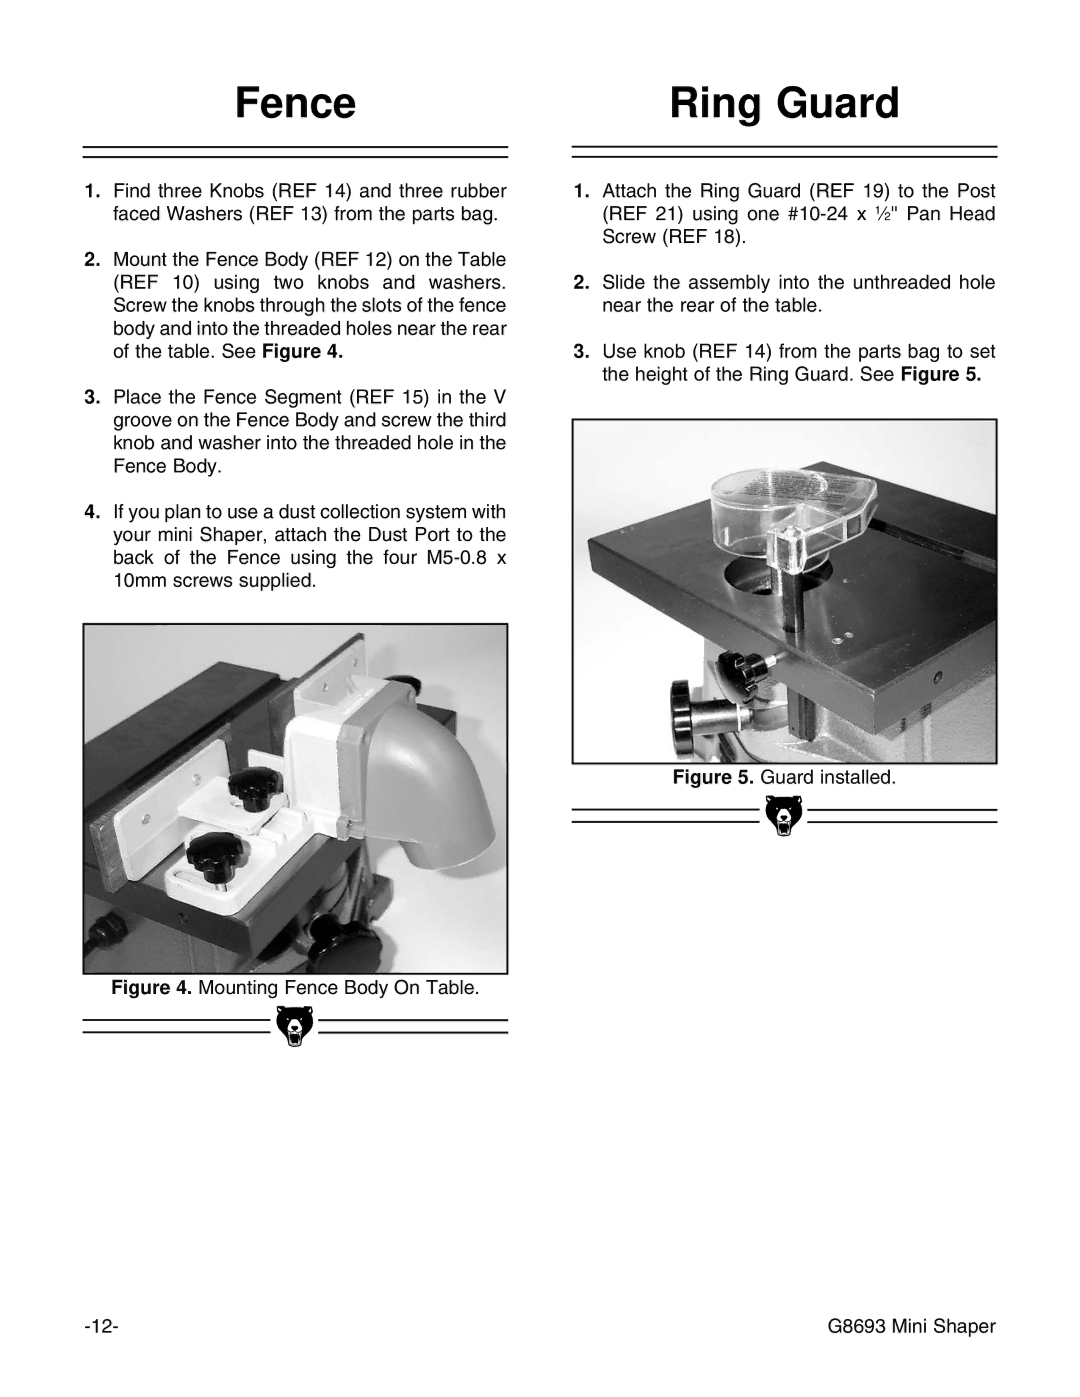
1.Attach the Ring Guard (REF 19) to the Post (REF 21) using one
2.Slide the assembly into the unthreaded hole near the rear of the table.
3.Use knob (REF 14) from the parts bag to set the height of the Ring Guard. See Figure 5.
Figure 5. Guard installed.
Figure 4. Mounting Fence Body On Table.
|
|
|
|
|
|
|
|
|
| G8693 Mini Shaper | |
|
|