Section 2: Assembly and Installation
Software Installation
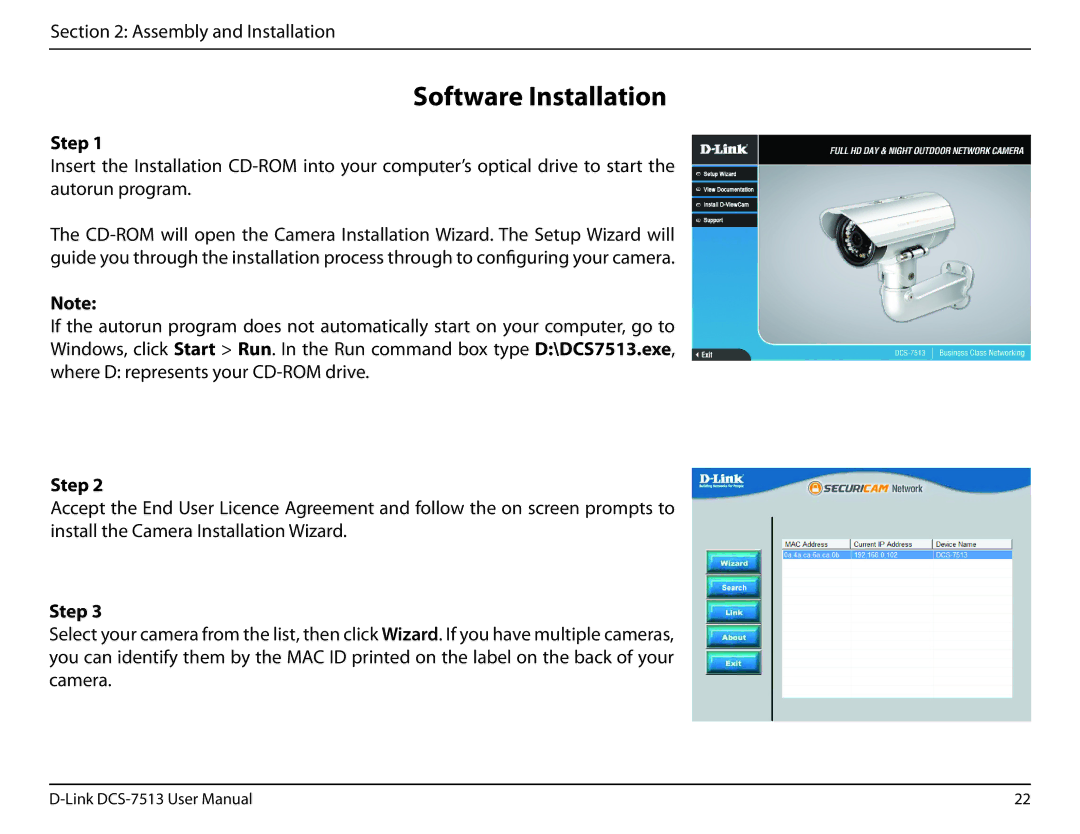
Step 1
Insert the Installation
The
Note:
If the autorun program does not automatically start on your computer, go to Windows, click Start > Run. In the Run command box type D:\DCS7513.exe, where D: represents your
Step 2
Accept the End User Licence Agreement and follow the on screen prompts to install the Camera Installation Wizard.
Step 3
Select your camera from the list, then click Wizard. If you have multiple cameras, you can identify them by the MAC ID printed on the label on the back of your camera.
22 |