Caractéristiques de télécommande
La manette de télécommande pratique vous permet de contrôler toutes les fonctions de votre appareil de confort au foyer portable 3 saisons à partir de votre fauteuil favori. Voici quelques informations utiles pour l’utilisation de votre télécommande.
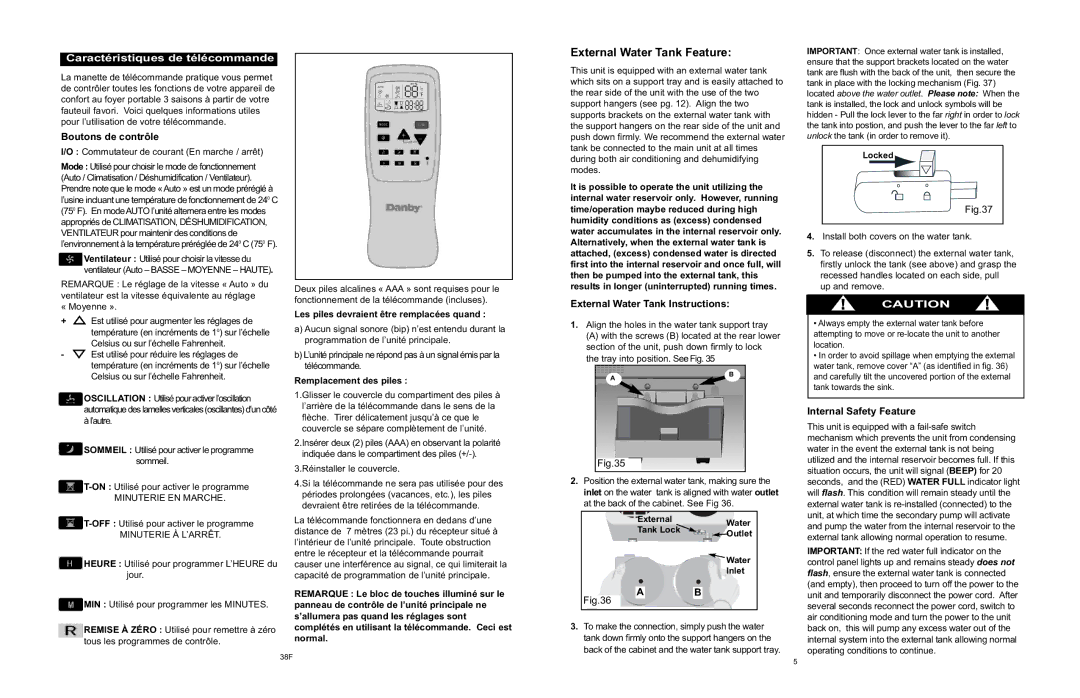
Boutons de contrôle
I/O : Commutateur de courant (En marche / arrêt)
Mode : Utilisé pour choisir le mode de fonctionnement (Auto / Climatisation / Déshumidification / Ventilateur). Prendre note que le mode «Auto » est un mode préréglé à l’usine incluant une température de fonctionnement de 240 C (750 F). En modeAUTO l’unité alternera entre les modes appropriés de CLIMATISATION, DÉSHUMIDIFICATION, VENTILATEUR pour maintenir des conditions de l’environnement à la température préréglée de 240 C (750 F).
![]() Ventilateur : Utilisé pour choisir la vitesse du ventilateur (Auto – BASSE – MOYENNE – HAUTE).
Ventilateur : Utilisé pour choisir la vitesse du ventilateur (Auto – BASSE – MOYENNE – HAUTE).
REMARQUE : Le réglage de la vitesse « Auto » du ventilateur est la vitesse équivalente au réglage « Moyenne ».
+![]() Est utilisé pour augmenter les réglages de
Est utilisé pour augmenter les réglages de
température (en incréments de 10) sur l’échelle Celsius ou sur l’échelle Fahrenheit.
- | Est utilisé pour réduire les réglages de |
| température (en incréments de 10) sur l’échelle |
Deux piles alcalines « AAA » sont requises pour le fonctionnement de la télécommande (incluses).
Les piles devraient être remplacées quand :
a)Aucun signal sonore (bip) n’est entendu durant la programmation de l’unité principale.
b)L’unité principale ne répond pas à un signal émis par la télécommande.
External Water Tank Feature:
This unit is equipped with an external water tank which sits on a support tray and is easily attached to the rear side of the unit with the use of the two support hangers (see pg. 12). Align the two supports brackets on the external water tank with the support hangers on the rear side of the unit and push down firmly. We recommend the external water tank be connected to the main unit at all times during both air conditioning and dehumidifying modes.
It is possible to operate the unit utilizing the internal water reservoir only. However, running time/operation maybe reduced during high humidity conditions as (excess) condensed water accumulates in the internal reservoir only. Alternatively, when the external water tank is attached, (excess) condensed water is directed first into the internal reservoir and once full, will then be pumped into the external tank, this results in longer (uninterrupted) running times.
External Water Tank Instructions:
1.Align the holes in the water tank support tray
(A) with the screws (B) located at the rear lower section of the unit, push down firmly to lock the tray into position. See Fig. 35
IMPORTANT: Once external water tank is installed, ensure that the support brackets located on the water tank are flush with the back of the unit, then secure the tank in place with the locking mechanism (Fig. 37) located above the water outlet. Please note: When the tank is installed, the lock and unlock symbols will be hidden - Pull the lock lever to the far right in order to lock the tank into postion, and push the lever to the far left to unlock the tank (in order to remove it).
Locked |
Fig.37
4.Install both covers on the water tank.
5.To release (disconnect) the external water tank, firstly unlock the tank (see above) and grasp the recessed handles located on each side, pull up and remove.
CAUTION
• Always empty the external water tank before |
attempting to move or |
location. |
• In order to avoid spillage when emptying the external |
water tank, remove cover “A” (as identified in fig. 36) |
Celsius ou sur l’échelle Fahrenheit. |
![]() OSCILLATION : Utilisépouractiverl’oscillation automatiquedeslamellesverticales(oscillantes)d’uncôté àl’autre.
OSCILLATION : Utilisépouractiverl’oscillation automatiquedeslamellesverticales(oscillantes)d’uncôté àl’autre.
Remplacement des piles :
1.Glisser le couvercle du compartiment des piles à l’arrière de la télécommande dans le sens de la flèche. Tirer délicatement jusqu’à ce que le couvercle se sépare complètement de l’unité.
A
B
and carefully tilt the uncovered portion of the external |
tank towards the sink. |
Internal Safety Feature
This unit is equipped with a
![]() SOMMEIL : Utilisé pour activer le programme sommeil.
SOMMEIL : Utilisé pour activer le programme sommeil.
![]() T-ON :
T-ON :
MINUTERIE EN MARCHE.
![]() T-OFF :
T-OFF :
MINUTERIE À L’ARRÊT.
![]() HEURE : Utilisé pour programmer L’HEURE du jour.
HEURE : Utilisé pour programmer L’HEURE du jour.
![]() MIN : Utilisé pour programmer les MINUTES.
MIN : Utilisé pour programmer les MINUTES.
![]() REMISE À ZÉRO : Utilisé pour remettre à zéro tous les programmes de contrôle.
REMISE À ZÉRO : Utilisé pour remettre à zéro tous les programmes de contrôle.
2.Insérer deux (2) piles (AAA) en observant la polarité indiquée dans le compartiment des piles
3.Réinstaller le couvercle.
4.Si la télécommande ne sera pas utilisée pour des périodes prolongées (vacances, etc.), les piles devraient être retirées de la télécommande.
La télécommande fonctionnera en dedans d’une distance de 7 mètres (23 pi.) du récepteur situé à l’intérieur de l’unité principale. Toute obstruction entre le récepteur et la télécommande pourrait causer une interférence au signal, ce qui limiterait la capacité de programmation de l’unité principale.
REMARQUE : Le bloc de touches illuminé sur le panneau de contrôle de l’unité principale ne s’allumera pas quand les réglages sont complétés en utilisant la télécommande. Ceci est normal.
Fig.35
2.Position the external water tank, making sure the inlet on the water tank is aligned with water outlet at the back of the cabinet. See Fig 36.
External | Water | |
Tank Lock | ||
Outlet | ||
|
Water
Inlet
AB
Fig.36
3.To make the connection, simply push the water tank down firmly onto the support hangers on the back of the cabinet and the water tank support tray.
water in the event the external tank is not being utilized and the internal reservoir becomes full. If this situation occurs, the unit will signal (BEEP) for 20 seconds, and the (RED) WATER FULL indicator light will flash. This condition will remain steady until the external water tank is
IMPORTANT: If the red water full indicator on the control panel lights up and remains steady does not flash, ensure the external water tank is connected (and empty), then proceed to turn off the power to the unit and temporarily disconnect the power cord. After several seconds reconnect the power cord, switch to air conditioning mode and turn the power to the unit back on, this will pump any excess water out of the internal system into the external tank allowing normal operating conditions to continue.
38F
5