INSTALLATION
RADIANT ASSEMBLY
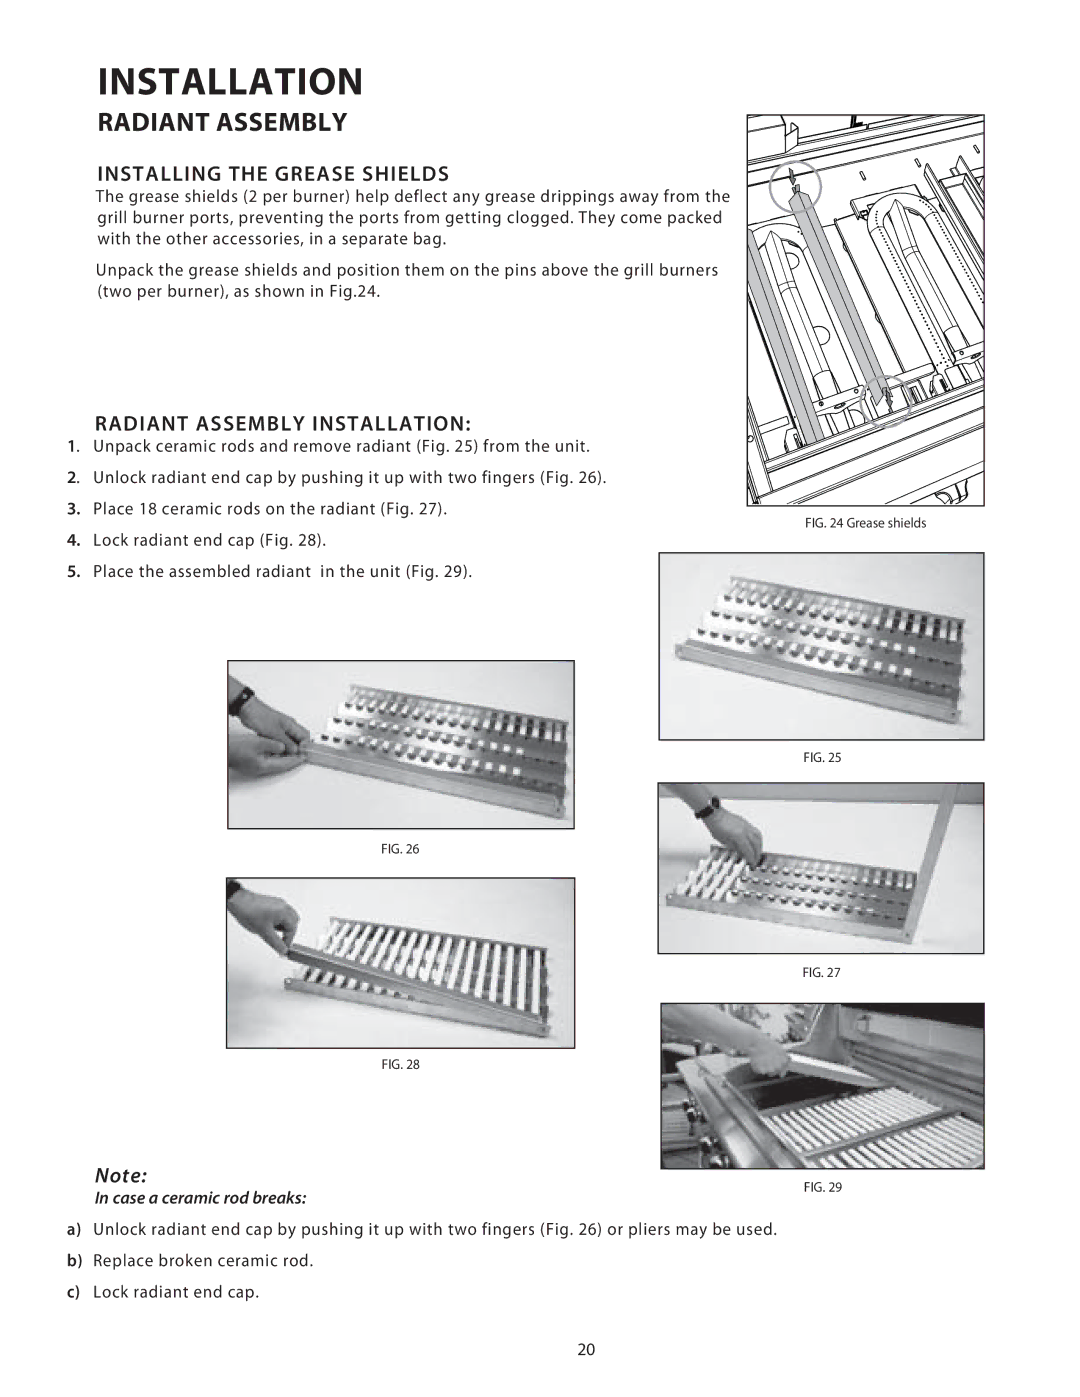
INSTALLING THE GREASE SHIELDS
The grease shields (2 per burner) help deflect any grease drippings away from the grill burner ports, preventing the ports from getting clogged. They come packed with the other accessories, in a separate bag.
Unpack the grease shields and position them on the pins above the grill burners (two per burner), as shown in Fig.24.
RADIANT ASSEMBLY INSTALLATION:
1. Unpack ceramic rods and remove radiant (Fig. 25) from the unit.
2. Unlock radiant end cap by pushing it up with two fingers (Fig. 26).
3.Place 18 ceramic rods on the radiant (Fig. 27).
4.Lock radiant end cap (Fig. 28).
5.Place the assembled radiant in the unit (Fig. 29).
FIG. 24 Grease shields
FIG. 25
FIG. 26
FIG. 27
FIG. 28
Note:
FIG. 29
In case a ceramic rod breaks:
a)Unlock radiant end cap by pushing it up with two fingers (Fig. 26) or pliers may be used.
b)Replace broken ceramic rod.
c)Lock radiant end cap.
20