1
3
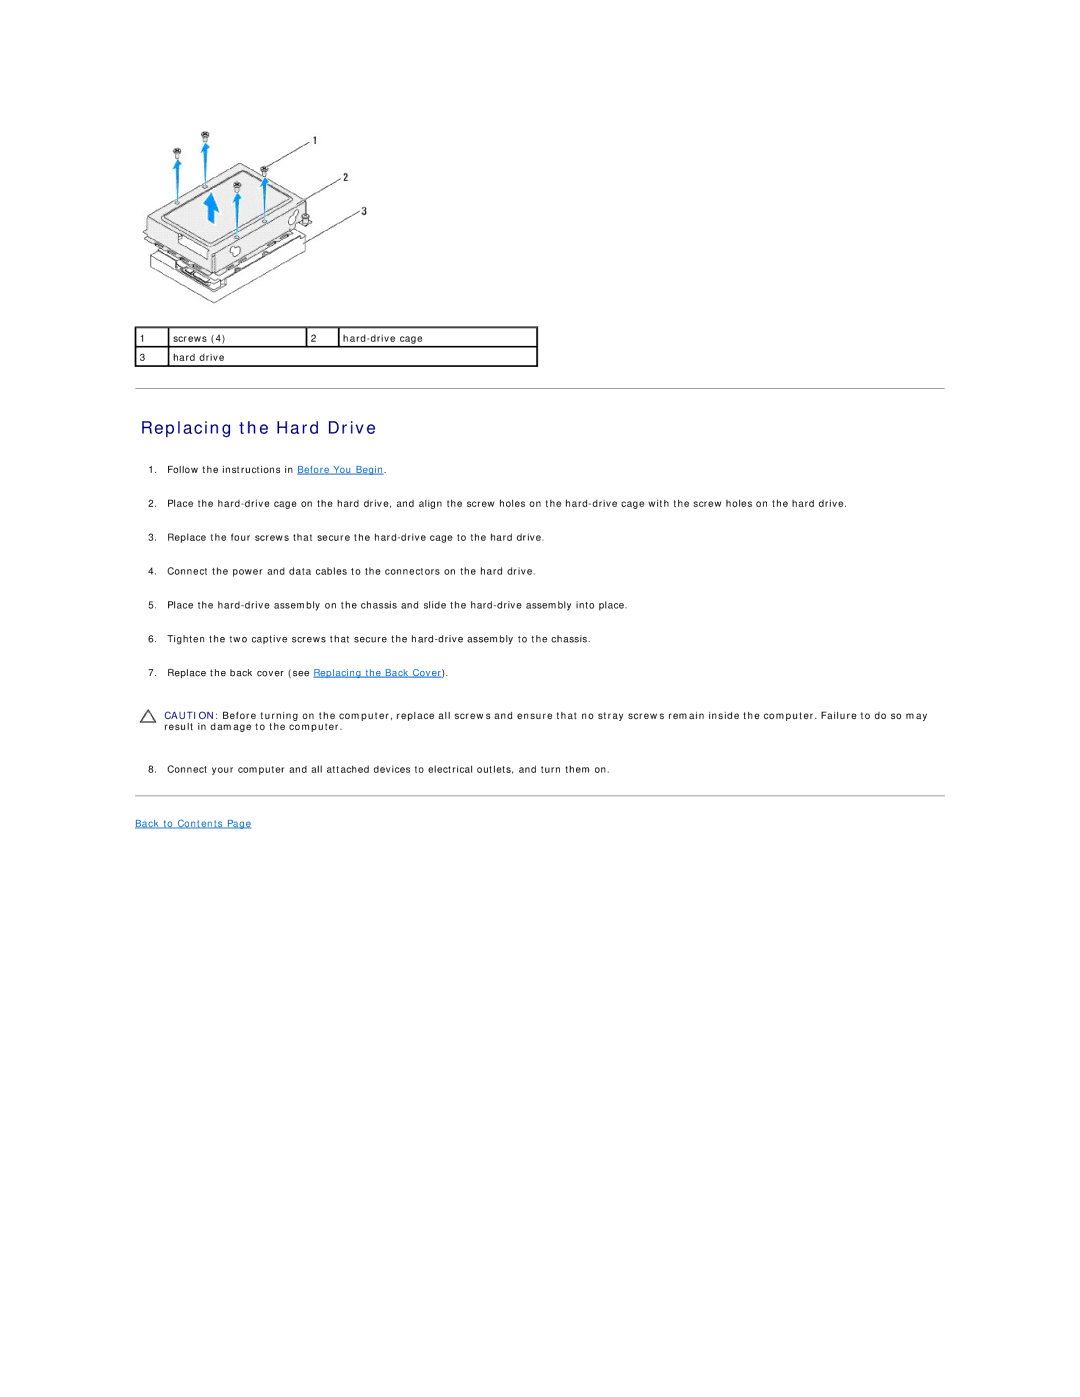
screws (4) | 2 | |
hard drive |
|
|
|
|
|
Replacing the Hard Drive
1.Follow the instructions in Before You Begin.
2.Place the
3.Replace the four screws that secure the
4.Connect the power and data cables to the connectors on the hard drive.
5.Place the
6.Tighten the two captive screws that secure the
7.Replace the back cover (see Replacing the Back Cover).
CAUTION: Before turning on the computer, replace all screws and ensure that no stray screws remain inside the computer. Failure to do so may result in damage to the computer.
8.Connect your computer and all attached devices to electrical outlets, and turn them on.