LAMINATING WITH POUCH BOARDS
Refer to the instruction sheet packed with each box of Pouch Boards for specific information on mounting/laminating with a Pouch Boards.
In addition, refer to the instruction sheet for information on Compatible Media, Process Conditions and technical information.
Carefully examine the board to determine which edge is sealed. There is a 1/8" (3mm) sealed edge where the laminate film is at- tached to the board.
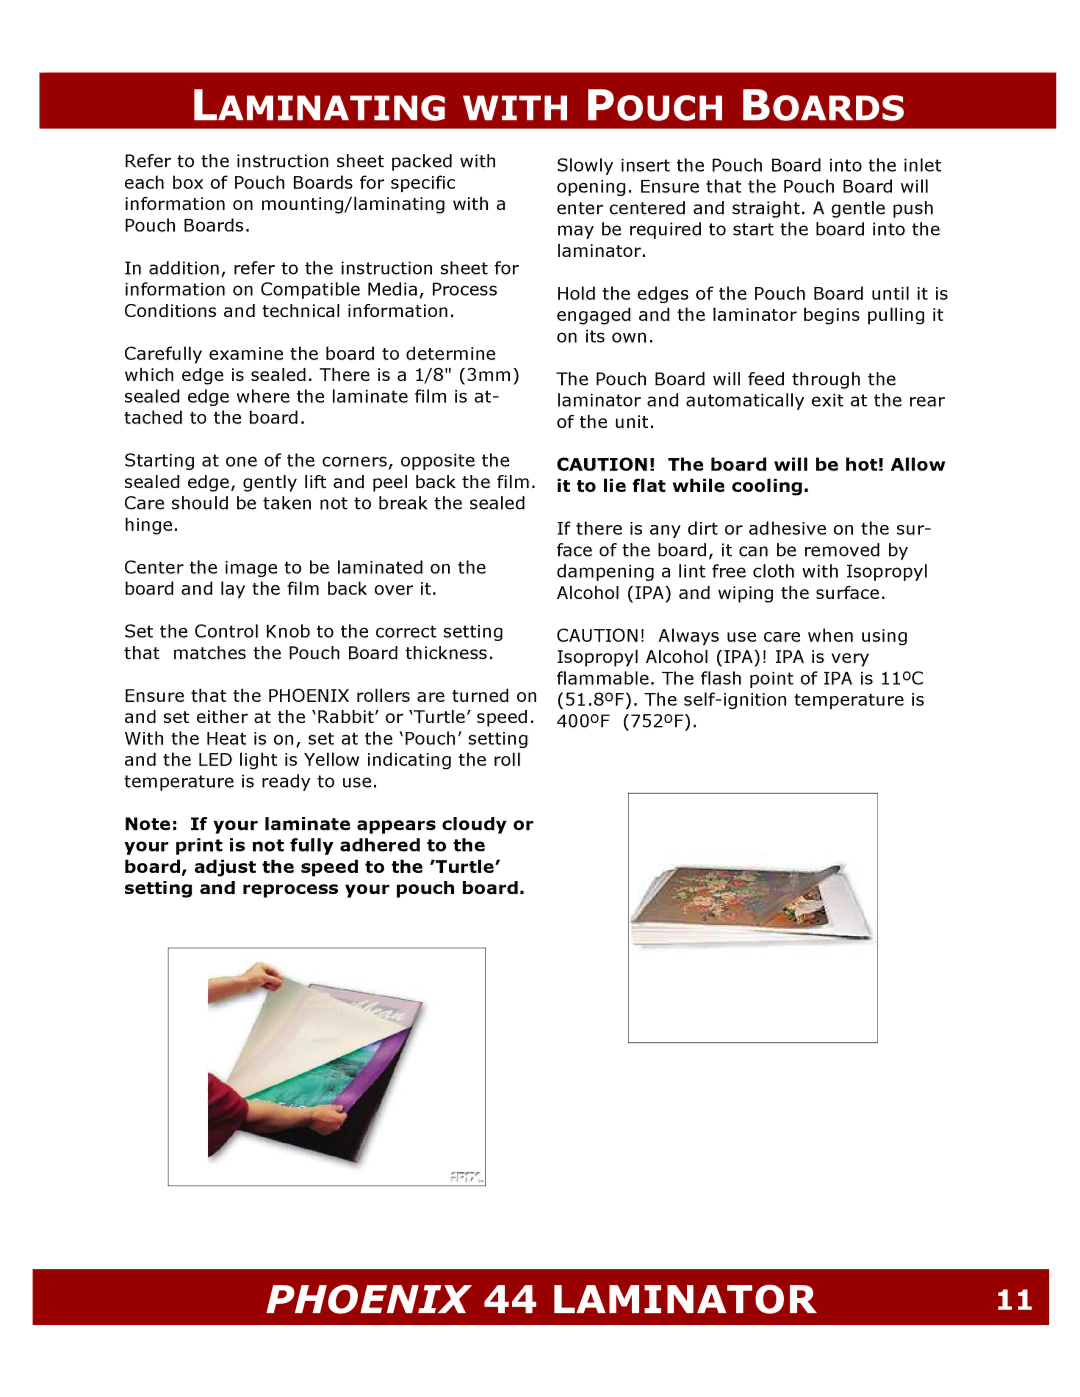
Starting at one of the corners, opposite the sealed edge, gently lift and peel back the film. Care should be taken not to break the sealed hinge.
Center the image to be laminated on the board and lay the film back over it.
Set the Control Knob to the correct setting that matches the Pouch Board thickness.
Ensure that the PHOENIX rollers are turned on and set either at the ‘Rabbit’ or ‘Turtle’ speed. With the Heat is on, set at the ‘Pouch’ setting and the LED light is Yellow indicating the roll temperature is ready to use.
Note: If your laminate appears cloudy or your print is not fully adhered to the board, adjust the speed to the ’Turtle’ setting and reprocess your pouch board.
Slowly insert the Pouch Board into the inlet opening. Ensure that the Pouch Board will enter centered and straight. A gentle push may be required to start the board into the laminator.
Hold the edges of the Pouch Board until it is engaged and the laminator begins pulling it on its own.
The Pouch Board will feed through the laminator and automatically exit at the rear of the unit.
CAUTION! The board will be hot! Allow it to lie flat while cooling.
If there is any dirt or adhesive on the sur- face of the board, it can be removed by dampening a lint free cloth with Isopropyl Alcohol (IPA) and wiping the surface.
CAUTION! Always use care when using Isopropyl Alcohol (IPA)! IPA is very flammable. The flash point of IPA is 11ºC (51.8ºF). The
PHOENIX 44 LAMINATOR | 11 |
|
|