ROLL KIT ASSEMBLY (OPTIONAL)
Tools Required
Philips head screwdriver 4mm Allen wrench
14mm wrench or adjustable wrench
Roll Kit Contents
(1) Dispensing Bar with tensioner
(2)Dispensing bar Support brackets
(1)Idler bar with 4mm allen
IMPORTANT! - Unplug you before installing the Phoenix
Remove the side panels | Figure 2 |
Lower the | the closed or zero position. |
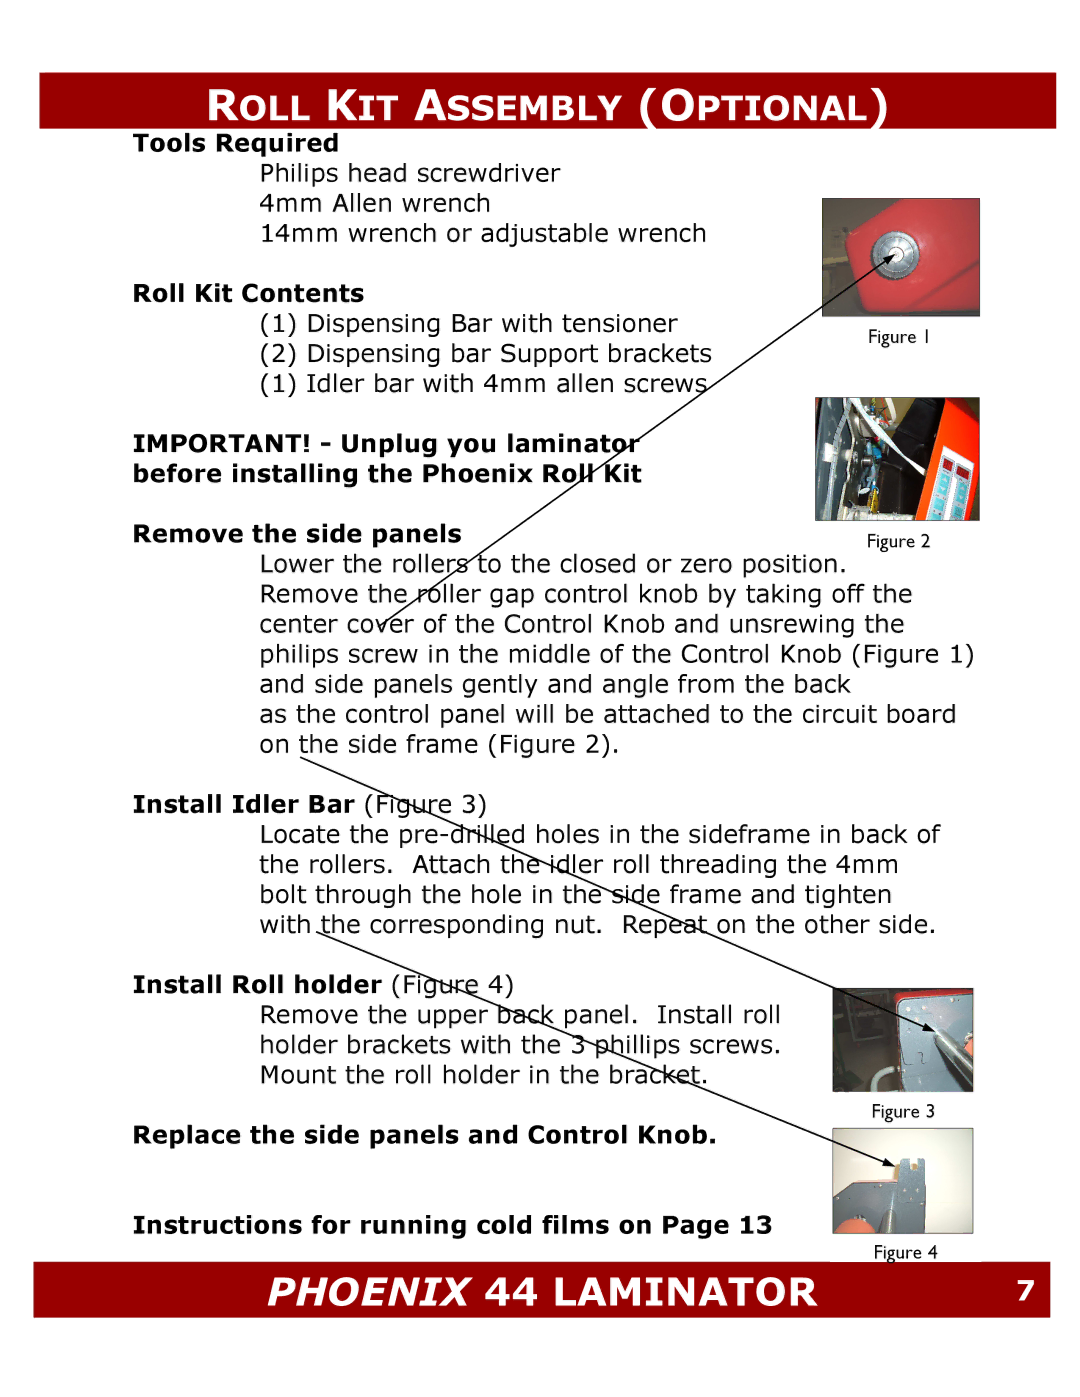
Remove the | gap control knob by taking off the |
center cover of the Control Knob and unsrewing the philips screw in the middle of the Control Knob (Figure 1) and side panels gently and angle from the back
as the control panel will be attached to the circuit board on the side frame (Figure 2).
Install Idler Bar | 3) |
|
|
|
Locate the pre- |
| holes in the sideframe in back of | ||
the rollers. Attach | roll threading the 4mm | |||
bolt through the hole in | frame and tighten | |||
with the corresponding nut. | on the other side. | |||
Install Roll holder |
| 4) |
|
|
|
|
| ||
Remove the upper | panel. Install roll |
| ||
holder brackets with the | screws. |
| ||
Mount the roll holder in the | . |
| ||
|
|
|
|
|
Figure 3
Replace the side panels and Control Knob.
Instructions for running cold films on Page 13
Figure 4
PHOENIX 44 LAMINATOR | 7 |