ROLLER GAP CONTROL KNOB
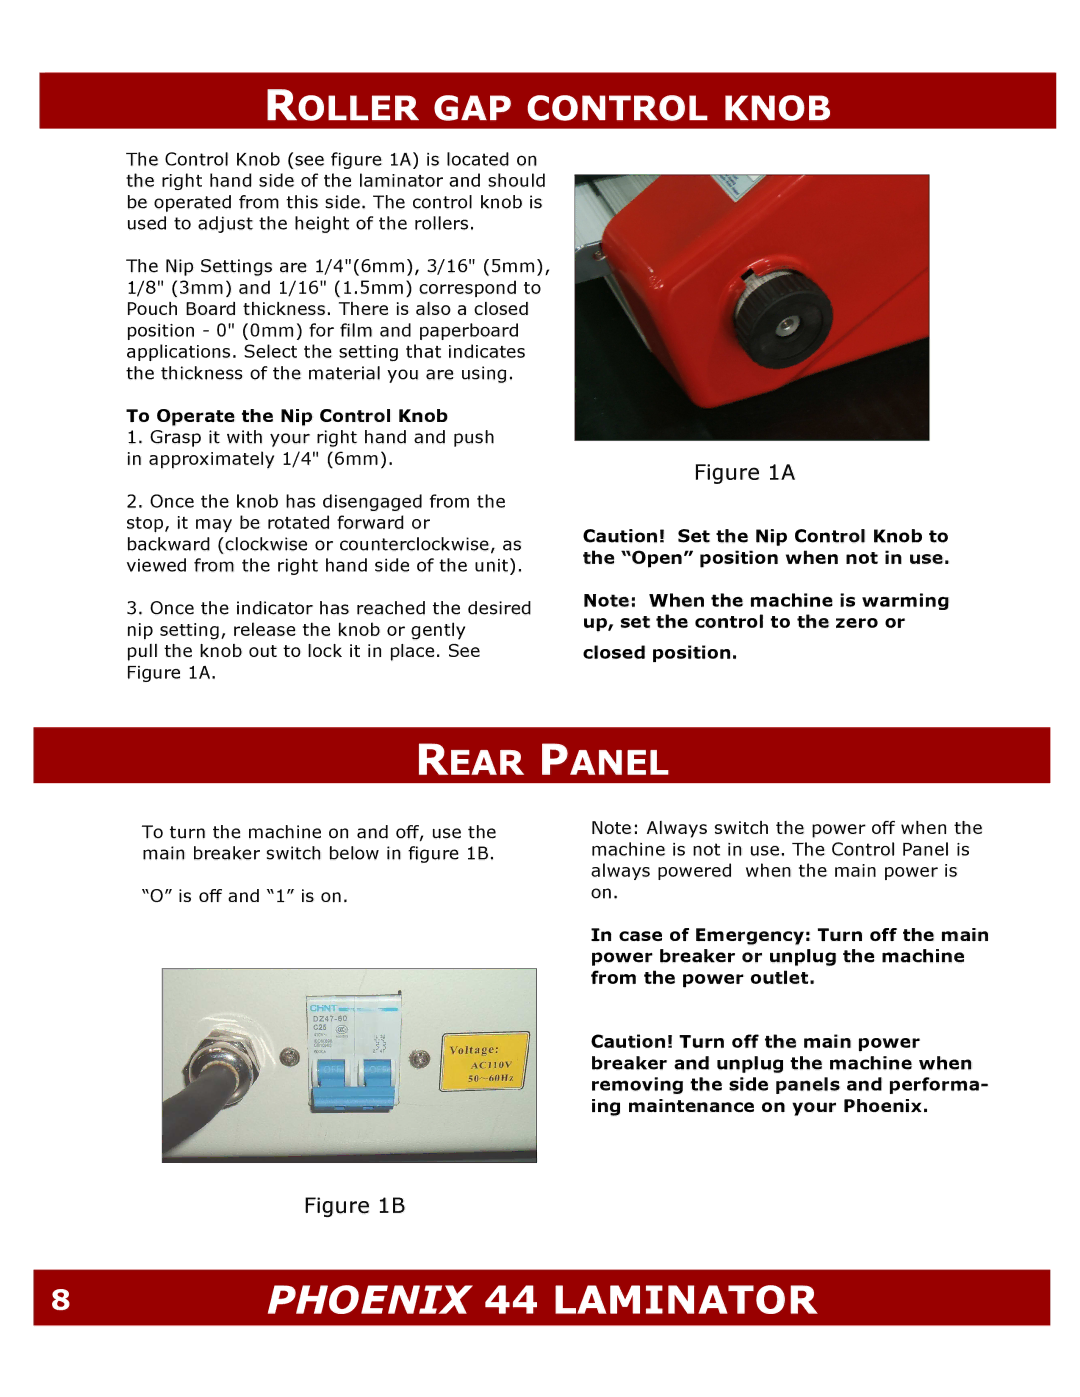
The Control Knob (see figure 1A) is located on the right hand side of the laminator and should be operated from this side. The control knob is used to adjust the height of the rollers.
The Nip Settings are 1/4"(6mm), 3/16" (5mm), 1/8" (3mm) and 1/16" (1.5mm) correspond to Pouch Board thickness. There is also a closed position - 0" (0mm) for film and paperboard applications. Select the setting that indicates the thickness of the material you are using.
To Operate the Nip Control Knob
1.Grasp it with your right hand and push in approximately 1/4" (6mm).
2.Once the knob has disengaged from the stop, it may be rotated forward or backward (clockwise or counterclockwise, as viewed from the right hand side of the unit).
3.Once the indicator has reached the desired nip setting, release the knob or gently
pull the knob out to lock it in place. See Figure 1A.
Figure 1A
Caution! Set the Nip Control Knob to the “Open” position when not in use.
Note: When the machine is warming up, set the control to the zero or
closed position.REAR PAN
REAR PANEL
To turn the machine on and off, use the main breaker switch below in figure 1B.
“O” is off and “1” is on.
Note: Always switch the power off when the machine is not in use. The Control Panel is always powered when the main power is on.
In case of Emergency: Turn off the main power breaker or unplug the machine from the power outlet.
Caution! Turn off the main power breaker and unplug the machine when removing the side panels and performa- ing maintenance on your Phoenix.
Figure 1B