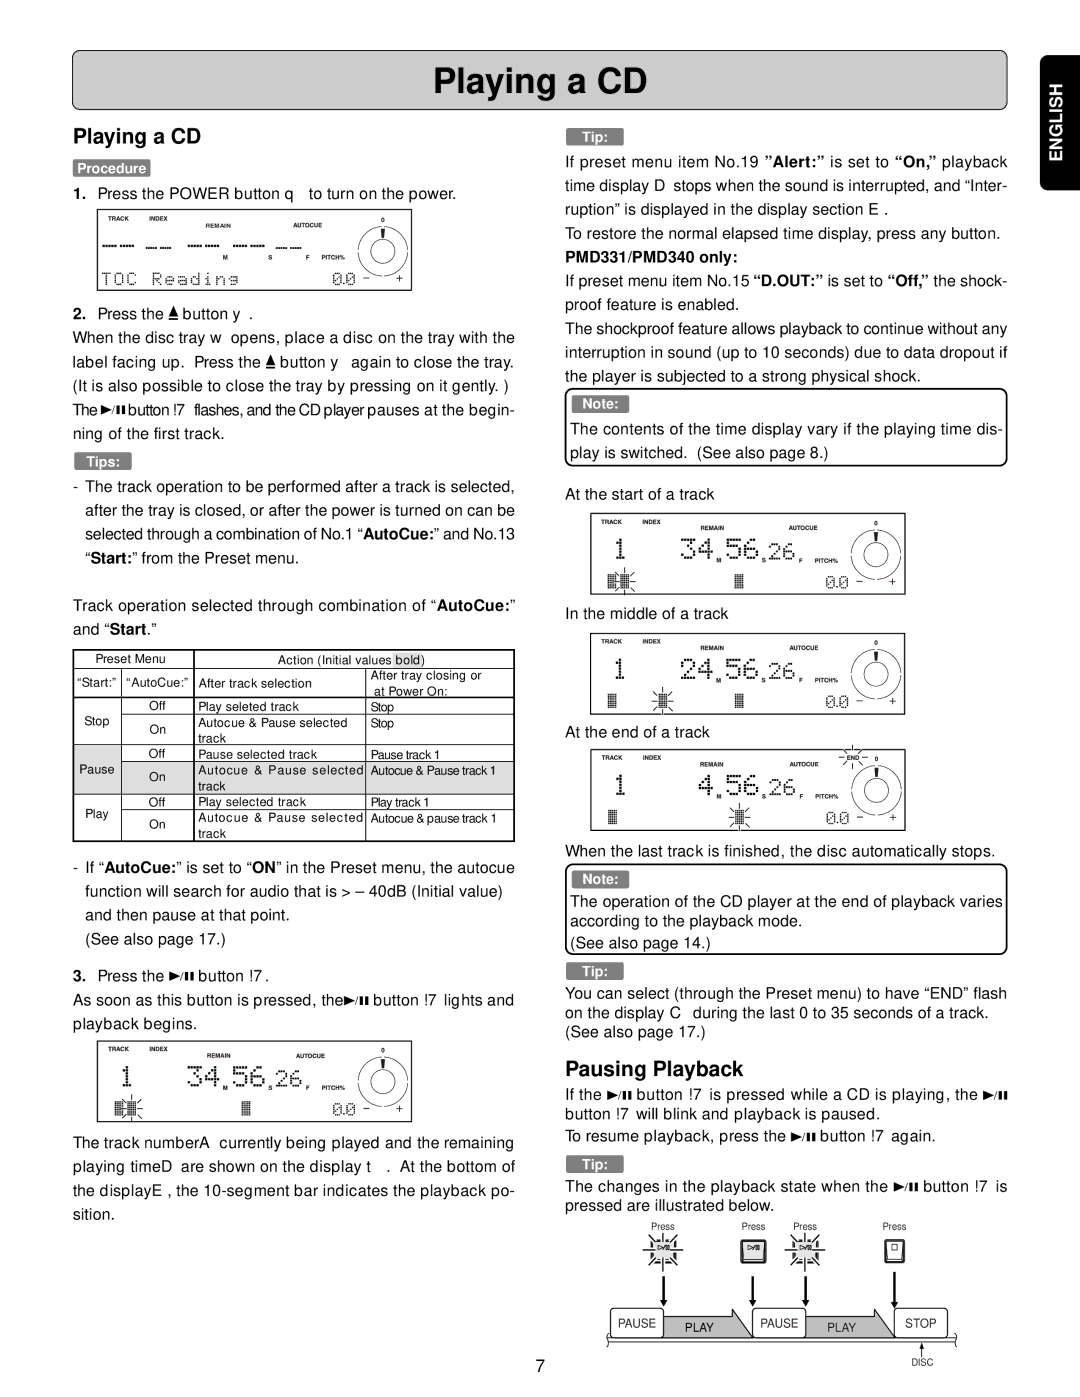
Playing a CD

ENGLISH

Playing a CD

Procedure

1.Press the POWER button q to turn on the power.

REMAIN

2.Press the button y.

When the disc tray w opens, place a disc on the tray with the label facing up. Press the button y again to close the tray. (It is also possible to close the tray by pressing on it gently. ) The button !7flashes, and the CD player pauses at the begin- ning of the first track.

Tips:

-The track operation to be performed after a track is selected, after the tray is closed, or after the power is turned on can be selected through a combination of No.1 “AutoCue:” and No.13 “Start:” from the Preset menu.

Track operation selected through combination of “AutoCue:” and “Start.”

Preset Menu


Action (Initial values

bold

)

“Start:”

“AutoCue:”

After track selection

After

tray

closing or

at Power On:


Stop

Off

Play seleted track

Stop

On

Autocue & Pause selected

Stop


track


Off

Pause selected track

Pause track 1

Pause

On

Autocue & Pause selected

Autocue & Pause track 1


track


Play

Off

Play selected track

Play track 1

On

Autocue & Pause selected

Autocue & pause track 1


track


-If “AutoCue:” is set to “ON” in the Preset menu, the autocue function will search for audio that is > – 40dB (Initial value) and then pause at that point.

(See also page 17.)

3.Press the button !7.

As soon as this button is pressed, the button !7lights and playback begins.

The track number currently being played and the remaining

playing time

are shown on the display t. At the bottom of

the display

, the 10-segment bar indicates the playback po-

sition.


Tip:

If preset menu item No.19 ”Alert:” is set to “On,” playback time display stops when the sound is interrupted, and “Inter- ruption” is displayed in the display section .

To restore the normal elapsed time display, press any button.

PMD331/PMD340 only:

If preset menu item No.15 “D.OUT:” is set to “Off,” the shock-

proof feature is enabled.

The shockproof feature allows playback to continue without any

interruption in sound (up to 10 seconds) due to data dropout if

the player is subjected to a strong physical shock.

Note:

The contents of the time display vary if the playing time dis-

play is switched. (See also page 8.)

At the start of a track

In the middle of a track

At the end of a track

When the last track is finished, the disc automatically stops.

Note:

The operation of the CD player at the end of playback varies according to the playback mode.

(See also page 14.)

Tip:

You can select (through the Preset menu) to have “END” flash on the display during the last 0 to 35 seconds of a track. (See also page 17.)

Pausing Playback

If the button !7is pressed while a CD is playing, the button !7will blink and playback is paused.

To resume playback, press the button !7again.

Tip:

The changes in the playback state when the button !7is pressed are illustrated below.

Press


Press

Press

Press


PAUSE

PLAY

PAUSE

PLAY

STOP


7

DISC


Page 11
Image 11
Denon PMD330, PMD331, PMD340 manual Playing a CD, Pausing Playback

PMD330, PMD340, PMD331 specifications

Denon, a prominent name in the audio equipment industry, has gained reputation for its professional portable digital audio players, specifically the PMD340, PMD330, and PMD331 models. These devices are designed to cater to the needs of audio professionals, offering a blend of advanced technologies, robust construction, and user-friendly features.

The Denon PMD340 is a versatile digital audio recorder that excels in various recording environments. One of its standout features is its ability to record in multiple formats, including MP3, WAV, and BWF, making it a flexible option for different audio needs. This model is equipped with a built-in stereo microphone, which ensures high-quality sound capture right out of the box. Additionally, the PMD340 supports both compact flash memory and SD cards, providing ample storage options for lengthy recordings. Its intuitive user interface includes an LCD screen, allowing users to easily navigate through settings and monitor recording levels.

The PMD330, though similar in some aspects, was designed with a primary focus on robust field recording capabilities. This model boasts a durable, portable design, making it ideal for outdoor recording applications. One of the key features of the PMD330 is its advanced noise canceling technology, which significantly reduces background noise, ensuring clear sound quality even in challenging environments. The recorder also offers the convenience of remote control operation, allowing users to manage recordings from a distance.

Meanwhile, the Denon PMD331 is a step-up from its predecessors, featuring enhanced connectivity options. This model not only supports USB connections but also includes digital inputs and outputs, allowing for seamless integration with various audio equipment. The PMD331 is particularly favored for its four-channel recording capability, making it an ideal choice for multi-source audio capture. Its playback features are equally impressive, offering pitch control and variable speed functions, which make it suitable for professional music production and live performance applications.

In summary, the Denon PMD340, PMD330, and PMD331 models stand out for their specific features tailored to diverse recording demands. With their robust design, superior audio quality, and various recording formats, these devices are essential tools for audio professionals seeking reliable and high-performance recording solutions. Each model brings its unique strengths to the table, making them versatile options for anyone looking to capture high-quality audio.