Assembly
Continued
10.Inspect length of gas hose on bottom of burner assembly for any cracks, cut, holes or excessive wear. Do not use heater if hose is damaged.
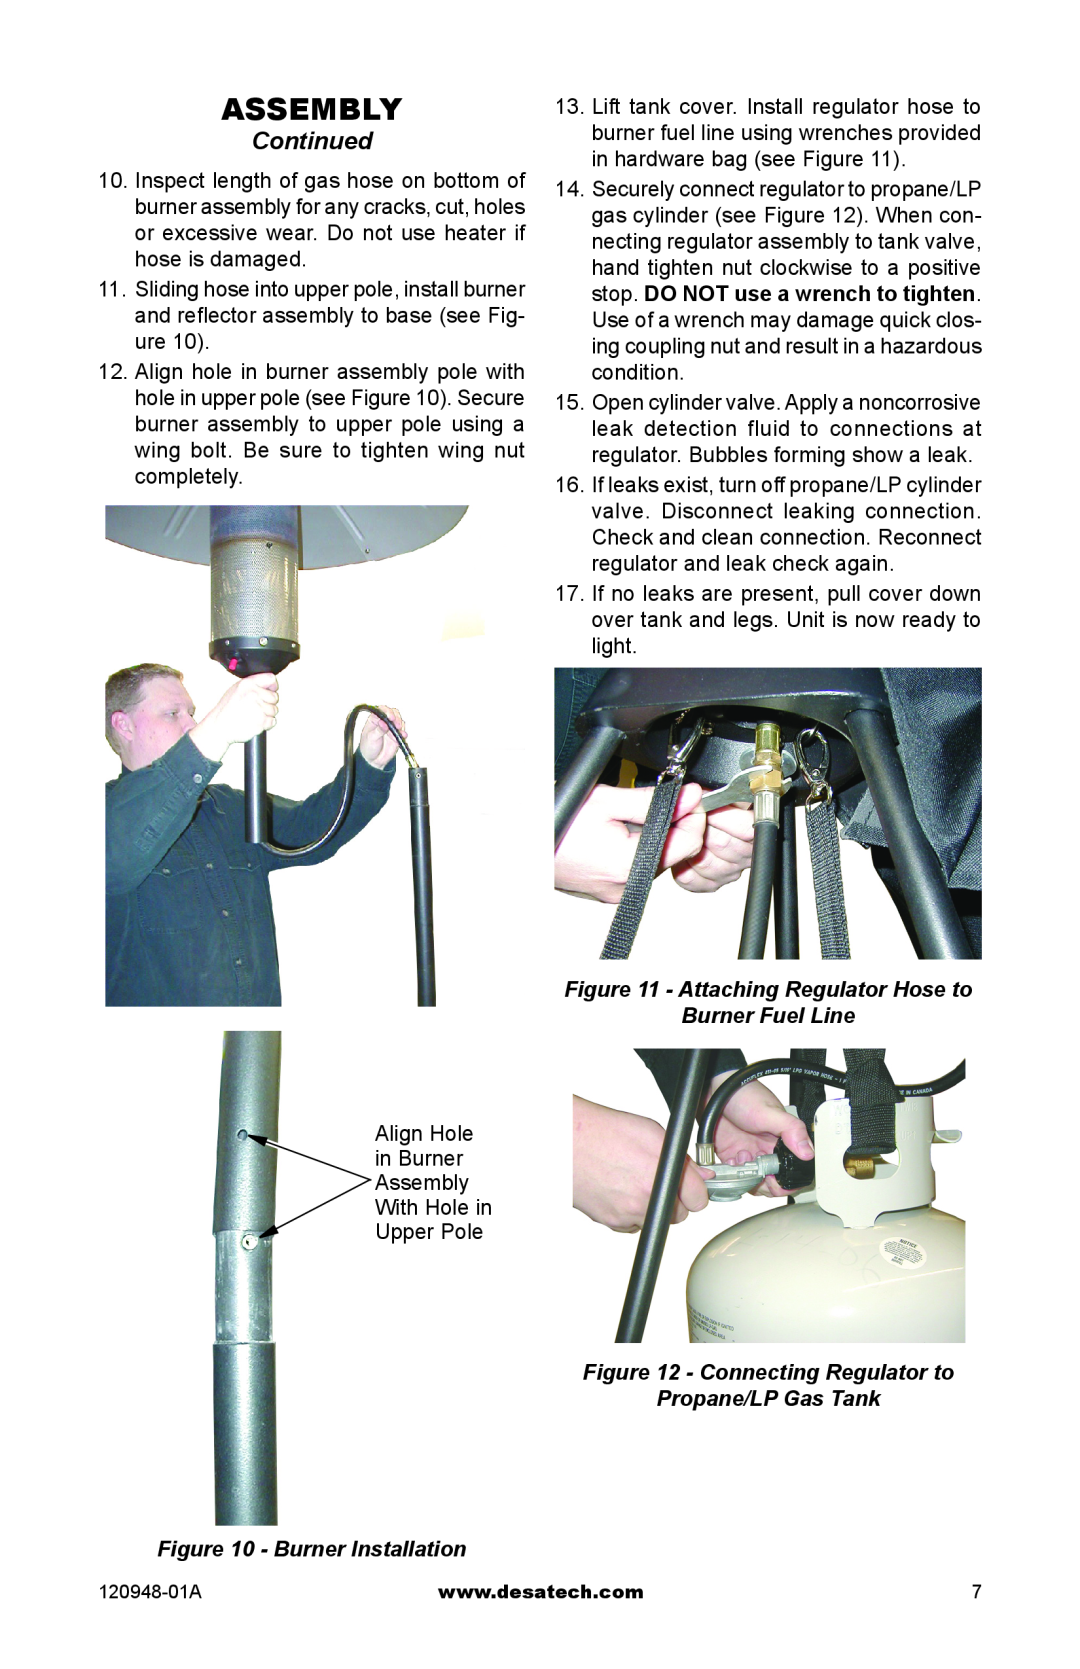
11.Sliding hose into upper pole, install burner and reflector assembly to base (see Fig- ure 10).
12.Align hole in burner assembly pole with hole in upper pole (see Figure 10). Secure burner assembly to upper pole using a wing bolt. Be sure to tighten wing nut completely.
13.Lift tank cover. Install regulator hose to burner fuel line using wrenches provided in hardware bag (see Figure 11).
14.Securely connect regulator to propane/LP gas cylinder (see Figure 12). When con- necting regulator assembly to tank valve, hand tighten nut clockwise to a positive stop. DO NOT use a wrench to tighten.
Use of a wrench may damage quick clos- ing coupling nut and result in a hazardous condition.
15.Open cylinder valve. Apply a noncorrosive leak detection fluid to connections at regulator. Bubbles forming show a leak.
16.If leaks exist, turn off propane/LP cylinder valve. Disconnect leaking connection. Check and clean connection. Reconnect regulator and leak check again.
17.If no leaks are present, pull cover down over tank and legs. Unit is now ready to light.
Figure 11 - Attaching Regulator Hose to
Burner Fuel Line
Align Hole
in Burner
Assembly
With Hole in
Upper Pole