SCREEN SETUP
TV Shape
According to the TV set connected to the player you can set your TV display size to 4:3 Pan Scan or 4:3 Letter Box or 16:9 for a
1 | Press SETUP in the stop mode. |
2 | Press / to select “VIDEO” and |
| press ENTER. |
3 Press ![]() /
/ ![]() to select “TV Shape” then press ENTER.
to select “TV Shape” then press ENTER.
4 Press ![]() /
/ ![]() to select a possible TV display.
to select a possible TV display.
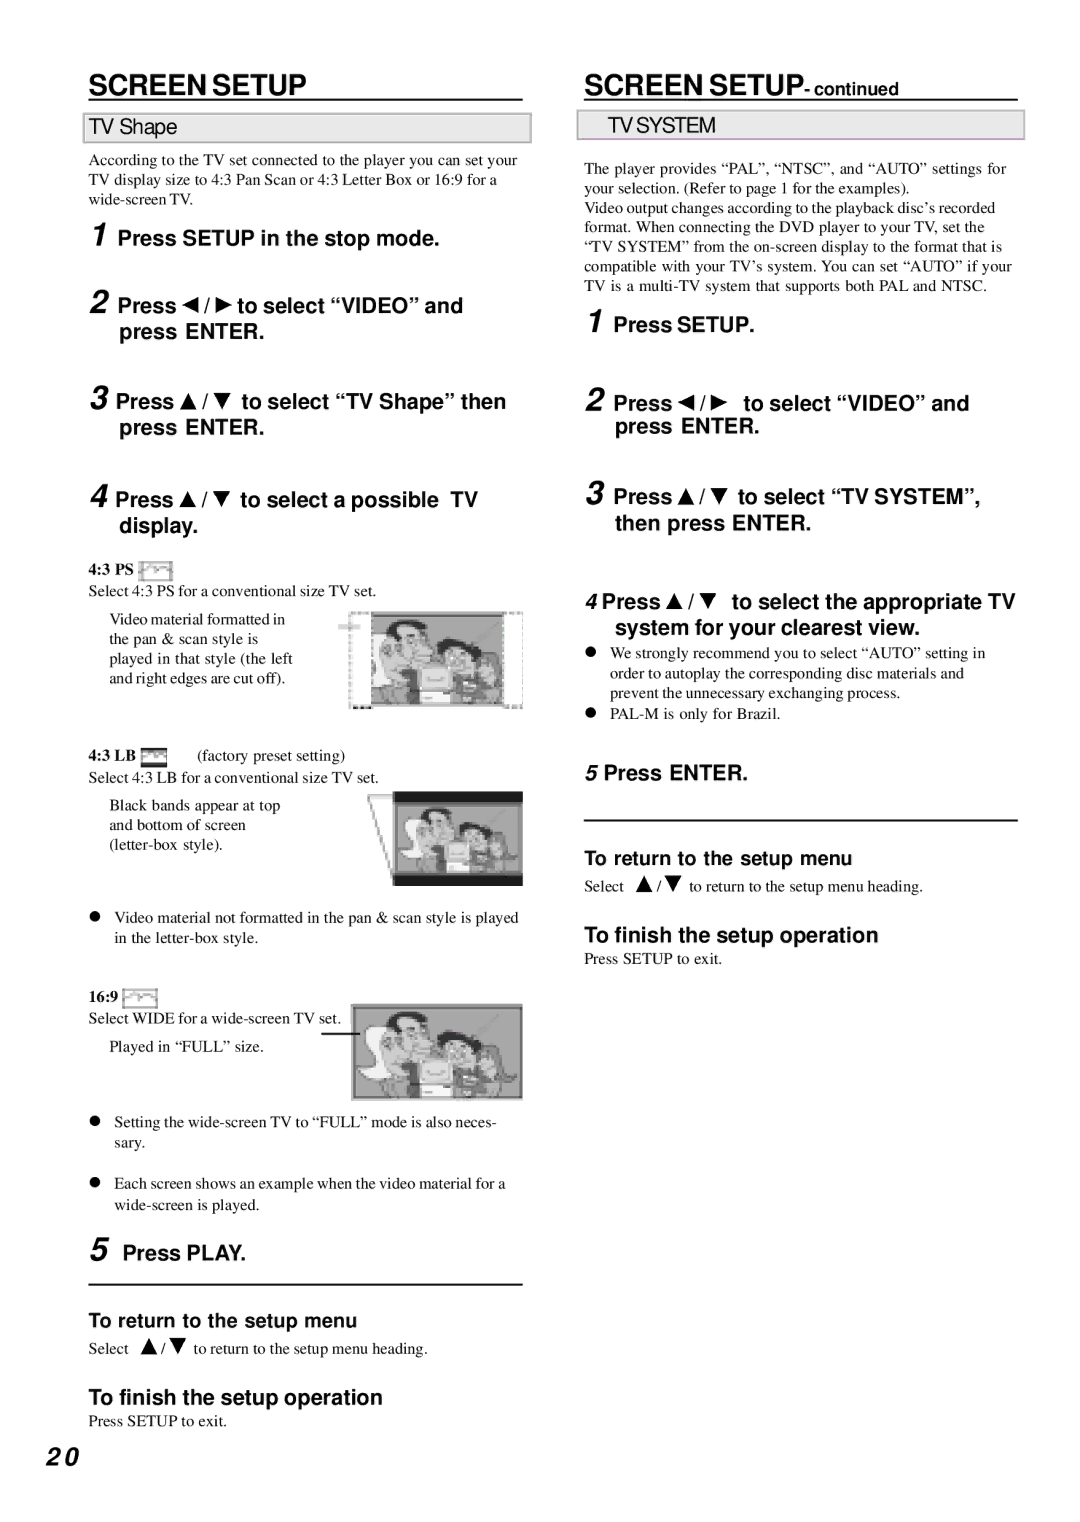
4:3 PS 
Select 4:3 PS for a conventional size TV set.
Video material formatted in the pan & scan style is played in that style (the left and right edges are cut off).
4:3 LB ![]() (factory preset setting) Select 4:3 LB for a conventional size TV set.
(factory preset setting) Select 4:3 LB for a conventional size TV set.
Black bands appear at top and bottom of screen
!Video material not formatted in the pan & scan style is played in the
16:9 
Select WIDE for a
Played in “FULL” size.
!Setting the
!Each screen shows an example when the video material for a
5 Press PLAY.
To return to the setup menu
Select ![]() /
/ ![]() to return to the setup menu heading.
to return to the setup menu heading.
To finish the setup operation
Press SETUP to exit.
SCREEN SETUP- continued
TV SYSTEM
The player provides “PAL”, “NTSC”, and “AUTO” settings for your selection. (Refer to page 1 for the examples).
Video output changes according to the playback disc’s recorded format. When connecting the DVD player to your TV, set the “TV SYSTEM” from the
1 Press SETUP.
2 Press ![]() /
/ ![]() to select “VIDEO” and press ENTER.
to select “VIDEO” and press ENTER.
3 Press ![]() /
/ ![]() to select “TV SYSTEM”, then press ENTER.
to select “TV SYSTEM”, then press ENTER.
4 Press ![]() /
/ ![]() to select the appropriate TV system for your clearest view.
to select the appropriate TV system for your clearest view.
!We strongly recommend you to select “AUTO” setting in order to autoplay the corresponding disc materials and prevent the unnecessary exchanging process.
!
5 Press ENTER.
To return to the setup menu
Select ![]() /
/ ![]() to return to the setup menu heading.
to return to the setup menu heading.
To finish the setup operation
Press SETUP to exit.
2 0