Getting Started
To change the graphic
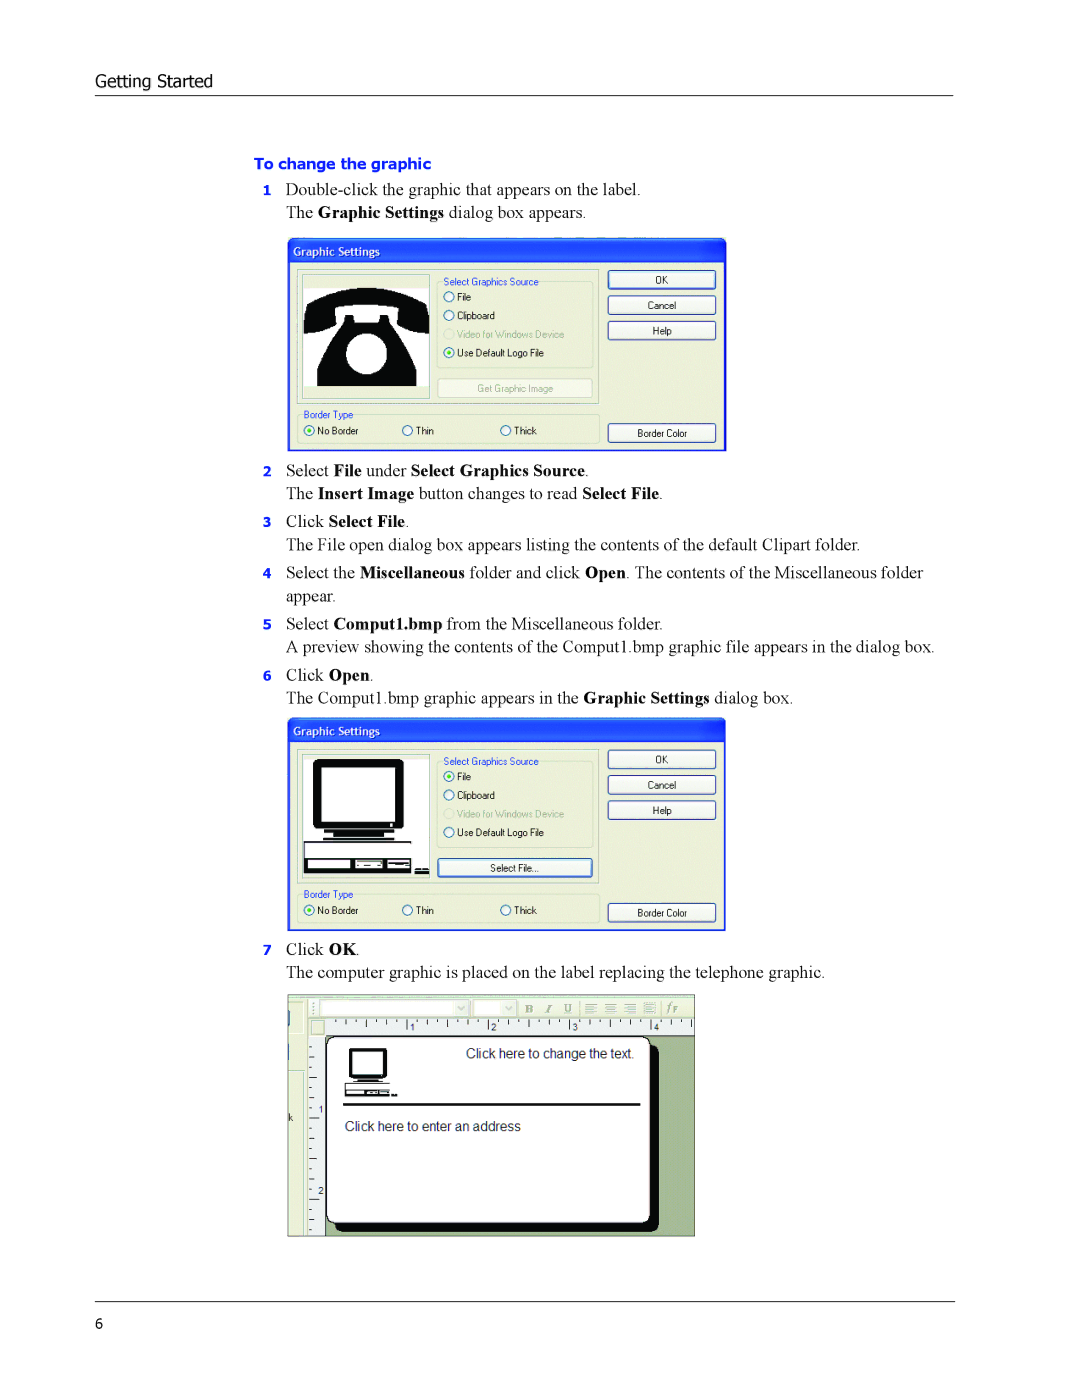
1
2Select File under Select Graphics Source.
The Insert Image button changes to read Select File.
3Click Select File.
The File open dialog box appears listing the contents of the default Clipart folder.
4Select the Miscellaneous folder and click Open. The contents of the Miscellaneous folder appear.
5Select Comput1.bmp from the Miscellaneous folder.
A preview showing the contents of the Comput1.bmp graphic file appears in the dialog box.
6Click Open.
The Comput1.bmp graphic appears in the Graphic Settings dialog box.
7Click OK.
The computer graphic is placed on the label replacing the telephone graphic.
6
