8 | Using the Network Setup Disk |
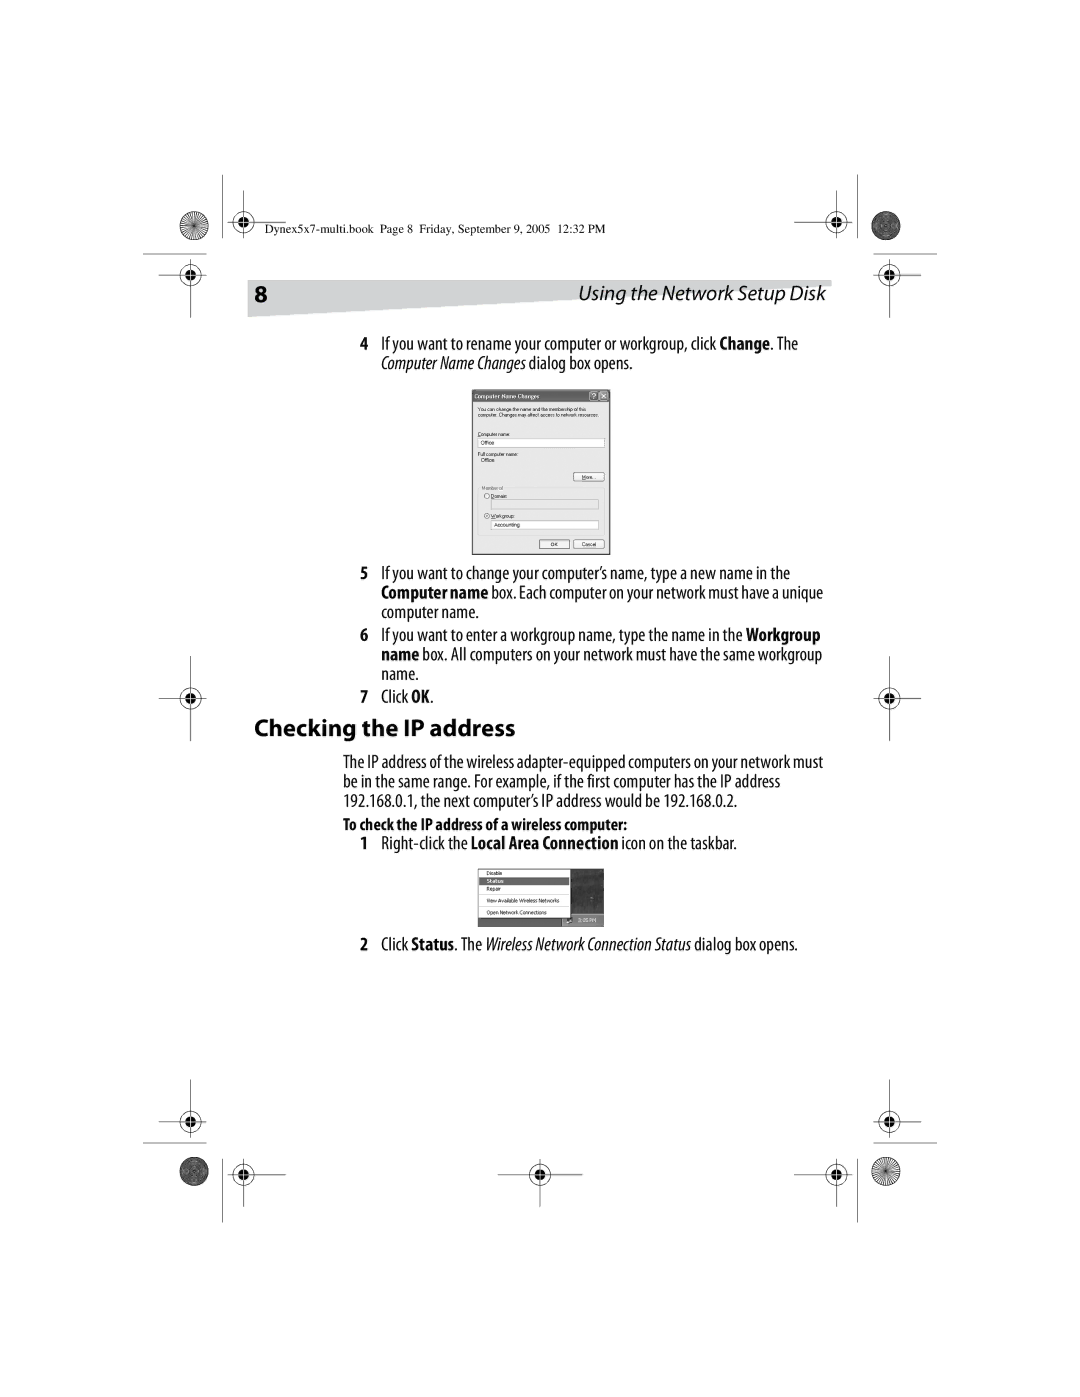
4If you want to rename your computer or workgroup, click Change. The Computer Name Changes dialog box opens.
5If you want to change your computer’s name, type a new name in the Computer name box. Each computer on your network must have a unique computer name.
6If you want to enter a workgroup name, type the name in the Workgroup name box. All computers on your network must have the same workgroup name.
7Click OK.
Checking the IP address
The IP address of the wireless
To check the IP address of a wireless computer:
1Right-click the Local Area Connection icon on the taskbar.
2Click Status. The Wireless Network Connection Status dialog box opens.