Troubleshooting | 11 |
VERIFY ADAPTER INSTALLATION
If your adapter is not installed correctly, including the network system software or device drivers, your network will not function correctly.
To verify that your adapter is correctly installed:
1Open the Control Panel, then click or
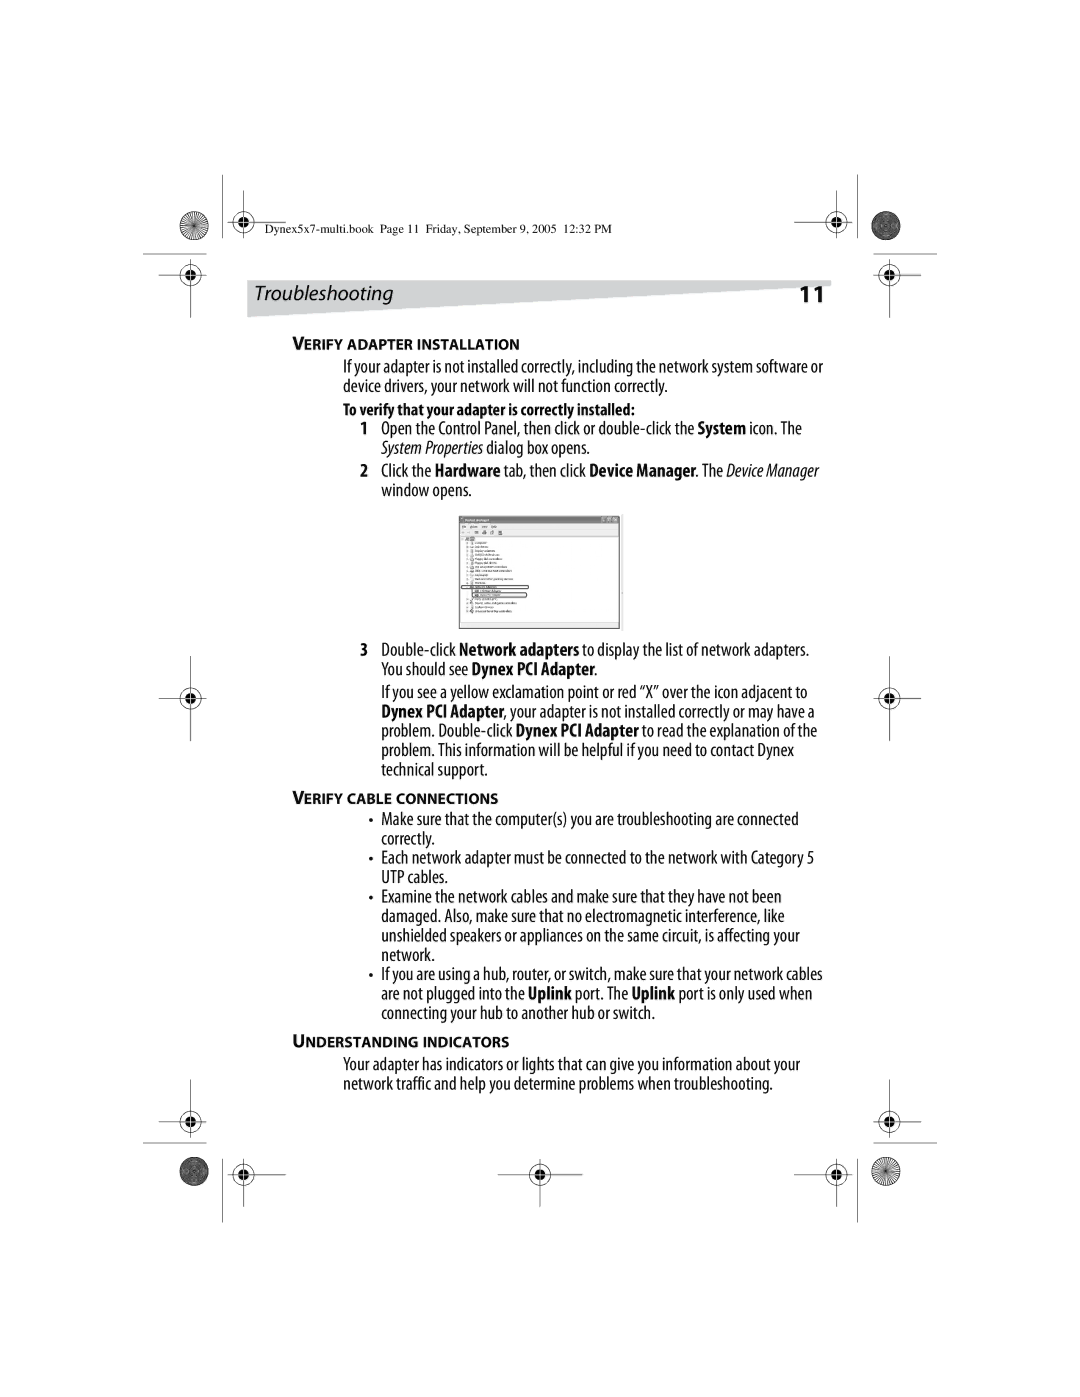
2Click the Hardware tab, then click Device Manager. The Device Manager window opens.
3
If you see a yellow exclamation point or red “X” over the icon adjacent to Dynex PCI Adapter, your adapter is not installed correctly or may have a problem.
VERIFY CABLE CONNECTIONS
•Make sure that the computer(s) you are troubleshooting are connected correctly.
•Each network adapter must be connected to the network with Category 5 UTP cables.
•Examine the network cables and make sure that they have not been damaged. Also, make sure that no electromagnetic interference, like unshielded speakers or appliances on the same circuit, is affecting your network.
•If you are using a hub, router, or switch, make sure that your network cables are not plugged into the Uplink port. The Uplink port is only used when connecting your hub to another hub or switch.
UNDERSTANDING INDICATORS
Your adapter has indicators or lights that can give you information about your network traffic and help you determine problems when troubleshooting.